About | Privacy Policy | Terms of Use | Support | Contact Us
Copyright © 2026 Tipard Studio. All Rights Reserved.
Windows

Rip your favorite Blu-ray/DVD movies or videos to popular formats

Powerful software to play Blu-ray/DVD videos and audio

Create Blu-ray disc/folder/ISO file with your own video

Backup/Copy your favorite Blu-ray to disc/folder/iso files
Mac

Rip your favorite Blu-ray/DVD movies or videos to popular formats on Mac

Powerful software to play Blu-ray and popular video formats on Mac
Windows

Rip DVD to any popular video format quickly of full quality

Create DVD from videos and burn video to DVD/Blu-ray freely

Copy DVD to DVD disc/folder/ISO files in a 1:1 ratio
Mac

Rip DVD to any popular video format quickly of full quality on Mac

Burn or author a DVD from videos with subtitles and chapters on Mac

Copy DVD to DVD disc/folder/ISO files in a 1:1 ratio on Mac
Windows

Rip DVD, convert 4K video, edit, and upscale videos to 5K/8K

Repair broken videos with high accuracy and support many formats

Convert any video to MP3, MP4, MOV, WAV, and other 350 formats

Upscale resolution, optimize brightness and remove video noise

The easiest tool to capture screen, game, audio, etc. with high quality

Convert any 2D video to 3D video and convert 3D to 2D video

Convert 4K video to 4K/1080P and common videos

Convert TS video to various popular video/audio formats
Mac

Rip DVD, convert 4K video, edit, and upscale videos to 5K/8K on Mac

Repair broken videos with high accuracy and support many formats on Mac

Convert any video to MP3, MP4, MOV, WAV, and other 350 formats on Mac

Upscale resolution, optimize brightness and remove video noise on Mac

The easiest tool to capture screen, game, audio, etc. with high quality on Mac

Convert any 2D video to 3D video and convert 3D to 2D video on Mac

Convert 4K video to 4K/1080P and common videos on Mac

Convert TS video to various popular video/audio formats on Mac
Desktop

Rip and convert DVDs to MP3 and support other audio formats

Reset Windows Admin and Standard user account password in seconds

Accurately Convert any PDF file to Word with OCR

Convert PDF to Word, Excel, HTML and Image with OCR
Online

Easily remove watermarks from many image file formats free online

Points:0
Redeem
User Guide
Tipard Video Converter Ultimate is an all-in-one Windows video converter software that can convert, transcode, and remux over 1000 video and audio codecs, including 8K, 5K, 4K, 1080p HD, 720p HD, and 480p HD videos. It can also rip physical DVD discs, DVD ISO images, and VIDEO_TS folders to digital formats while handling encryptions and region codes.
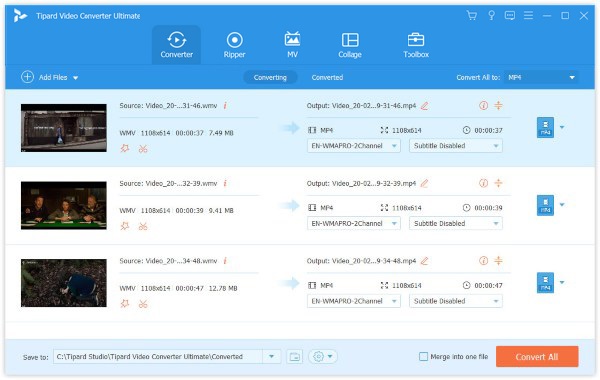
Step 1 Add video/audio files
Import your video/audio files into Tipard Video Converter Ultimate by clicking the big Add button. You can also click the Add Files button at the top left corner or drag the video or audio files and drop them into this software directly.
Step 2 Select the output format
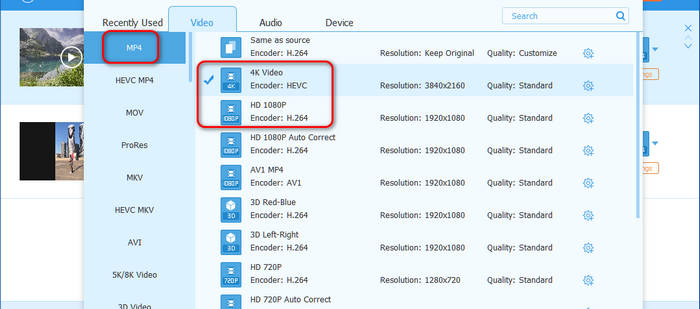
Your media files are added. Click the Output Format dropdown button at the bottom left corner to choose the output format you want.
Here, you have Video, Audio, and Device options.
For example, if you want to convert video to MP4, just select MP4, and then you can choose a preset, like HD 1080P or 4K Video. Double-click to choose the preset.
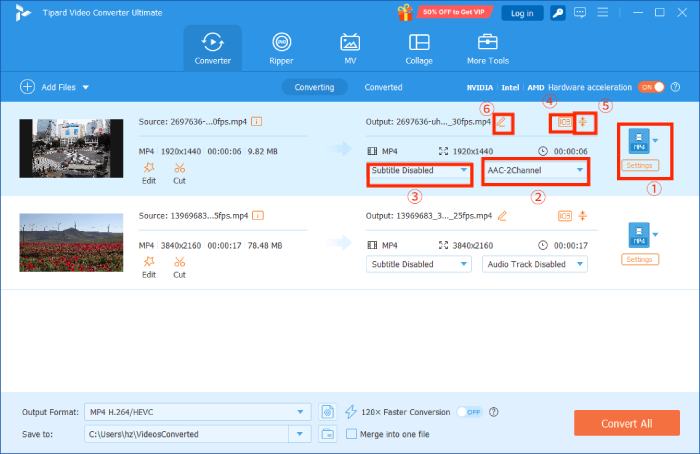
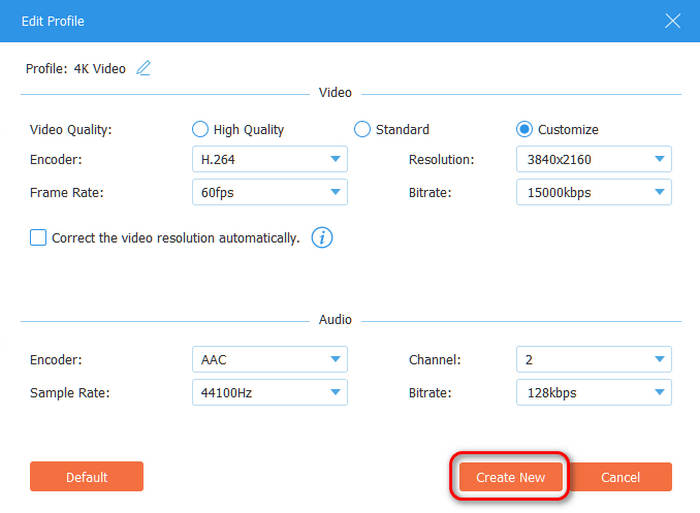
Tipard Video Converter Ultimate lets you customize codec, bitrate, resolution, FPS, and more configurations for your media files. Just click the Custom Profile button (with a gear icon) in the bar of your selected video preset.
Here, you can make your customization on the video and audio streams. There are some important factors you should consider:
After customization, you can click the Create New button to save it and make it a new preset in this program.
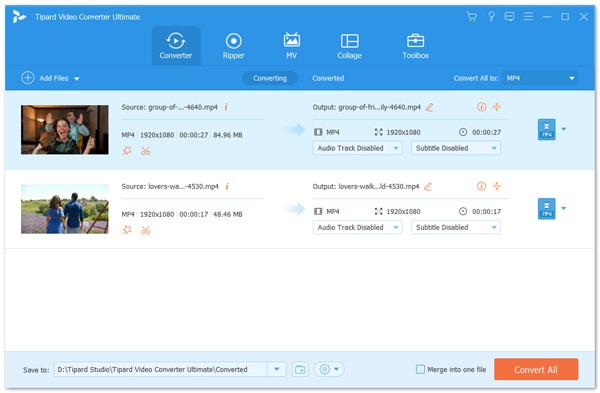
Step 3 Convert video and audio formats
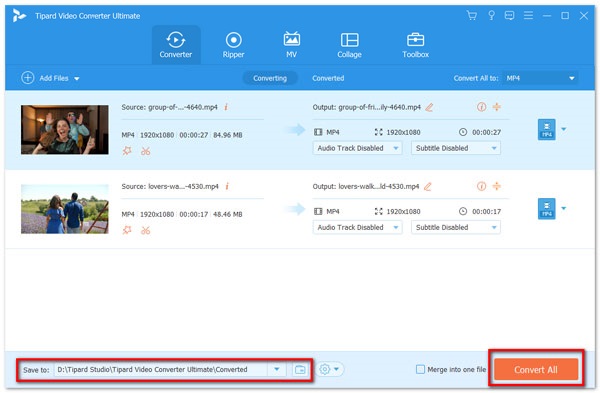
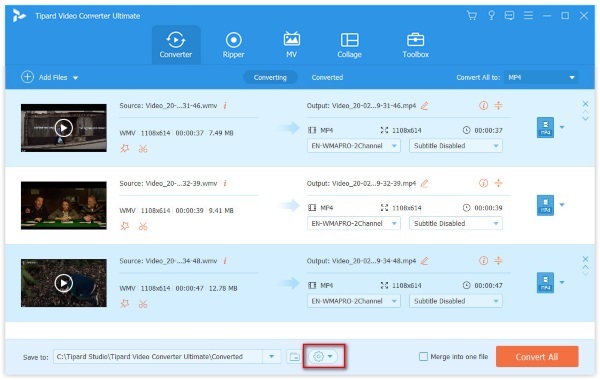
When you have done your customization and selection, you can click the Save to dropdown button at the bottom left to choose a desired output folder for your converted video.
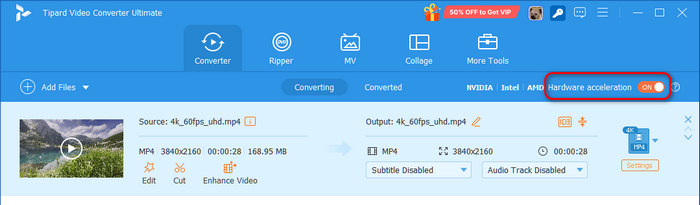
Important Note: Ensure that Hardware acceleration is turned on. It is necessary and vital in media file conversion today. With hardware acceleration, the video conversion tasks will be mainly undertake by the graphics card in your computer rather than your CPU, which will highly decrease the CPU usage.
Finally, just click the Convert All button to start converting your media files.
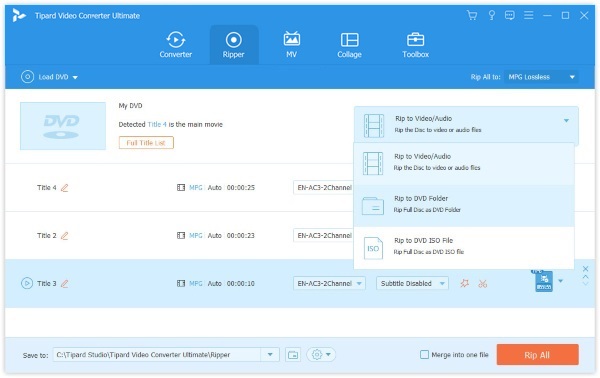
Ripper is one feature of the Tipard Video Converter Ultimate. It can rip DVDs into digital formats for easy playback on your device.
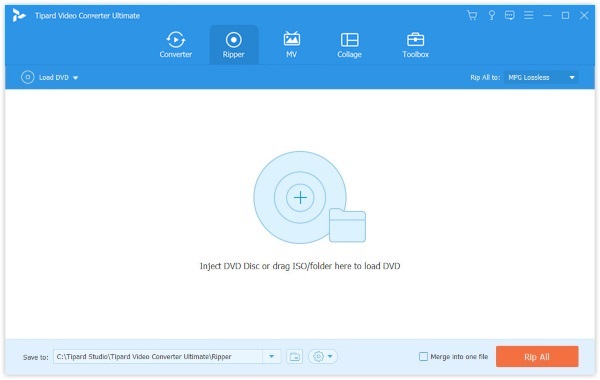
Step 1 Load DVD files
Run Video Converter Ultimate on your computer. Locate the Ripper tab.
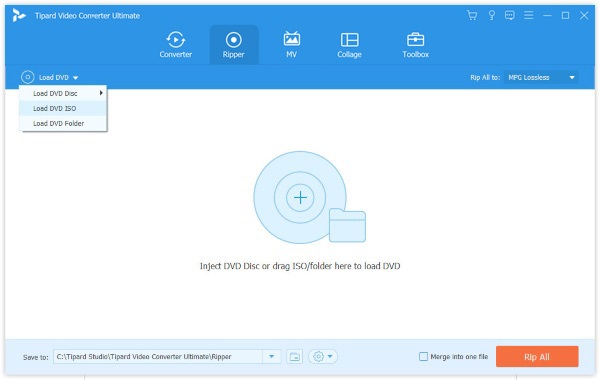
Click the Load Disc button to import the DVD disc, ISO file, DVD folder, AVCHD Disc, or Folder.
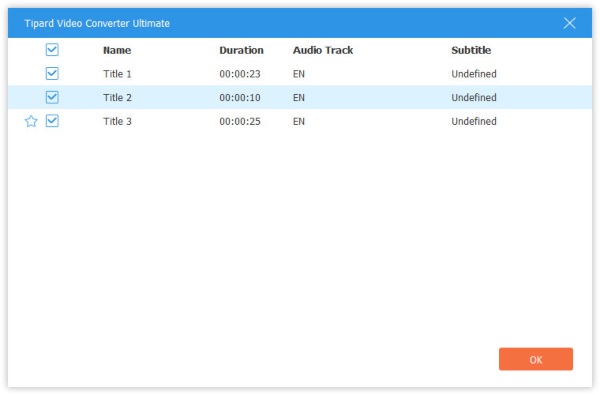
Then it will load the main movie title into this software. If you want to load more titles, just click Full Title List to select more titles for adding.
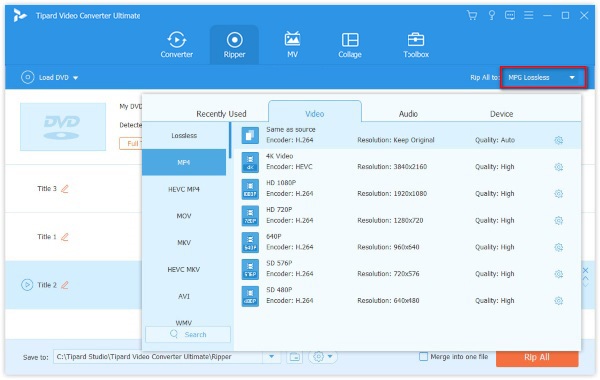
Step 2 Select output format
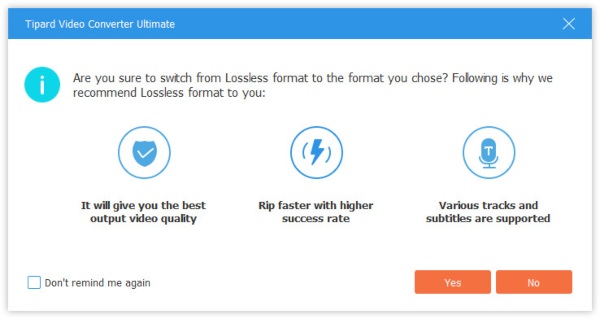
The default output format is MPG Lossless, which maintains lossless output quality, and the original full tracks and subtitles with the faster ripping speed.
If you want to choose another digital format, click on the output format at the bottom left corner of the page, and select the desired file format. If you want to customize different output formats for other titles, simply select the output format next to each title.
Note: If you want to rip DVD to other formats, instead of MPG Lossless, you will not benefit from MPG Lossless.
Step 3 Edit DVD titles before ripping
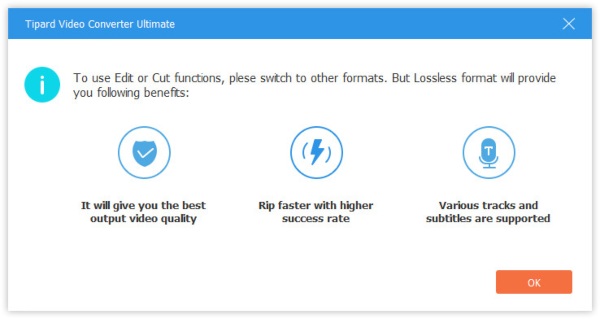
You are allowed to edit the DVD movie effects, such as rotate, crop, filter, watermark, and more, before ripping it. Just click the Edit button or the Clip button to start editing the movie effects.
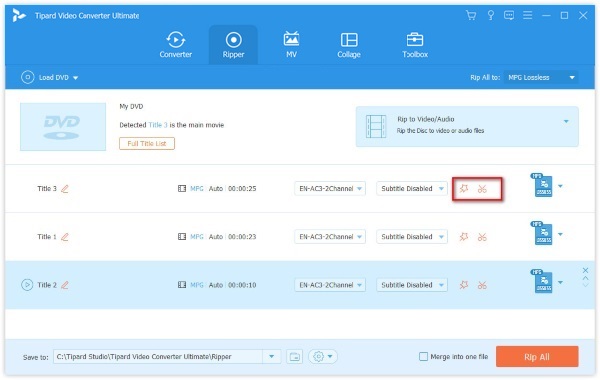
Note: When editing the DVD, ensure the output format is not MPG Lossless, but others.
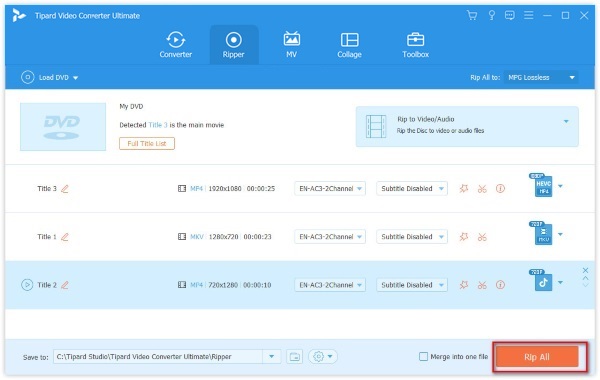
Step 4 Rip DVD to digital formats
After all the settings are made well, just click Rip All to start converting DVD to other digital formats.
Step 5 Rip DVD to ISO file
If you want to convert DVD to ISO file or DVD folder, just select the exact format you want to save the whole DVD file directly.
Before converting the files, you can also use the powerful built-in editor to edit the video effects by clicking Edit.

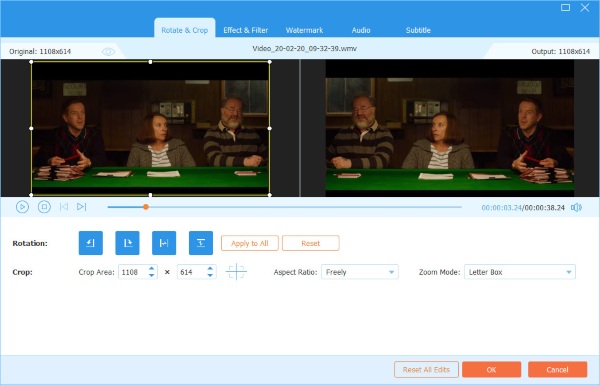
For getting rid of the annoying black edges, you should use Crop feature. You can use your mouse to drag the frame border to cut the movie edges. The aspect ratio is optional for you to set as 16:9, 4:3, 1:1, 9:16 and freely. Moreover, the Zoom Mode can be Letter Box, Pan & Scan, or Full.
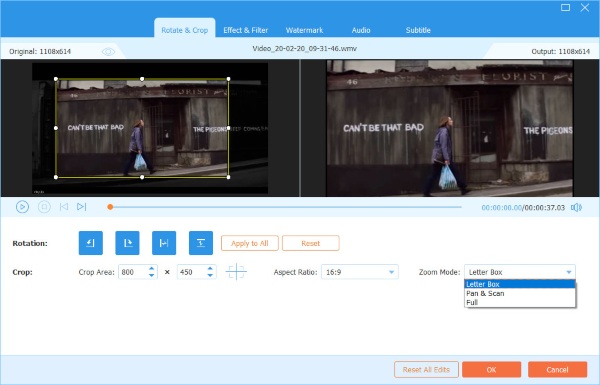
If your videos are sideway, or you want to create a mirror video, just use the rotate feature. It can rotate the video at 90 clockwise or counterclockwise.
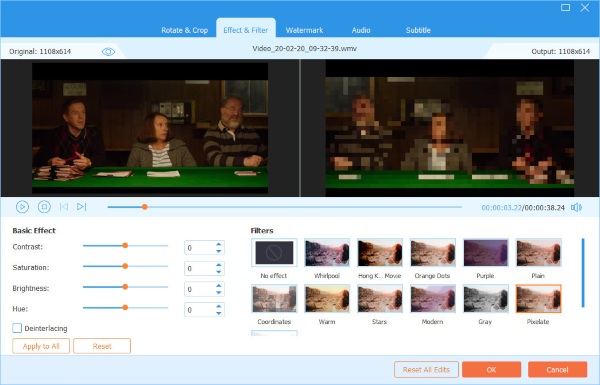
Effects & Filters feature lets you manually adjust the video effects by adjusting the contrast, hue, saturation, and brightness.
The filter effects let you apply the various filters like whiripool, plain, purple, gray, pixelate, starts, modern, etc.
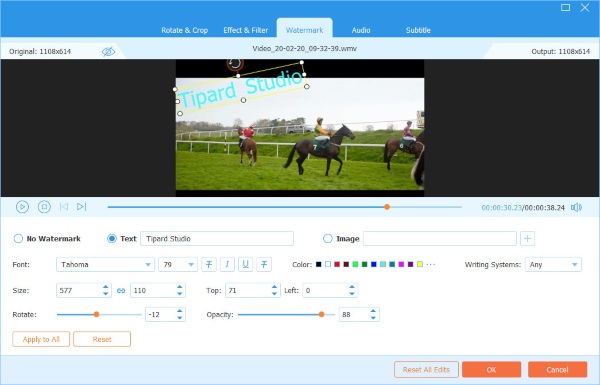
Want to create your own logo in your video? Just try the watermark function.
Navigate the Watermark tab, and you can enter the text or add the image created before as the watermark of your video.
You can adjust the size, position, font size, style, and color, and opacity.
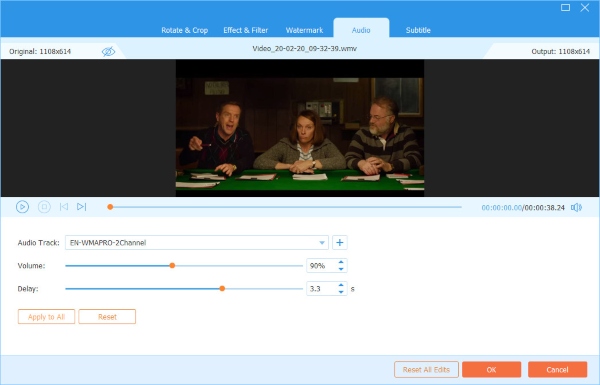
For the background audio of the video, you can remove it or add more. Moreover, you can adjust the volume and delay effects to customize the background music.
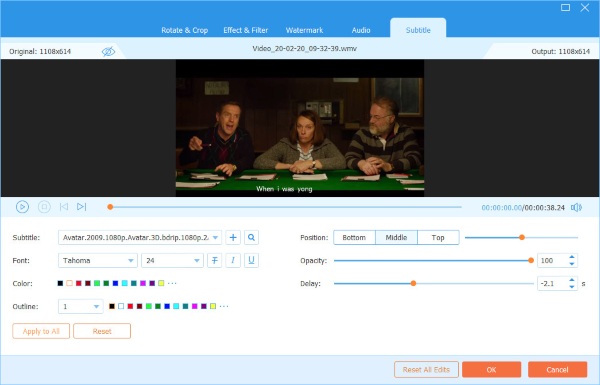
For the subtitle of the movie, you can disable it. Or replace with the matching subtitle. You can also change the subtitle font style, size, color, position, opacity and delay.
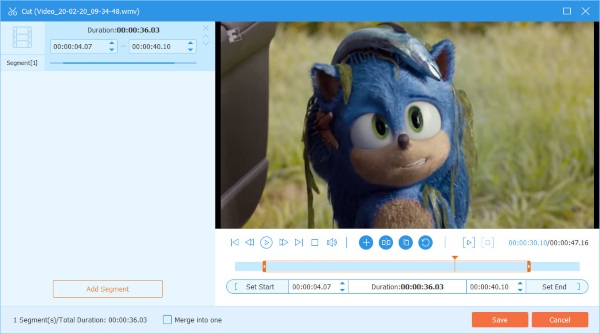
If you want to split one video into many parts, the Clip feature is what you will need.
After loading the DVD or videos into this software, click the Clip button (the scissors image), and then you can add a new segment, split the video into parts, copy and paste the segment, and more.
For merging more videos into a long one, just use the move-up or move-down button at the right side to adjust the video order. After that, click Merge into one file to combine all the files.
For merging more videos into a long one, just use the move-up or move-down button at the right side to adjust the video order. After that, click Merge into one file to combine all the files.

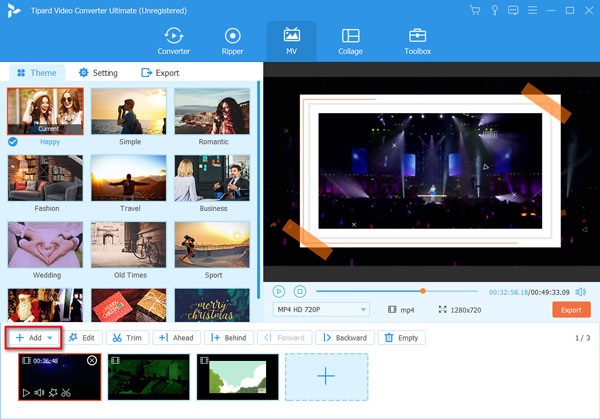
You can also use Tipard Video Converter Ultimate as an MV maker which can help you create stunning videos with transition, filter and background music.
Step 1 Add videos to the MV maker
Go to the MV tab after launching the program. Then click the Add button below to import you video clips to this MV maker. You can add multiple files at one time. Just make sure they are in the correct order.
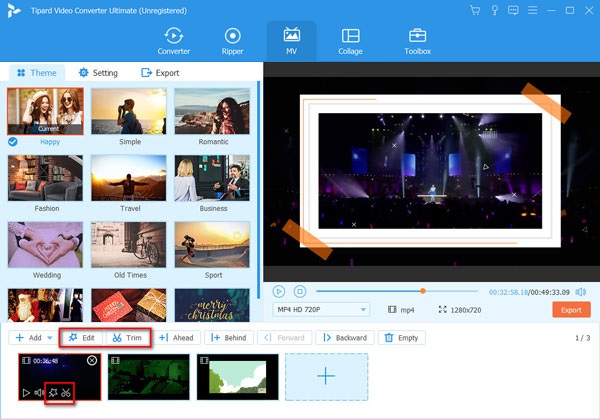
Step 2 Edit & trim videos
Before making an MV, you'd better edit and trim the original video by clicking the Edit/Trim button. Or if you want to edit or trim video clips separately, you can click on the button under the clip you want to adjust. The steps to edit and trim videos are the same as above.
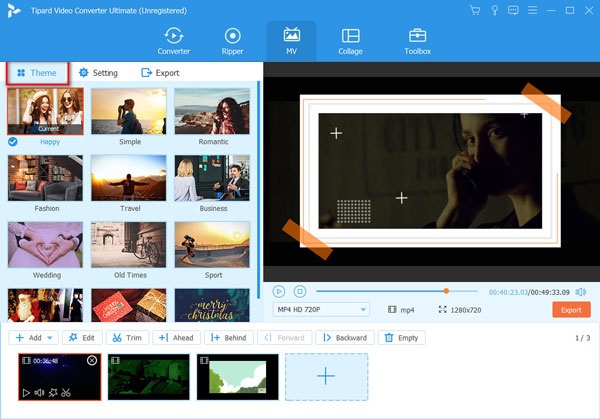
Step 3 Pick a theme
After editing, please select a theme for your MV. Just click on the theme you prefer, then the theme will be applied to the MV automatically. You can preview the effect on the right.
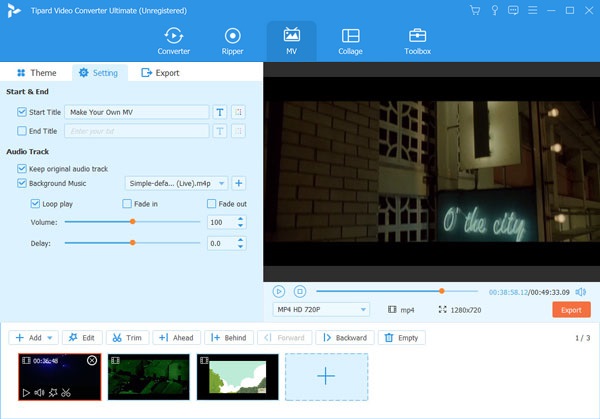
Step 4 Adjust MV settings
You can also add custom title at the beginning or in the end of the video. You can even silence the original video and change the background music as you like. If you want to make the music more vivid, you should enable Fade in/Fade out options. You can also turn on Loop play, adjust the volume, and change the delay time.
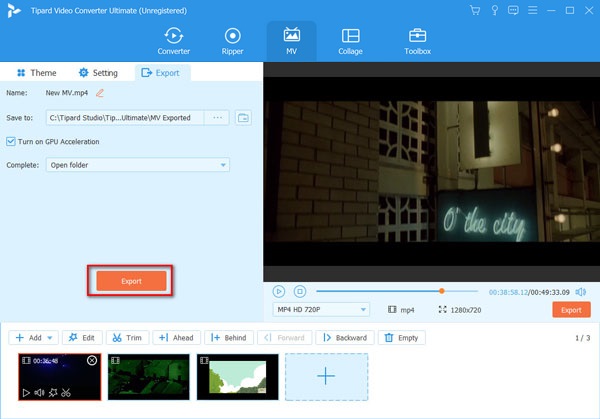
Step 5 Export the video
Once you finish making MV, you can go to the Export tab where you are able to change the MV's name and set the path to save the output video. Turn on GPU Acceleration, and you can enjoy a fast conversion experience by click the Export button.
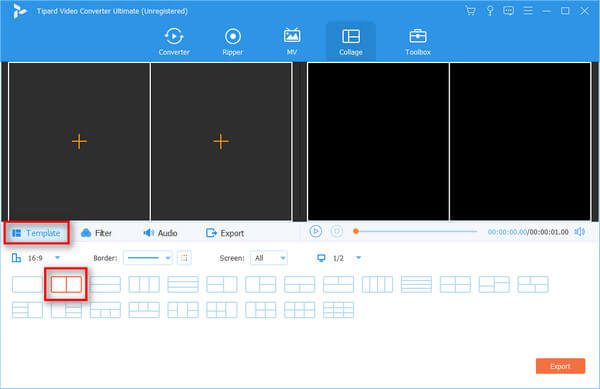
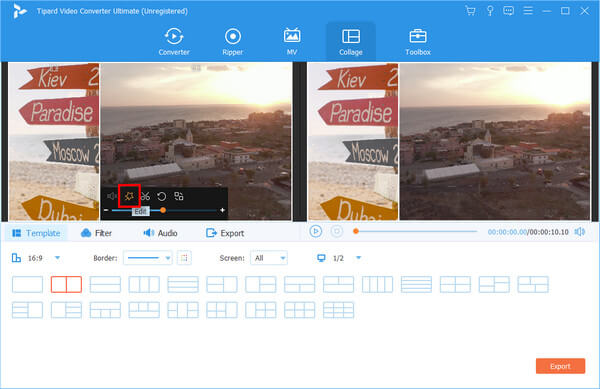
Want to mix and combine multiple videos or pictures into one screen? Don't worry. Video Converter Ultimate provides you with the best video collage maker to help you create stunning split-screen videos.
Step 1 Navigate to the Collage in the menu bar. Then select a template you want to use from the layout list. You can also change the aspect ratio if you want.
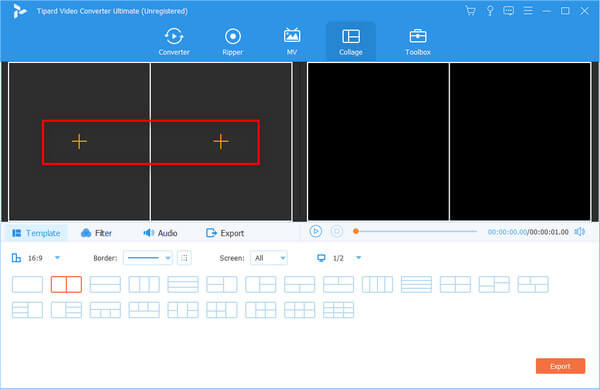
Step 2 Click the Add button to add the video you want to display on the screen.
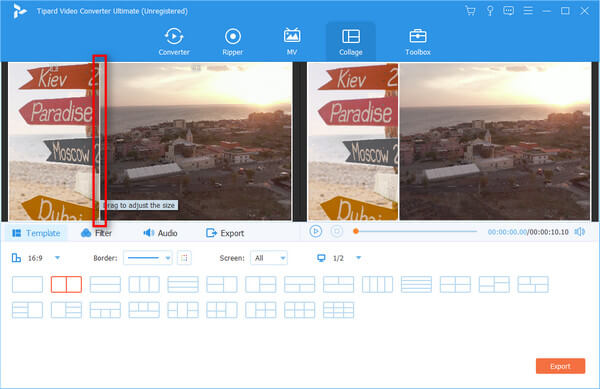
After you upload all video files, you can drag the line between videos to adjust the display size.
Step 3 You are even able to edit and trim the video separately by clicking the Edit button on the video clip you want to edit. You can crop, rotate, add a watermark, and add a subtitle to the video based on your needs.
Step 4 Then you can move to the Filter tab and select a great filter to improve the video effect.

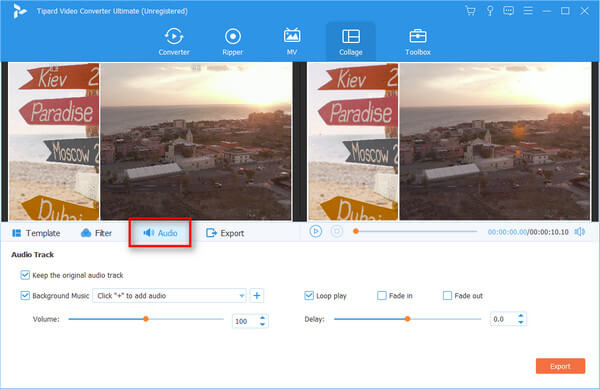
Step 5 If you want to add background music to the video, please point to the Audio tab and enable the Background Music option. You can choose your favorite music as the BGM. And if you find the original audio track annoying, you can mute the sound by disabling the Keep the original audio track option.
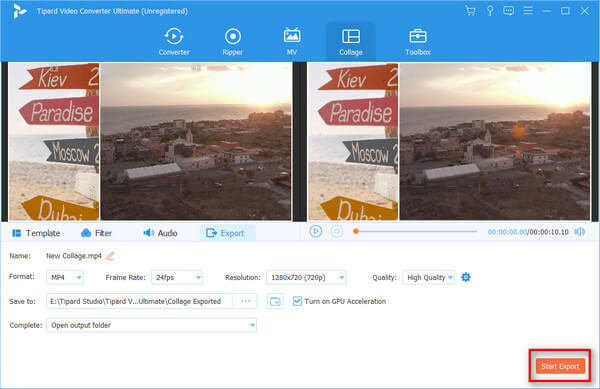
Step 6 Once you finish editing, you can export the video collage to your computer. Just open the Export tab, and change the project name, output format, resolution and destination folder as you like. Click Start Export to save the split-screen video on your computer.
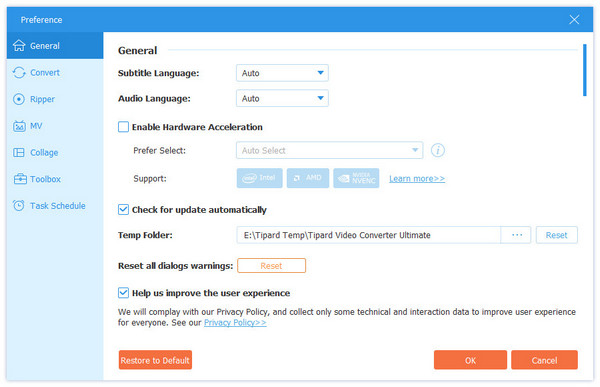
You can use this converter with the default settings. Moreover, it also lets you change the Preference settings by clicking the settings button at the bottom.
In the General tab, you can make all the settings for Subtitle Language, Audio Language, GPU acceleration enabled, update check automatically, and more. The GPU acceleration can lets you convert the video and DVD at 60X faster than other converters.
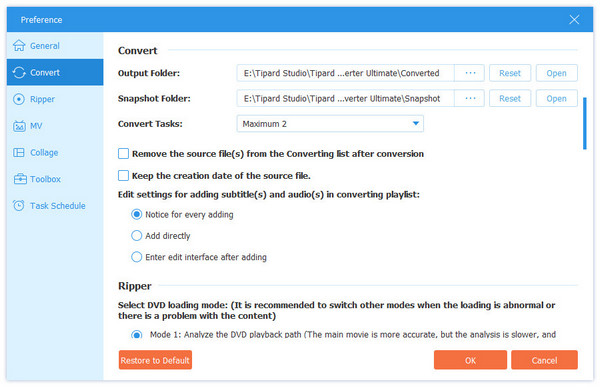
Convert tab lets you make the settings for Converter. You can set the location for the output folder and snapshot folder. You can also set the maximum tasks for the batch conversion. Moreover, you can make changes to the subtitles, remove the source files, or not, etc.
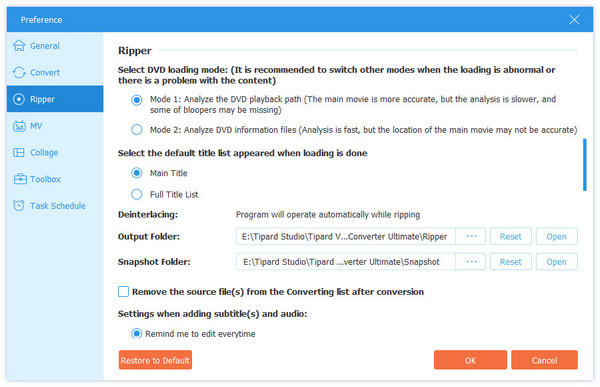
In the preference settings of Ripper, you can change the output folder location for the DVD ripping files and snapshots. Similar to Converter, you can also edit the subtitle or remove the source files after converting, or not, and more.
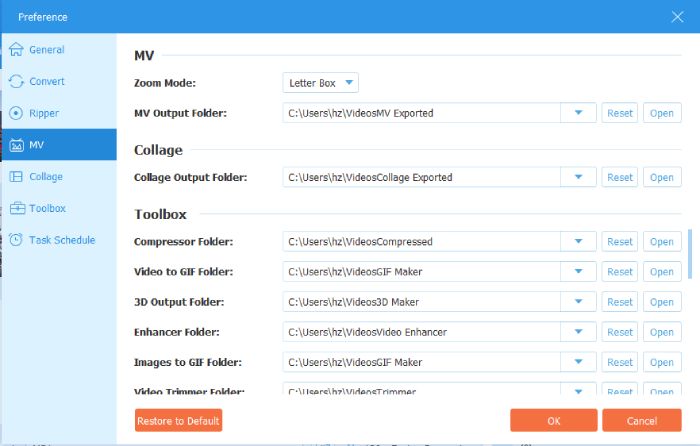
You can preset the save path for videos edited with MV, Collage, and Toolbox in Preferences. This way, you don't have to set the save path separately each time after editing.
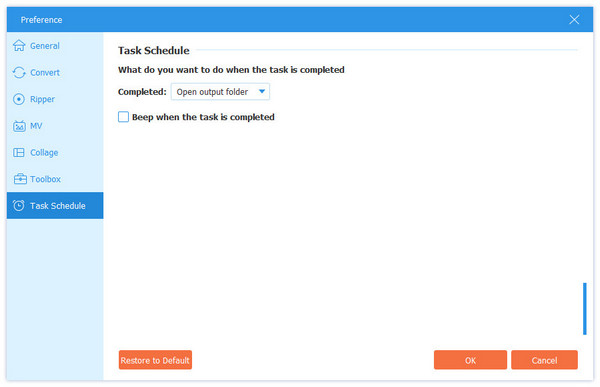
In the tab of Task Schedule, you can set shut down computer, open the output folder, exit program and more after completing the conversion task.
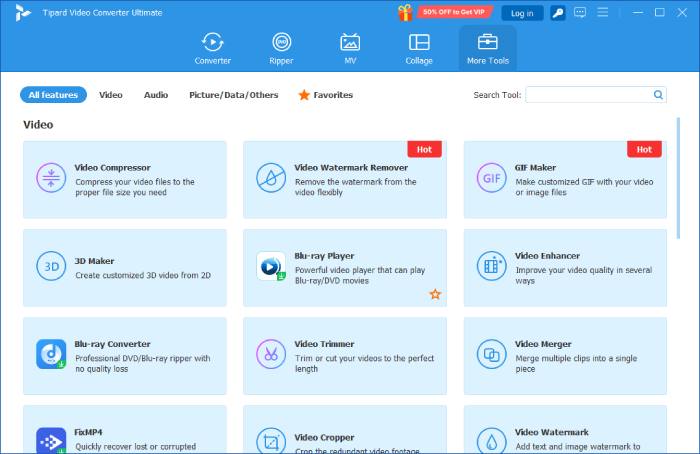
More Tools is another feature that you cannot miss from Tipard Video Converter Ultimate, where you can compress large video files, enhance video quality, create animated GIF images, add 3D effects, and edit metadata. In addition, the top navigation bar is divided into video, audio, image, and data tools based on file type, as well as recently used tools, making it easy to find the tools you need.
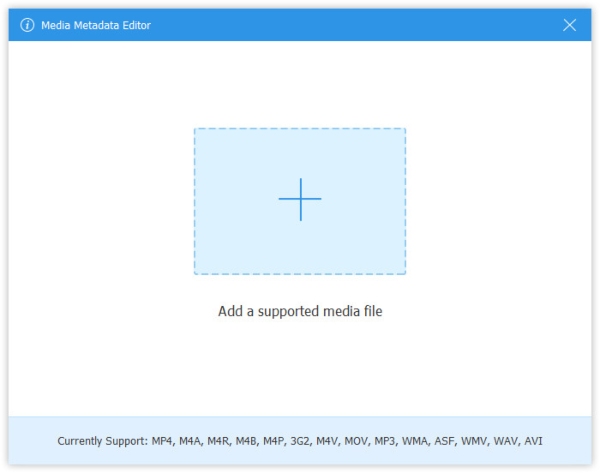
Step 1 Add media file
Click Media Metadata Editor, click the big plus button to add the media file that you want to edit.
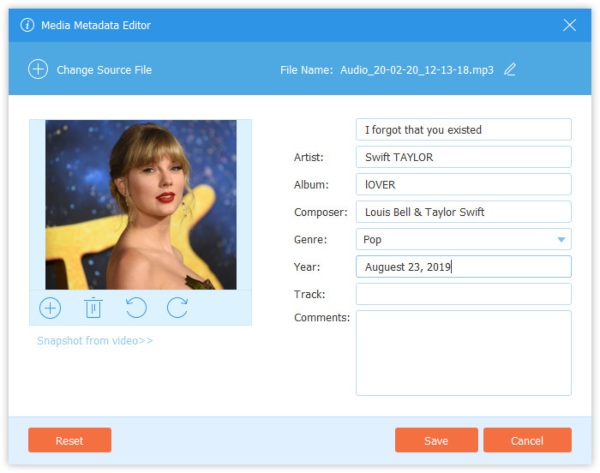
Step 2 Edit ID3 tag
Then you can edit the video or audio formation automatically. For audio files, it Auto load the MP3 tags with the information like artist, album, composer, year, track, comments, etc. You can also edit the ID3 tags as you like.
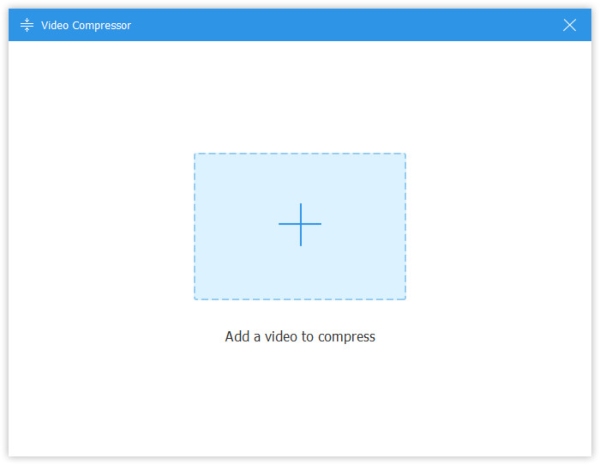
Step 1 Add large file onto Video Compressor
Select Video Compressor, and you should click the big plus button to add one video file.
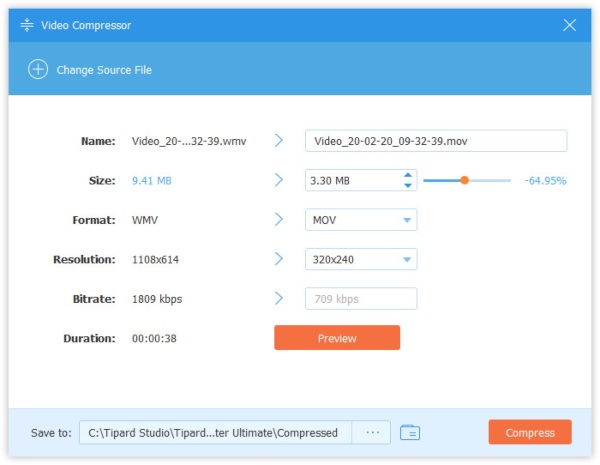
Step 2 Compress the video file
Adjust the file size by moving the bar or select the file size value. You can also change the output format and resolution. The Preview button lets you preview the compressed video file for 10 seconds.
Click Compress to start compressing the video file.
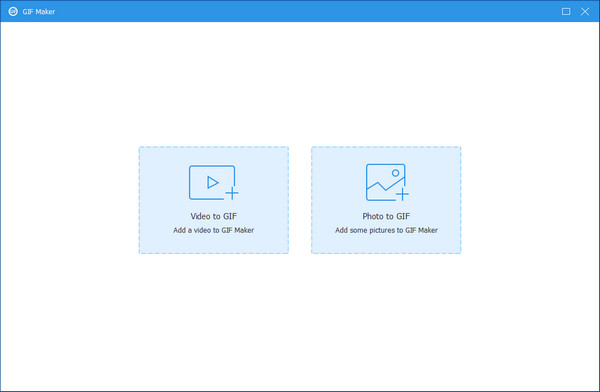
Step 1 Add the video file
Click GIF Maker and click the big plus button to import one video file for creating the GIF animation.
Step 2 Create GIF from video
Here you can use the Edit button or clip feature to cut down the long video. After that, you should set the output size, loop option and frame rate and click Generate GIF to start creating GIF from the video file.
The Preview button lets you preview the GIF image for at the maximum of 10 seconds.

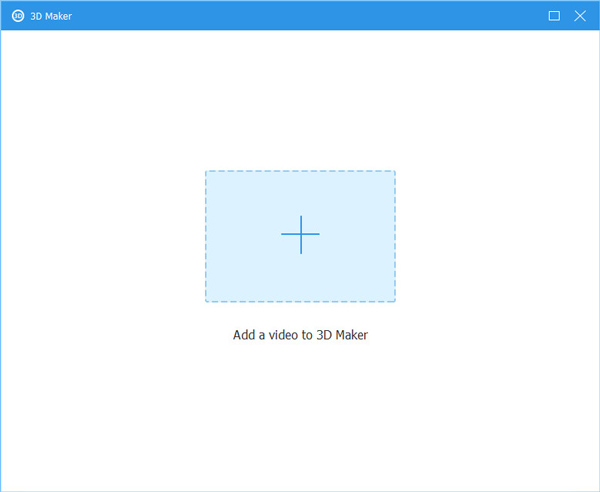
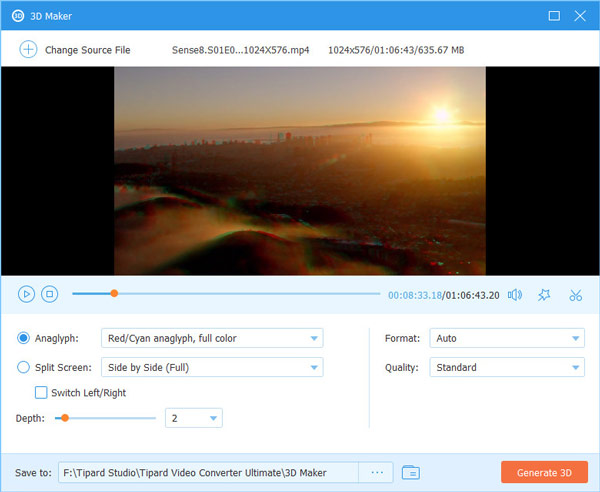
Step 1 Add 2D video to 3D Maker
Find 3D Maker in the More Tools window and click the Add button in the center to add a video.
Step 2 Make 3D video
After entering the 3D Maker interface, you will see your video has been adjusted automatically. You can change the settings like Anaglyph, Split Screen, Switch Left/Right, and Depth to get better effects. You can preview the video in real-time while changing. Once you finish, you can click the Generate 3D button to save the 3D video on your computer.
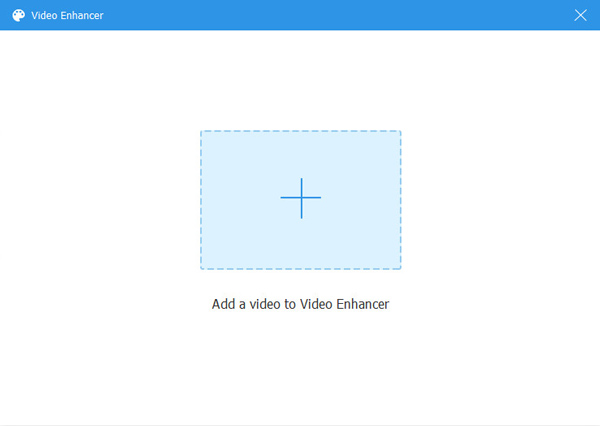
Step 1 Add a video to Video Enhancer
Select Video Enhancer. Add the video that you want to improve to the enhancer.
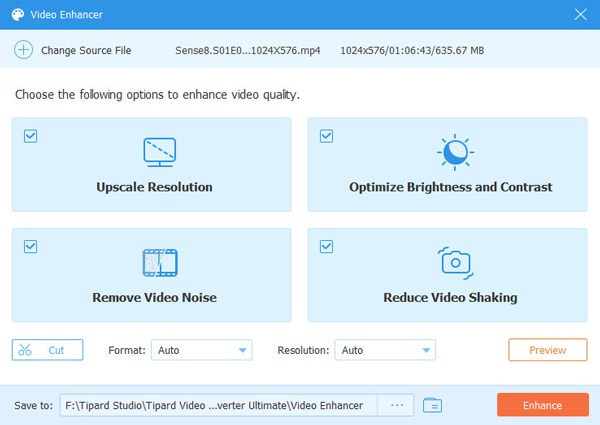
Step 2 Enhance video quality
If you want to get higher resolution, you can select the Upscale Resolution option. To efface the dirt-like video noise, you should choose Remove Video Noise. You can also optimize the video's brightness and contrast. Even if you have a shaky video, we can help you stabilize it. Just check the box in front of the Reduce Video Shaking option. After that, you can click Enhance to apply the changes.
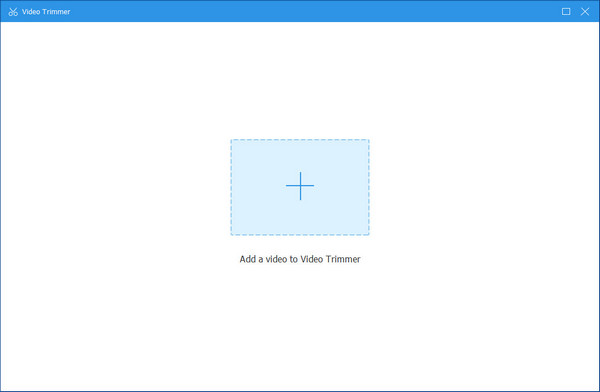
Step 1 Upload Video
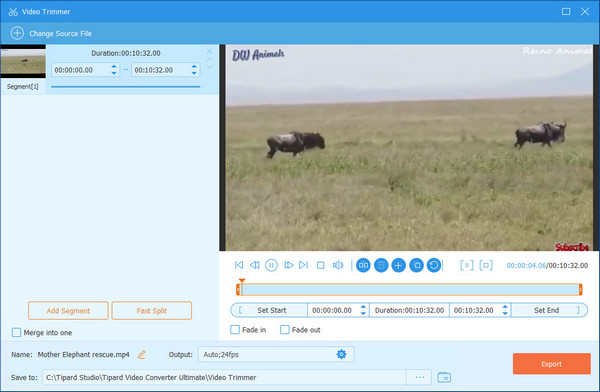
Choose Video Trimmer and click the big Plus button in the center.
Step 2 Trim Video
In the trimming window, you can adjust the progressing bar to change the length of video. Or you can change the time in Set Start and Set End. On the left, you can Add Segment and Fast Split the video. Then hit the Export button.
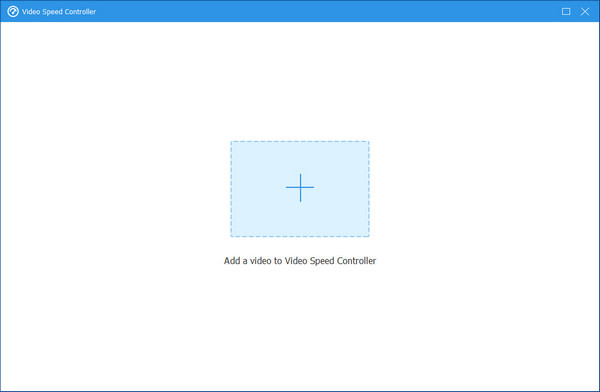
Step 1 Add Video to Speed Controller
Click the big Add button and import the target video to this tool.
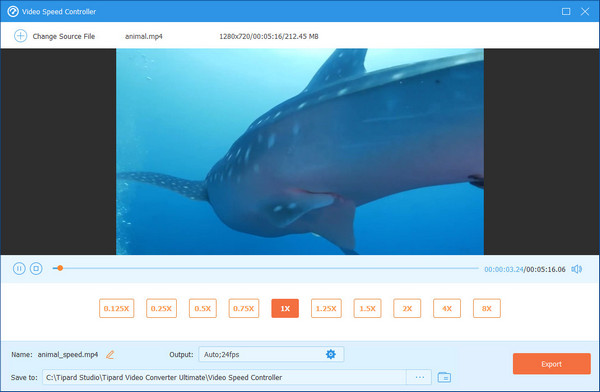
Step 2 Control Speed
Here you can slow down the video to 0.75×, 0.5×, 0.25×, or 0.125×. You can also speed up the video to 1.25×, 1.5×, 2×, 4×, or even 8×. The Output quality is also changeable. When everything is done, click the Export button.
Step 1 Add Video to Video Reverser
Click the "+" at the center and select the wanted video from your computer.

Step 2 Reverse Video
In the window popping up, you can choose to reverse the whole video or specific parts. For the latter, you can achieve that by adjust the progressing bar or change the time in Set Start or Set End. When everything is ok, click Export to see your reversed video.
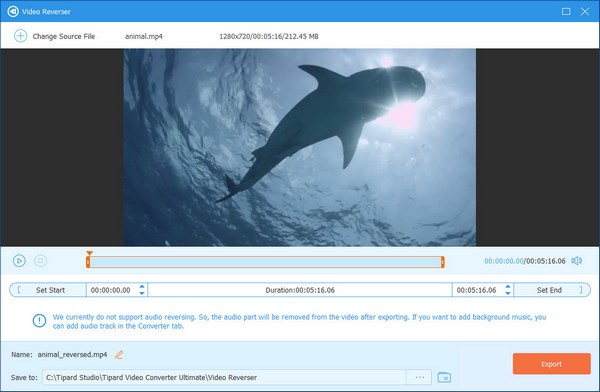
Note: Audio reversing is not supported currently. You can add an audio track yourself after exporting.
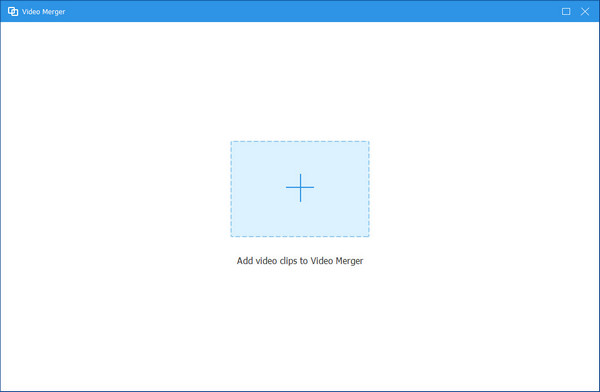
Step 1 Import Video
Click the big Add button in the center and select the videos you want to merge.
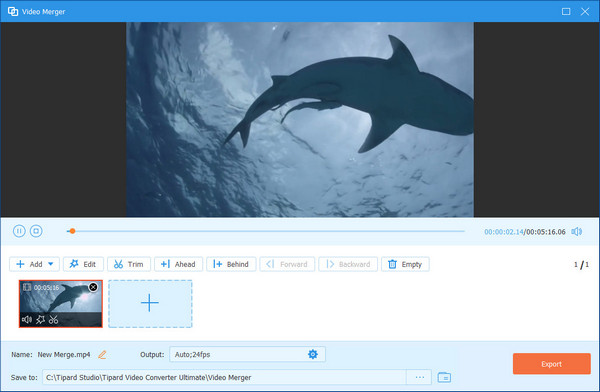
Step 2 Merge Videos
Click the Add button on the left or click the "+". Here you can change the order of the videos by clicking Forward or Backward. When everything is ready, click the Export button.
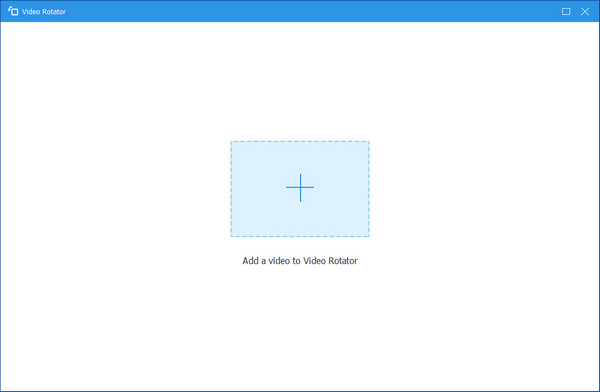
Step 1 Add Video
Click the Add button to add your video to the rotator.
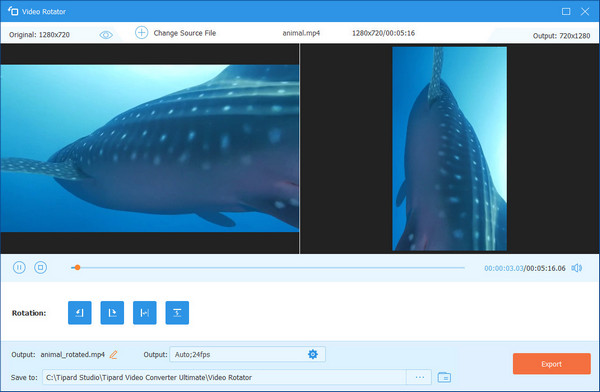
Step 2 Rotate Video
In the rotating window, you can Left Rotate, Right Rotate, Vertically Flip, or Horizontally Flip the video. Then click the Export button.
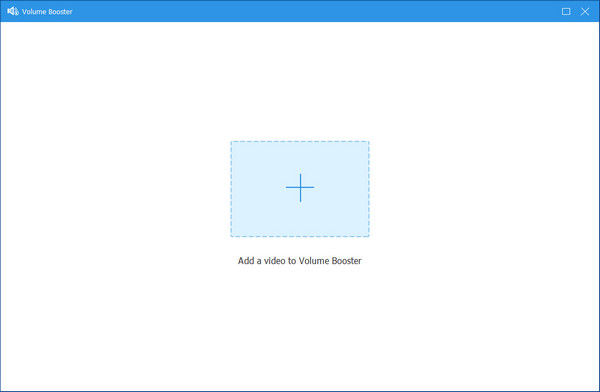
Step 1 Hit the Plus button and import your video.
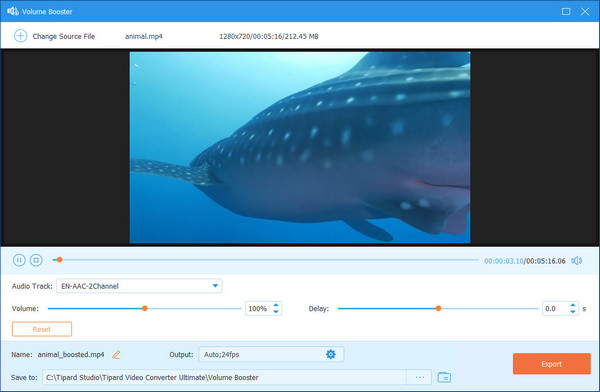
Step 2 Here, you can drag the progress bar to adjust the video Volume. Click Export.
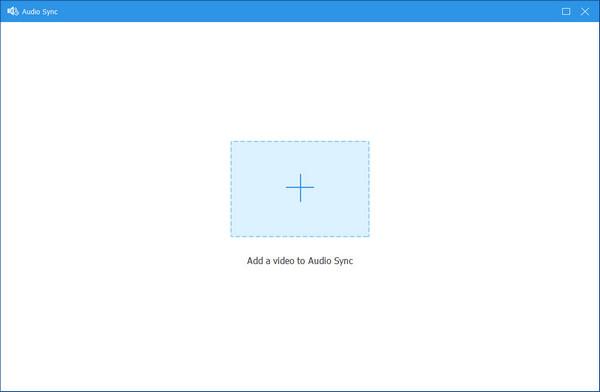
Step 1 Click the Add button and select the video from your computer.
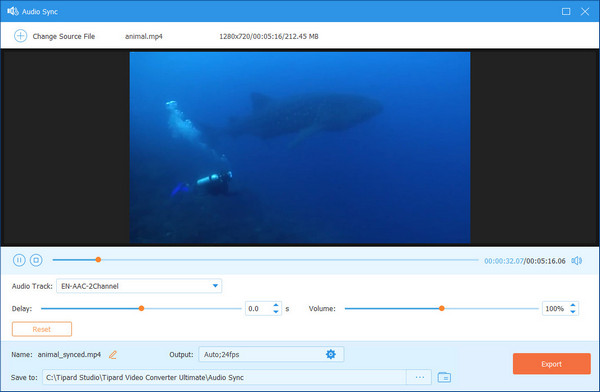
Step 2 In the pop-up window, you can change the Delay bar to sync the audio with the video.
Step 1 Choose the Video Watermark Remover button and click the + sign to import the video you want to delete its watermark.
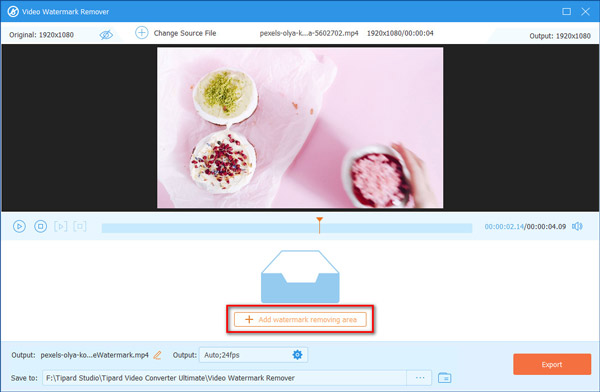
Step 2 Click the Add watermark removing area button to select the area of the watermark that you want to remove in your video.
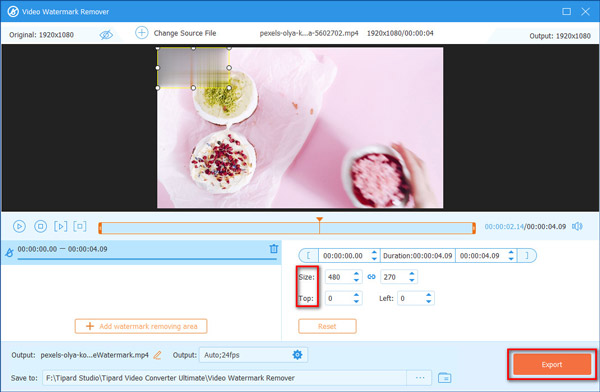
Step 3 Click the After choosing the watermark area, you can set the duration for watermark removing, change the size and location of the watermark area based on your needs. Finally, click the Export button to save the video without watermark.
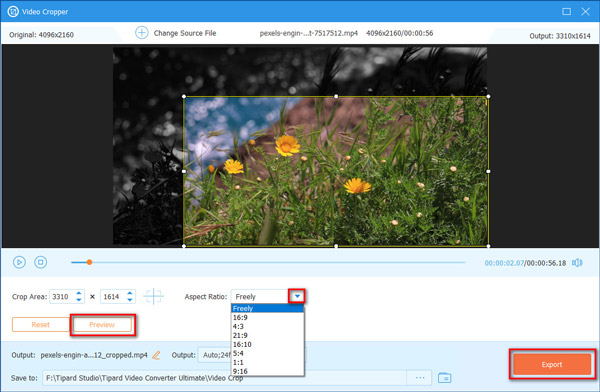
Step 1 Select the Video Cropper option and click the center plus sign to add your videos.
Step 2 Then, you can choose the area you want to keep freely. Besides, you can select the aspect ratio according to your needs. And if you want to watch the video after cropping, you can click the Preview button. In the end, you can click the Export button to save the cropped video.
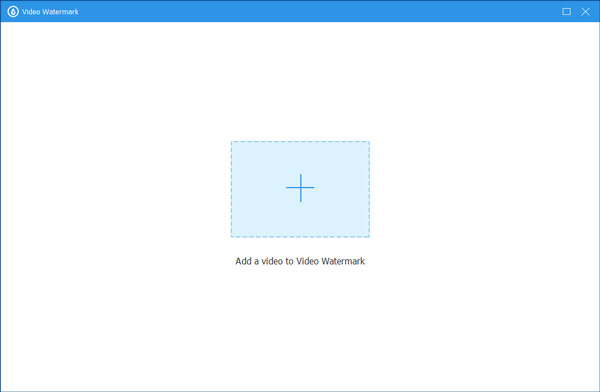
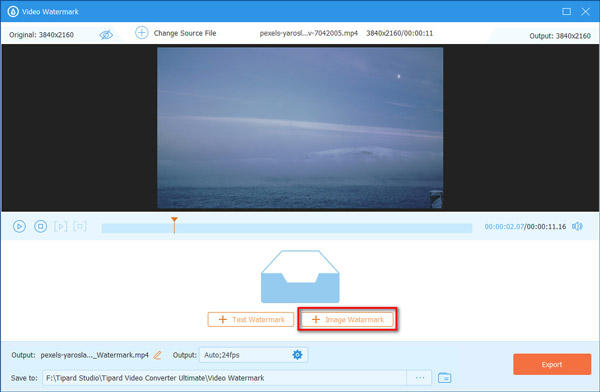
Step 1 Import Video
If you want to add the watermark to your videos to let others know that these videos belong to you, please click the Video Watermark button and import your videos by clicking the plus sign.
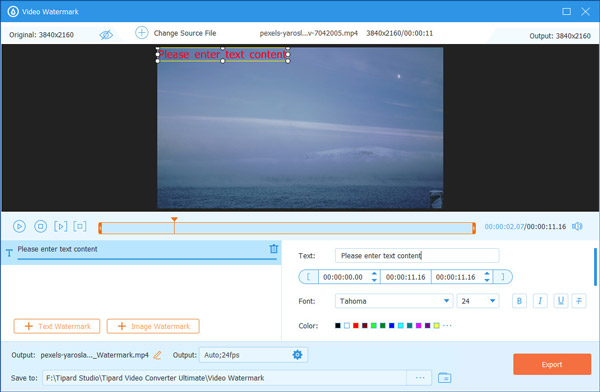
Step 2 Add Text Watermark to Video
If you want your watermark to be the form of text, you can click the Text Watermark button.
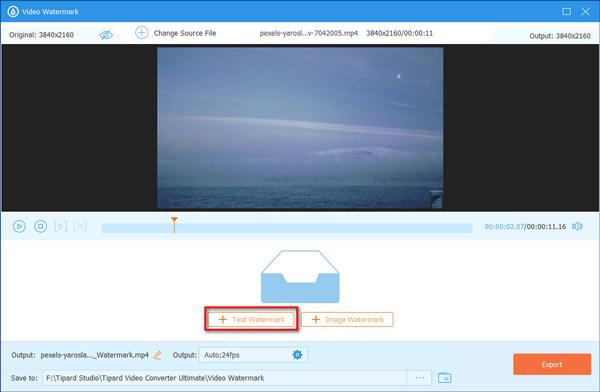
Later, you can enter the text you like, and choose the font style and the color for your text watermark.
Step 3 Add Image Watermark to Video
If you want your video to have an image watermark, please choose the Image Watermark button.
After choosing the photo, you can change the orientation, opacity, size, and top of this image here.
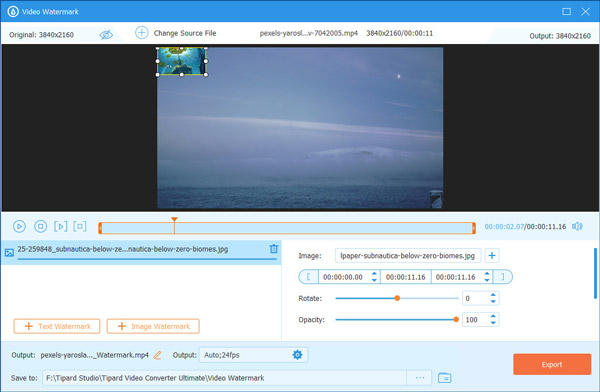
Step 4 Export Video
Finally, click the Export button to get the video with watermark.
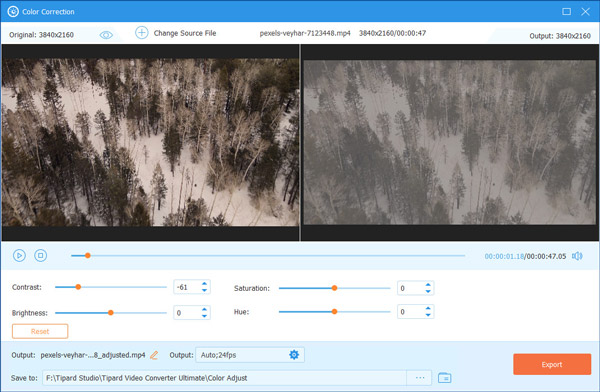
Step 1 Choose the Color Correction button and click the center plus sign to add your videos.

Step 2 Here you can adjust the Contrast, Brightness, Saturation, and Hue of your videos as you like. Then, you can click the Export button to get the video.
Step 1 To import the audio you want to reduce its file size to this tool, please select Audio Compressor and click the central plus sign.
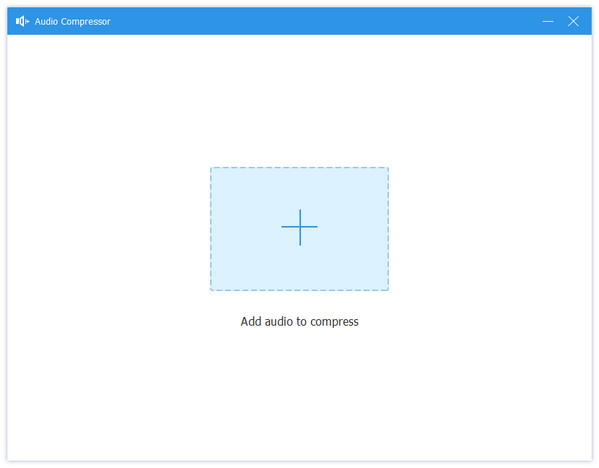
Step 2 Then you can drag the point of the Compress bar to shrink your audio based on your needs. Next, click the Compress button to export your compressed audio file.

Step 1 If you want change you image format, you can click the Image Converter button and the plus sign to add your image.
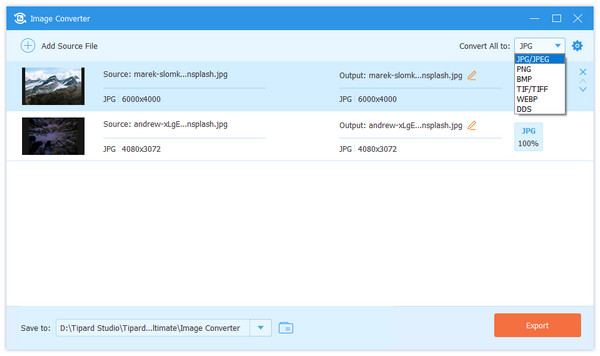
Step 2 After adding your image, you can click the drop-down button next to Convert All to for selecting the format you are going to convert to. In this tool, you can convert your image to JPG/JPEG, PNG, BMP, TIF/TIFF, WEBP, and DDS. Then click the Export button to complete.
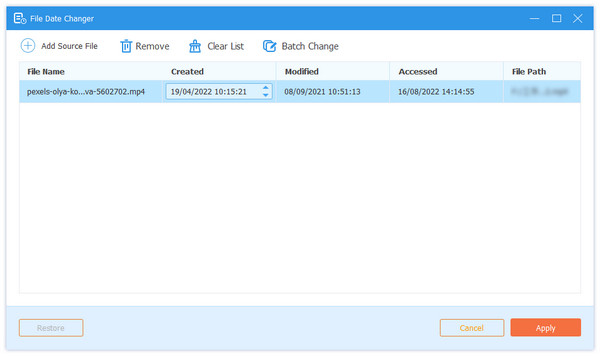
Step 1 Select the File Date Changer button and click + to add your file.
Step 2 Next, if you want to change the Created date of your file, you can click the specific date and directly change it. After changing, click the Apply button to save.