About | Privacy Policy | Terms of Use | Support | Contact Us
Copyright © 2026 Tipard Studio. All Rights Reserved.
Windows

Rip your favorite Blu-ray/DVD movies or videos to popular formats

Powerful software to play Blu-ray/DVD videos and audio

Create Blu-ray disc/folder/ISO file with your own video

Backup/Copy your favorite Blu-ray to disc/folder/iso files
Mac

Rip your favorite Blu-ray/DVD movies or videos to popular formats on Mac

Powerful software to play Blu-ray and popular video formats on Mac
Windows

Rip DVD to any popular video format quickly of full quality

Create DVD from videos and burn video to DVD/Blu-ray freely

Copy DVD to DVD disc/folder/ISO files in a 1:1 ratio
Mac

Rip DVD to any popular video format quickly of full quality on Mac

Burn or author a DVD from videos with subtitles and chapters on Mac

Copy DVD to DVD disc/folder/ISO files in a 1:1 ratio on Mac
Windows

Rip DVD, convert 4K video, edit, and upscale videos to 5K/8K

Repair broken videos with high accuracy and support many formats

Convert any video to MP3, MP4, MOV, WAV, and other 350 formats

Upscale resolution, optimize brightness and remove video noise

The easiest tool to capture screen, game, audio, etc. with high quality

Convert any 2D video to 3D video and convert 3D to 2D video

Convert 4K video to 4K/1080P and common videos

Convert TS video to various popular video/audio formats
Mac

Rip DVD, convert 4K video, edit, and upscale videos to 5K/8K on Mac

Repair broken videos with high accuracy and support many formats on Mac

Convert any video to MP3, MP4, MOV, WAV, and other 350 formats on Mac

Upscale resolution, optimize brightness and remove video noise on Mac

The easiest tool to capture screen, game, audio, etc. with high quality on Mac

Convert any 2D video to 3D video and convert 3D to 2D video on Mac

Convert 4K video to 4K/1080P and common videos on Mac

Convert TS video to various popular video/audio formats on Mac
Desktop

Rip and convert DVDs to MP3 and support other audio formats

Reset Windows Admin and Standard user account password in seconds

Accurately Convert any PDF file to Word with OCR

Convert PDF to Word, Excel, HTML and Image with OCR
Online

Easily remove watermarks from many image file formats free online

Points:0
Redeem
User Guide
Tipard DVD Ripper is an all-in-one DVD ripping software that helps you convert DVDs into enhanced video quality optimized for today's high-resolution displays, including TVs, smartphones, and tablets. It also allows you to remux DVDs to MKV or MPG while preserving the original content and structure for professional editing. With its practical and user-friendly editing features, you can further refine your DVD movies with ease. In short, it is one of the most practical DVD ripping solutions available.
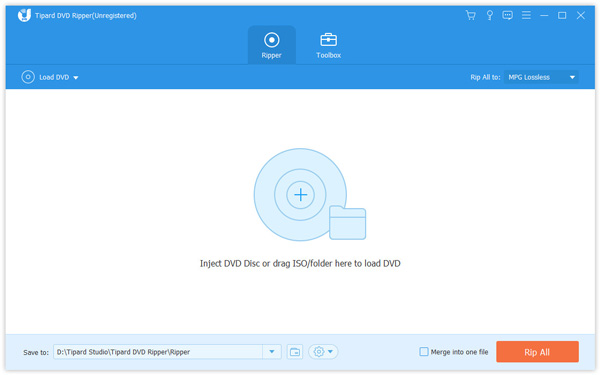
Step 1 Load DVD disc/Folder/ISO files
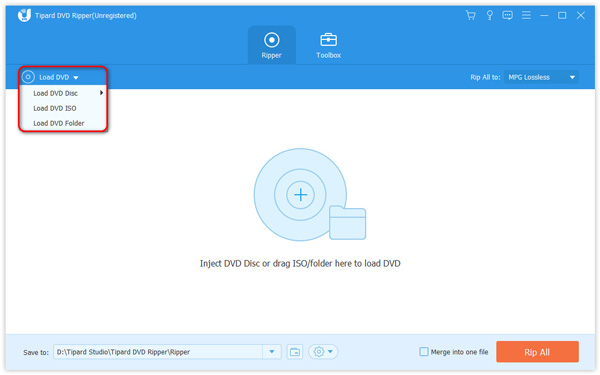
Insert your DVD into your disc drive and connect it to your computer. Click the Load DVD button to directly load the DVD. You can also click the dropdown button to select a disc drive if you have multiple drives. The dropdown list can also let you input ISO image, DVD folder, or AVCHD.
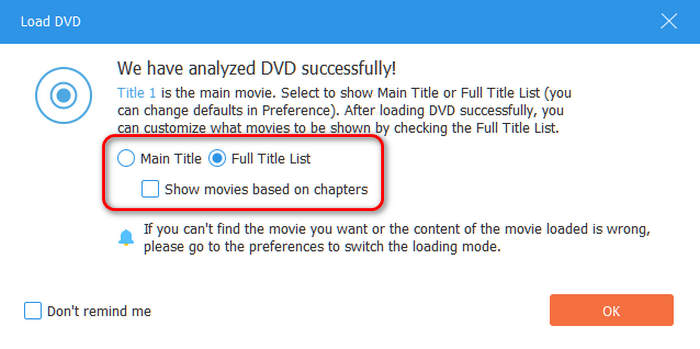
Tipard DVD Ripper can analyze each title and chapter in a DVD. You can select Main Movie or Full Title List:
Then, you'll enter the main workspace. Let's get to know each features here:
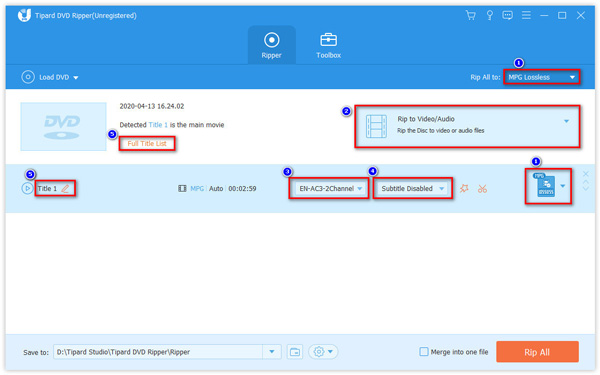
Step 2 Choose Output Format
Click the Output Format dropdown button or the format selection button on each title bar. Then, you can select your desired output format, like MP4, MOV, MKV, AVI, etc. You can also select a format preset, like HD 1080p, HD 1080p Auto Correct, and 4K Video.
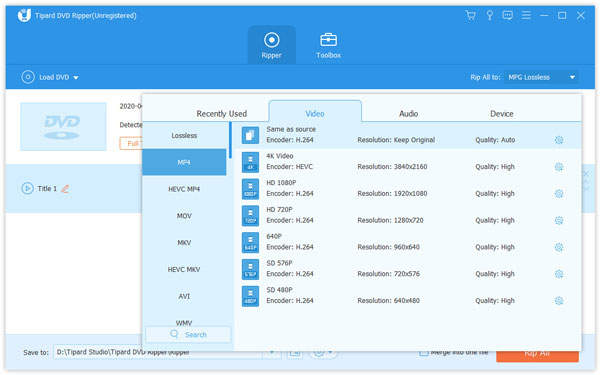
When ripping a DVD, remuxing and transcoding are different methods. Remuxing can preserves the original content and DVD structure. Although it's lossless, the DVD video parameters are really outdated today. It's mainly for editing use. Transcoding will change the DVD video parameters (including codec, resolution, frame rate, bitrate, etc.). Modern codecs, like H.264, HEVC, and AV1, can highly reduce the large DVD file size while keeping the best video quality. Also, Tipard DVD Ripper can highly upscale the DVD video definition and enhance the color via AI upscaling.
Step 3 Customize Output Format
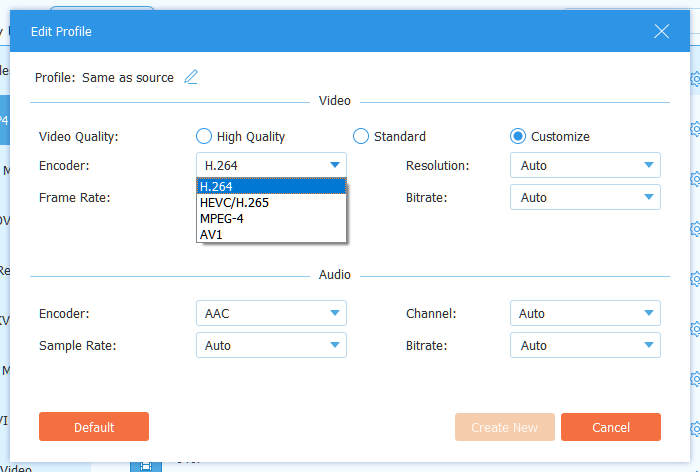
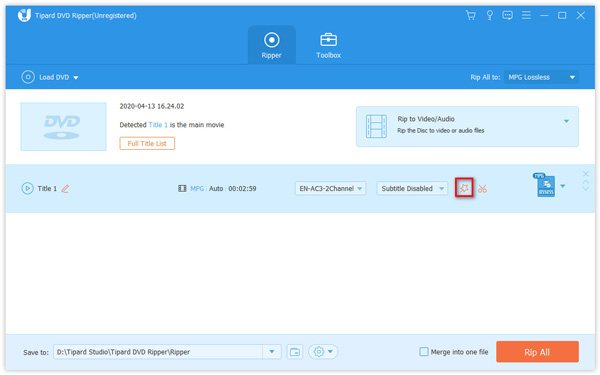
You can also customize the selected output format. Click the Custom Profile button (with a gear icon).
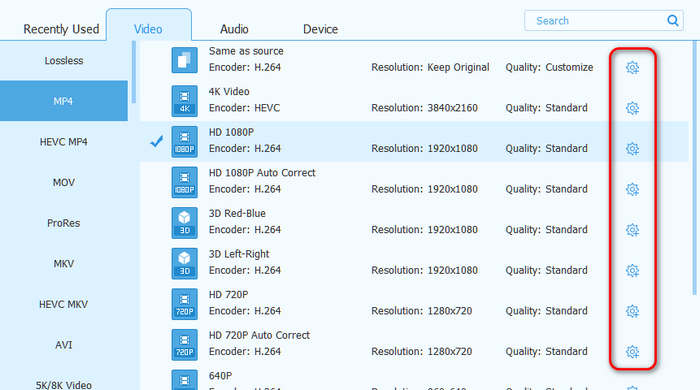
In this panel, you can adjust the video codec, resolution, bitrate, frame rate, and more. Tipard DVD Ripper provides compatible codecs for specific formats. For example, MP4 format can support H.264. H.265/HEVC, MPEG-4, and AV1 codecs.
Step 4 Rip DVD to videos
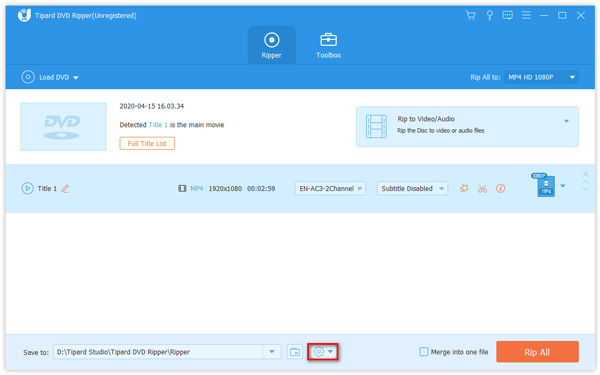
You can click the Save to button to change an output path. Then, click the Rip All button to rip your DVDs to digital foramt, ISO image, or DVD folder.
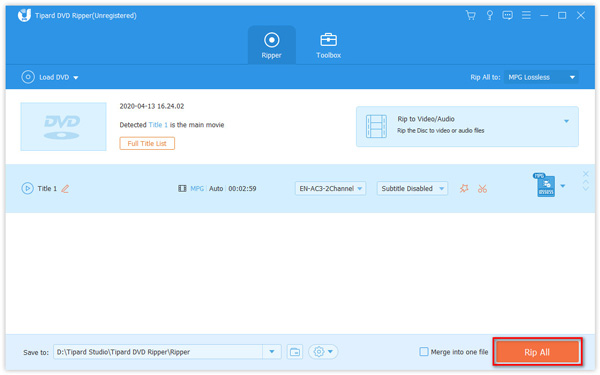
The Ripper panel has many practical features, please check them:
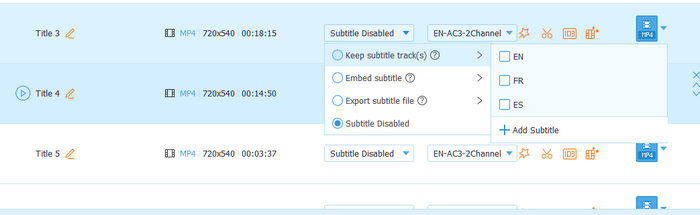
1. Manage Subtitles: You can click the Subtitle dropdown button to access many subtitle features:
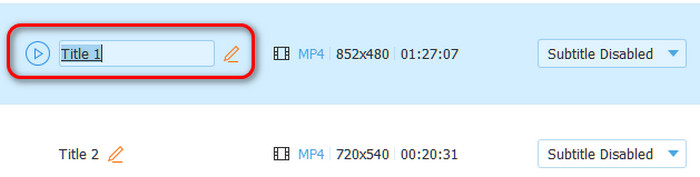
2. Change Title (Video) Name: You can change the name of each video in the list by clicking the title and entering a new name.
3. Merge DVD titles or chapters: You can toggle on Merge into one file next to the Rip All button to combine your selected titles or chapters into a single video.

With this all-in-one DVD Ripping software, you're granted to edit the video with the videos and get the most satisfying video effect. By clicking the magic stick button, the steps are followed:
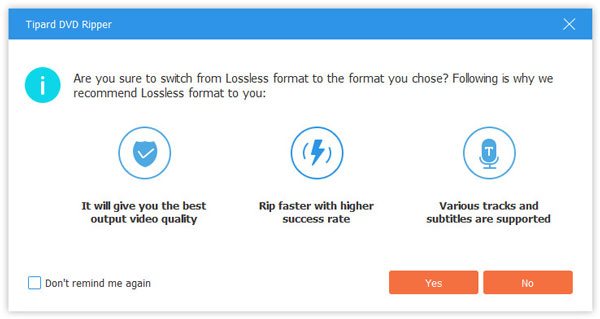
Note: For editing the DVD, you should make sure the output format is not MPG Lossless, but others.
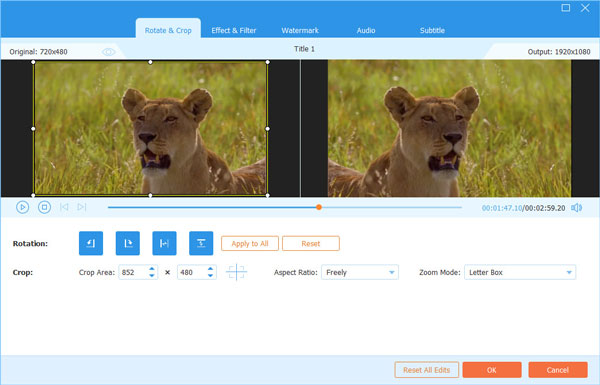
It's annoying when there are the black edges on your video. To get rid of them, you can use the "Crop" option. Please choose 16:9, 4:3, 1:1, or 9:16 as the Aspect Ratio according to your needs. You are free to drag the frame border or enter a fixed size in the Crop Area box. Also, you can adjust the position and Zoom Mode of the video frame.
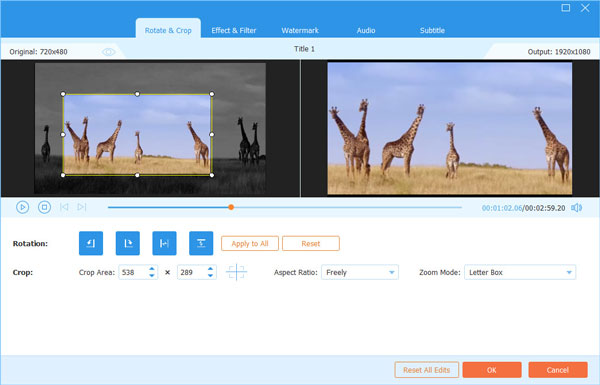
If your video has a wrong viewing angle, you can rotate the video direction to make it more enjoyable, like Rotate at 90 degrees clockwise, Rotate at 90 degrees counterclockwise, Horizontal Flip, or Vertical Flip.
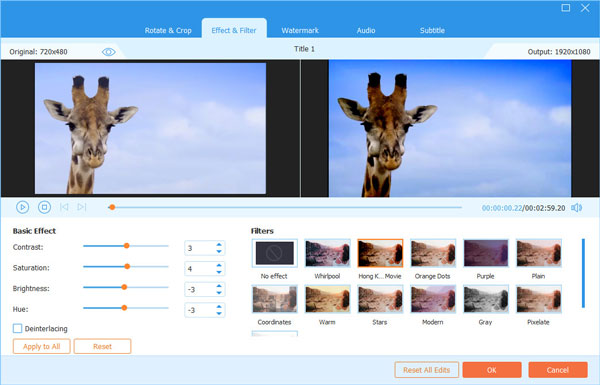
In the "Effect & Filter" editing window, you're free to adjust the Contrast, Saturation, Brightness and Hue for a perfect video effect. There are various free filters for you to choose like Whirlpool, Hong Kong Movie, Orange Dots, Purple, Plain, Coordinates, Warm, etc. What's more, you can click the horn button and drag the slider bar to adjust the volume.
You can pay attention to the Deinterlacing option. It can help you to remove the interlacing artifacts from your video.
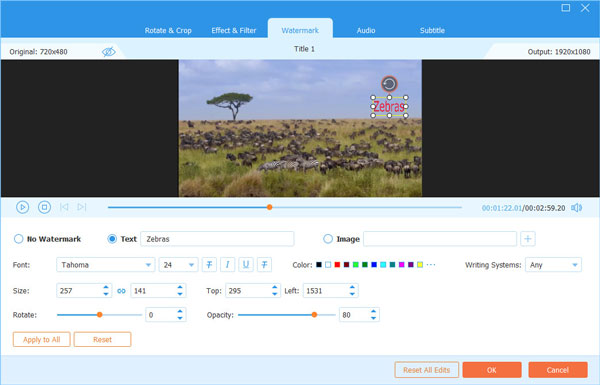
The "Watermark" option helps you to add a text or logo to your DVD file. Just check the "Text" or "Image" option to add a text/image watermark to the video. When adding a watermark, you can adjust the text font and color, text/image size, and position. What's more, you can rotate the watermark by 360 degrees or adjust the opacity/transparency to make it obvious or unobvious.
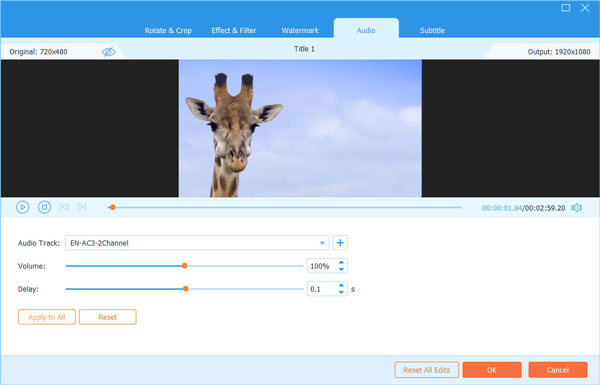
In the "Audio" section, you can select the audio track from local computer. It also lets you turn down or turn up the volume by moving the volume slider left or right. If the audio doesn't match up with the image, you can adjust the delay between the picture and sound.
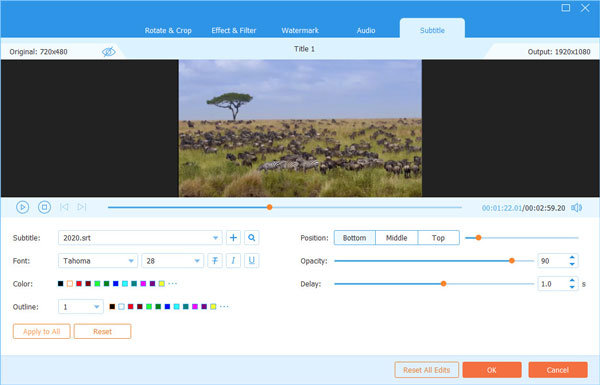
The "Subtitle" option of Tipard DVD Ripper enables you to add subtitles to your DVD. You can click the Add Subtitle(s) button to add subtitle from local. If there is no subtitle available on your computer, you can click Search Online button to download a proper subtitle from the website. You can also adjust the subtitle font, size, color, outline, position, opacity and delay.
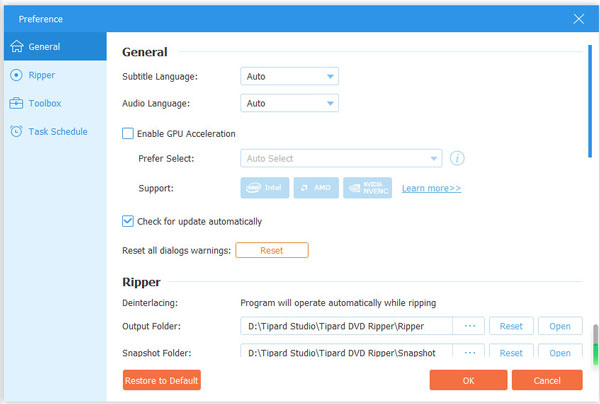
If you want to adjust more settings, you can click the gear button to open "Preference" window, you're free to adjust subtitle, audio language, ripping output folder, GIF folder, toolbox and task schedule settings.
General
In General tab of Preference, you can make settings of Subtitle Language, Audio Language, GPU Acceleration, Check for update and more. Tipard DVD Ripper adopts NVIDIA® CUDA™ and AMD® technologies, which makes the DVD ripping process at 30X faster speed than others.
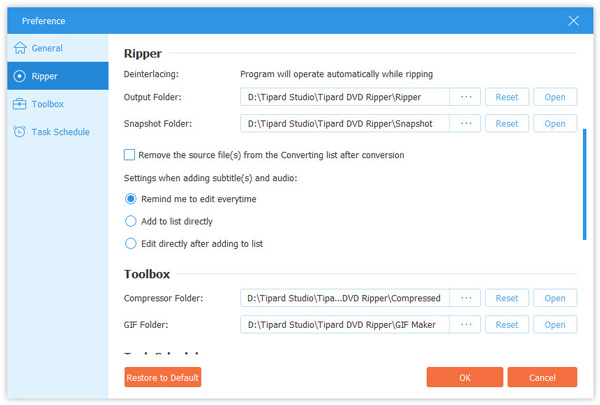
Ripper
In Ripper settings, you can adjust the Output Folder as well as Snapshot Folder. Moreover, you can change the subtitles, remove the source files or not, etc.
Toolbox
In the tab of Toolbox, you can change the output folder of compressed video or new created GIF.
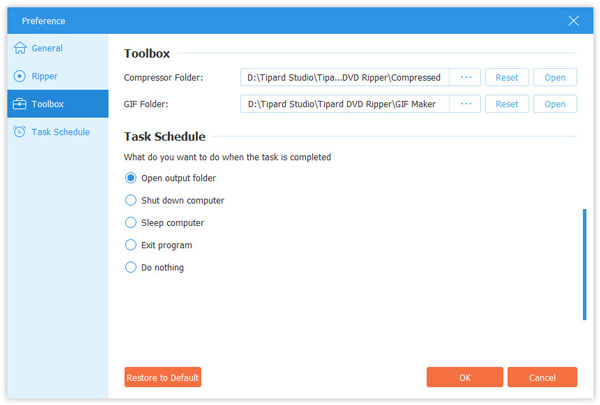
Task Schedule
Task Schedule tab enables you to choose to open output folder, shut down computer, sleep computer, exit program or do nothing when a preset task is completed.

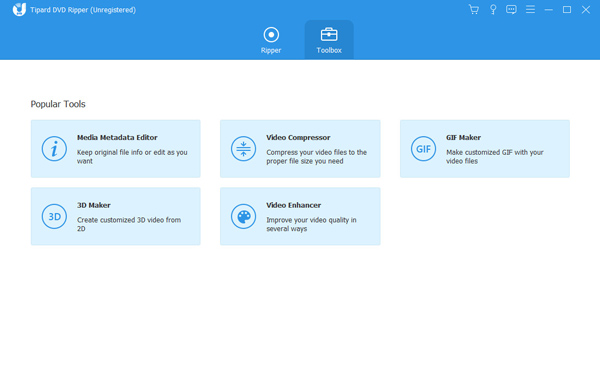
Toolbox has other features that you cannot miss from Tipard Video Converter Ultimate, where you can compress the large video file size, create animated GIF images, edit the metadata information, make 3D videos, and enhance video quality.
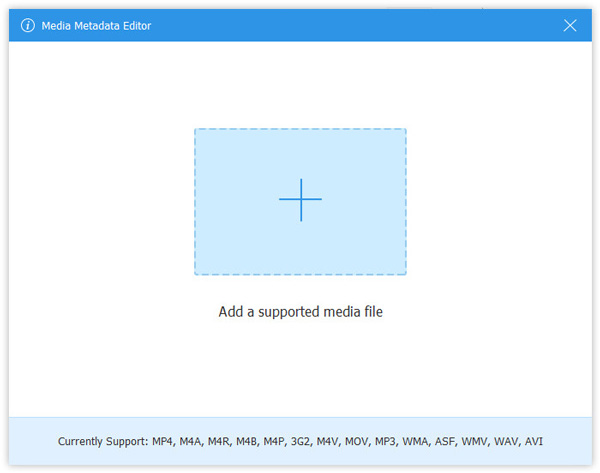
Step 1 Add media file
Click Media Metadata Editor in the Toolbox window. Click the big plus button to add the media file that you want to edit.
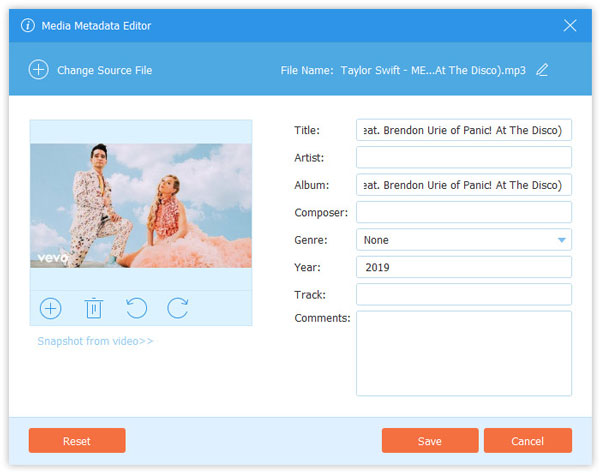
Step 2 Edit ID3 tag
Then you can edit the video or audio formation automatically. For audio files, it Auto load the MP3 tags with the information like artist, album, composer, year, track, comments, etc. You can also edit the ID3 tags as you like.
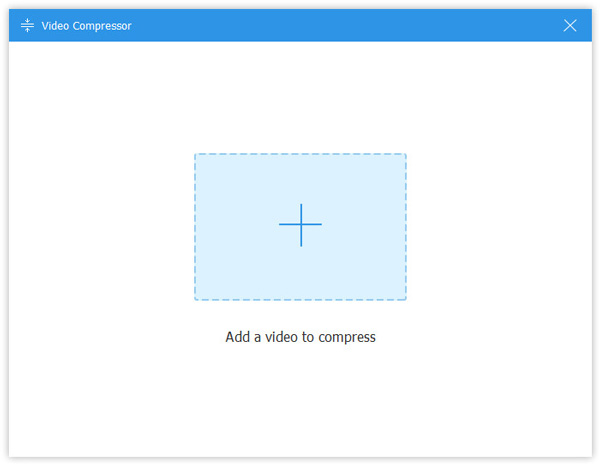
Step 1 Add large video file
Select Video Compressor in Toolbox window, and you can click the big plus button to add one video file.
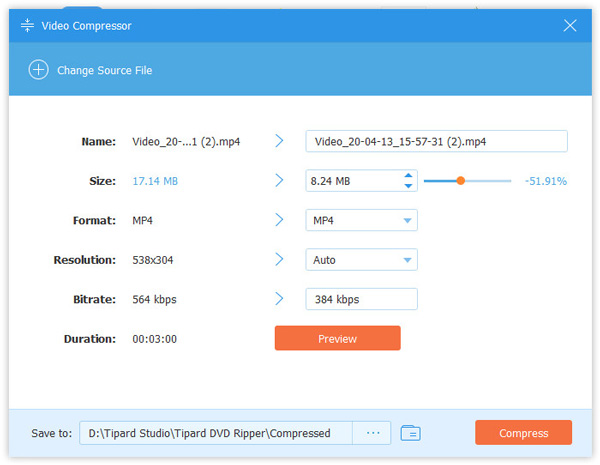
Step 2 Compress the video file
Adjust the file size by moving the slider bar or enter a desired file size. You can also change the output format and resolution. Then click the Preview button to preview the compressed video file for 10 seconds. After that, click Compress button to start compressing the video file.
Step 1 Add the video file
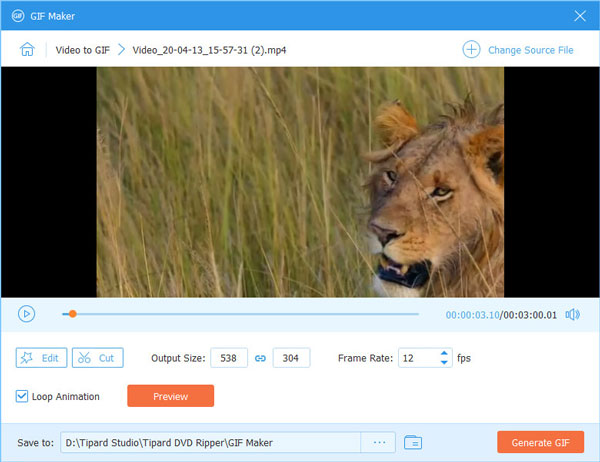
Select GIF Maker in Toolbox and click the big plus button to import one video file for creating the GIF animation.

Step 2 Create GIF from video
Here you can use the Edit button or Cut feature to cut down the long video. After that, you should set the output size, frame rate and loop animation. Then click Generate GIF button to start creating GIF from the video file. You can only preview the GIF image for for a maximum of 10 seconds
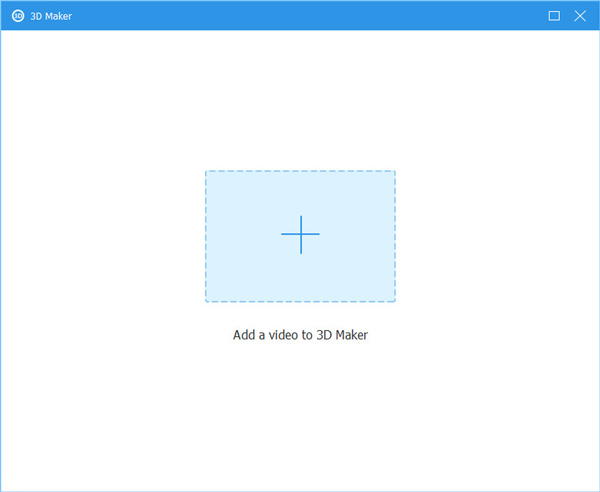
Step 1 Add video file
Please choose 3D Maker from the Toolbox window. Add the video file that you want to convert to 3D.
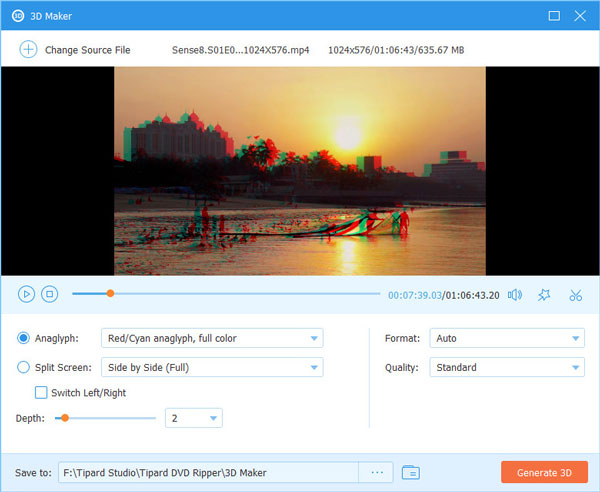
Step 2 Adjust 3D effects
There will be multiple options to help you add stunning 3D effects to your video. For example, you can change the Anaglyph to Red/Cyan anaglyph, full color. You can also split the scene to 2 parts side by side and even adjust the video depth as you need.
After the adjustment, please preview the video before you export it. If you find the changed video satisfying, click on the Generate 3D button to start the conversion.
Step 1 Add video file
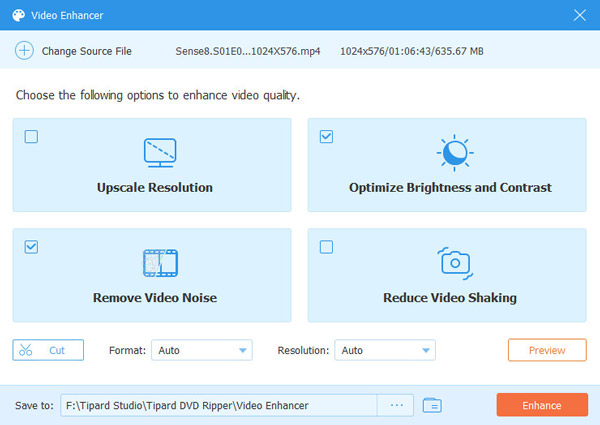
Open the Video Enhancer tool if you need to improve your video quality. Then add a video file to the enhancer.
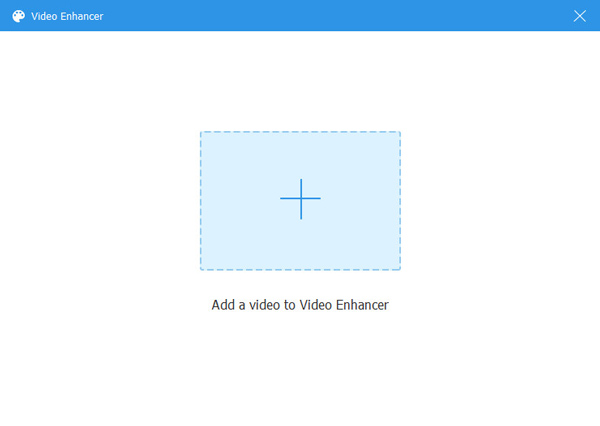
Step 2 Enhance video quality
You can use this enhancer to upscale resolution, optimize brightness & contrast, remove video noise, and reduce video shaking. Just check the box in front of the option you want to apply. Then click Enhance to enhance the video.