
Today, creating videos has become much easier than ever before due to the advanced lenses on smartphones. Moreover, video streaming platforms, such as YouTube, TikTok, and more, accelerate the popularity of videos around the world. Everyone can record, share, and post their videos. However, that brings copyright a new problem. To avoid the risk of others using your videos without permission, this article intends to talk about the video watermark.

Part 1. What Is the Watermark of Video
What is a watermark on a video? Briefly, a watermark is a simple mark placed on a video, such as a static or dynamic text or logo. It can locate anywhere on a video, telling who recorded or shared it and other information. That makes it harder for others to use the video without permission.
Moreover, some video media watermark videos are shared on their platform, like YouTube video watermark. It indicates that other platforms cannot repost these videos.
Main Purposes of Video Watermarks
1. Protect your video content.
2. Provide information about a video, like who created it.
3. Boost brand recognition and awareness.
4. Protect video content against AI.
5. Track unauthorized use.
6. Attract new followers.
Bear in mind that watermarking a video doesn’t copyright the content. In fact, when you create and record a video, you gain copyright in the creative work.
When Should You Add Watermarks to Your Videos?
1. Before sharing your videos on social media. Even if YouTube watermarks your videos automatically, you should add a personal logo or text to your videos.
2. When you make educational content, especially exclusive content for subscribers.
3. When sharing paywalled videos.
4. The videos for internal corporate communication.
5. Film, TV shows, and other commercial content.
Part 2. Add a Watermark to a Video
How to Watermark a Video on PC/Mac
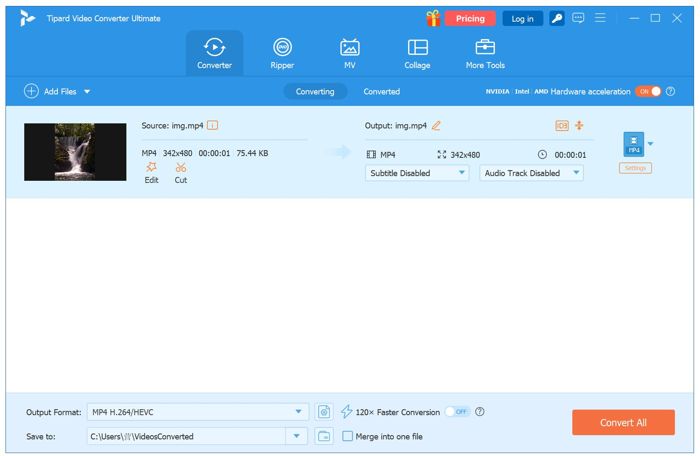
You’d better watermark your videos before you distribute them on the web. However, Windows doesn’t have a video editor or watermark editor. Fortunately, Tipard Video Converter Ultimate can meet all your needs. It allows you to apply watermarks to any video quickly.

- Add a watermark to a video with one click.
- Support both text and image watermarks.
- Offer custom options and bonus features.
- Protect video quality while applying watermarks.
- Compatible with almost all video formats.

Here are the steps to add a watermark to a video on your PC or Mac:
Step 1 Import a video
Launch the best video editor after you install it on your PC. There is another version for Mac users. Switch to the More Tools tab on the top ribbon, scroll down, and choose the Video Watermark tool. Click the Add button to open the target video from your hard disk.
Step 2 Add a watermark
Select Text Watermark if you want to add a text watermark. Type the text in the box and customize Font, size, position, color, Opacity, and other options until you are satisfied.
If you select Image, select Image Watermark, click the Add button to import the logo from your hard drive, and adjust the relevant options.
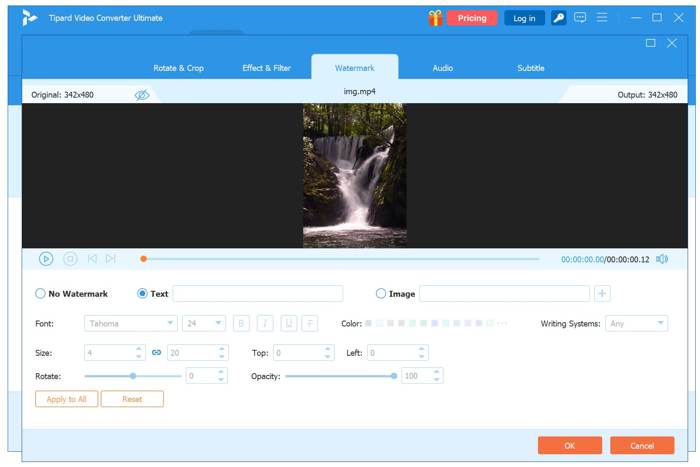
Step 3 Export watermarked video
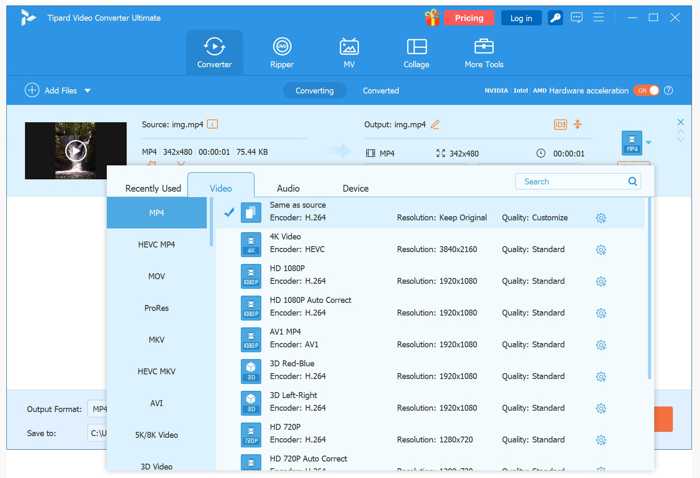
Move the watermark to the right place and preview the effect until you are satisfied. Click the Output option and select a proper video format. Then, set an output folder. Finally, click the Export button.
How to Watermark a Video on iOS/Android
If you wish to watermark a video on your iPhone or Android phone, you will need a video editor app since the Photos and Gallery apps don’t integrate related features. We use InShot as an example to show you how it works.

Step 1 Run your video editor app. You can download it from the App Store or the Play Store. InShot includes in-app purchases, but the free version is enough for watermarking a video.
Step 2 Tap the Video button and import the target video from your Camera Roll or Gallery.
Step 3 Tap the Text button on the toolbar to add a text watermark. Customize the text font, size, and color. To add a logo watermark, tap the Sticker button instead.
Step 4 Drag the watermark to the desired position and adjust the opacity.
Step 5 Once you are done, tap the Save button and export the video to your Camera Roll, Gallery, or share it on social media directly.
Part 3. Remove a Watermark from a Video
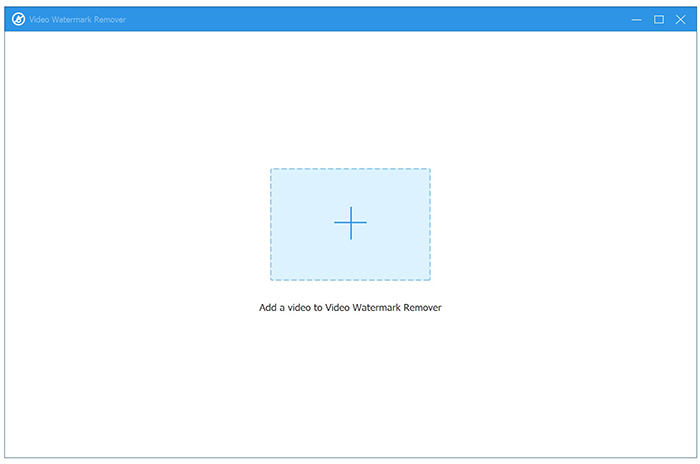
Video media automatically watermarks videos after they are uploaded. However, that may cover the content you want to view. With the video watermark remover tool in Tipard Video Converter Ultimate, you can remove watermarks from your videos.
Step 1 Import a watermarked video
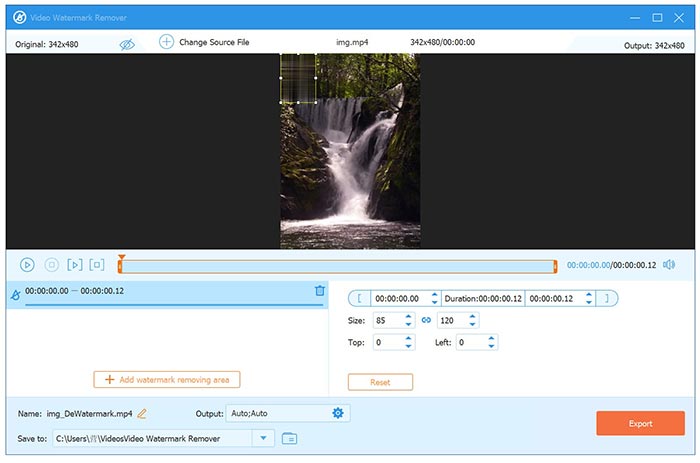
Scroll down and choose the Video Watermark Remover tool on the More Tools window in your video editor. Click the big Add button and import the watermarked video.
Step 2 Remove the video watermark
Click the Add watermark removing area button after your video is loaded. Then, enclose the watermark area on the video using your mouse. Adjust the Size, Top, and Left options to select the area accurately.
If you want to remove the watermark for specific footage, set the Starting position and Duration according to the timeline.
Step 3 Export your video
Preview the video with the built-in media player. Then, click the Output option at the bottom and set a video format or keep the original format. Select an output location from the Save to option. As long as you click the Export button, the result will be saved to your hard drive.
Conclusion
This guide explained what a watermark is on a video and other information you should know about this term. For instance, you can use a third-party video editor app to apply video watermarks without a computer. Or you can watermark your videos before sharing them using Tipard Video Converter Ultimate on your desktop. Moreover, it enables you to remove unwanted watermarks from videos. If you have other questions about this topic, please feel free to leave a message below.
More Reading


About the Author
