How to Shrink Video Size in Adobe Premiere Pro [Easy Steps]
Adobe Premiere Pro is probably the most outstanding video editing application because it offers many functions you can use to edit, enhance, and even add effects to your video. It has powerful capabilities that you can use to edit your videos professionally. But what, many video editors are not familiar with its video compressor feature. In addition, you can use this video editing software to reduce the size of your video. With that being said, we will discuss the process to compress videos on Adobe Premiere Pro.
Part 1. How to Shrink Video Size Using Adobe Premiere Pro
Although many people have difficulty using this excellent video editing app, many professionals prefer using Adobe Premiere Pro to edit videos. Also, it is worth using because it can indeed produce satisfying videos. This part will show you the easiest steps to compress videos using Adobe Premiere Pro.
How to compress video files using Adobe Premiere Pro:
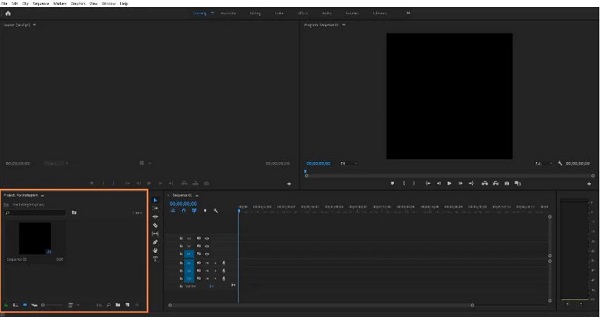
Step 1On your computer, download the Adobe Premiere Pro. Then, follow the installation process then open the program on your device. Create a new project on the main interface and start a new sequence.
Step 2And then, double-click the Project window. Then, drag-drop the video you want to compress on the import box. You must drag the clips from the Project window to the Timeline of the app at the lower-right part of the interface.
Step 3Next, click the Keep existing settings button located at the Clip Mismatch Warning box if it appears.
Step 4Make sure the video you try to compress is selected on the Timeline. Then, go to File > Export, then click the Media option. And then, scroll down and drag the Target Bitrate [Mbps] slider to the left side to reduce the size of your video. Note that the lower the value, the more compressed it becomes.
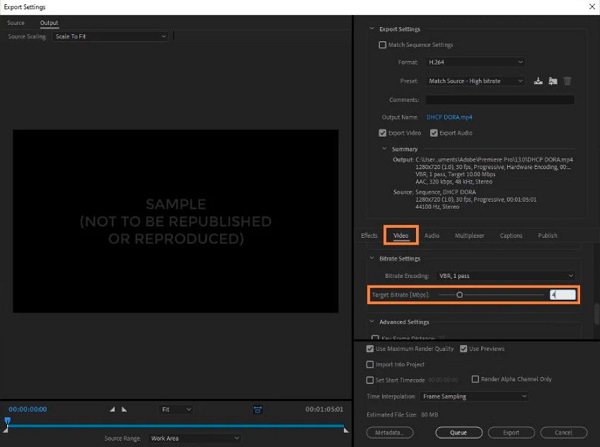
Step 5Finally, you will see the reduced video size on the Estimated File Size at the bottom part of the interface. And below that, click the Export button to compress your video.
And that is how to compress video on Adobe Premiere Pro. Well, it is somehow challenging to compress files with Adobe Premiere Pro. You need to master it first before you can get the hang of it. So, if you are searching for a video compressor that is easier to use, the next part might be the solution you are looking for.
Part 2. Best Alternative to Adobe Premiere Pro
Although Adobe Premiere Pro produces fantastic outputs and can compress your files amazingly, it is a subscription-based product, meaning you need to pay monthly or annually to use it. Therefore, we found an alternative that you can use to reduce the size of your video. Read this part all-inclusively to learn how to compress videos using the ultimate video compressor applications.
1. Tipard Video Converter Ultimate
Tipard Video Converter Ultimate is a downloadable video compressor tool that you can download on all media platforms, including Windows, Mac, and Linux. Its video compressor feature allows you to compress files by adjusting your video's size, format, and resolution. Moreover, it supports all file formats, such as MP4, AVI, MOV, VOB, WMV, M4V, MKV, and 500+ more formats. This tool is not just a video converter or compressor tool; it has many advanced editing features, including a video watermark remover, video trimmer, video reverser, GIF maker, and more. What's even great about this application is its user-friendly tool, which has a straightforward user interface. Also, it has a fast compression process, which many users find very convenient. So, if you want an easier method to compress your videos, follow the steps below.
Alternative steps for how to compress videos on Adobe Premiere Pro:
Step 1First, download the Tipard Video Converter Ultimate on your computer by clicking the Download button below for Windows or Mac. Once it is downloaded, open the app on your device.
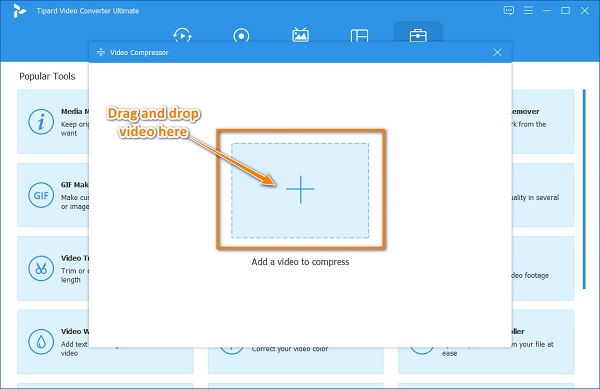
Step 2Then on the software's main interface, go to the Toolbox panel, and click the Video Compressor feature.

Step 3To upload the video you want to compress, click the plus (+) sign button or drag and drop the video from your computer files to the + sign box.
Step 4On the next interface, you will have the option to adjust your video's size, format, or resolution. In this guide, we will adjust the size of your video. To do that, click the up/down arrow button or move the slider to the left to reduce the size of your video.
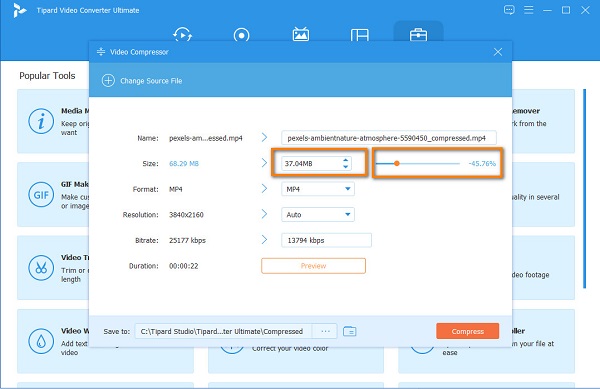
Step 5Lastly, you can preview your video before compressing it to see the changes made. Then, click the Compress button once you are okay with the output.

2. Media.io
Media.io is an online video compressor that can reduce the size of your video. It supports the most standard file formats, such as MP4, AVI, MOV, and MKV. In addition, you can choose the compression method you want to use for your file. You can choose between file size or variable bitrate. What's more, you can change the Format of your video to make it smaller.
Furthermore, it is accessible on almost all web browsers, including Google, Firefox, and Safari. You can also adjust your video's resolution to reduce its size. But the downside of Media.io is that it has many pesky ads that might disturb you. And since it is an online app, it depends on the internet how fast your compression process will be.
How to compress videos using Media.io:
Step 1Open your browser and type Media.io on the search box. Then on the main user interface, click the Choose Files button to upload the video you want to compress.
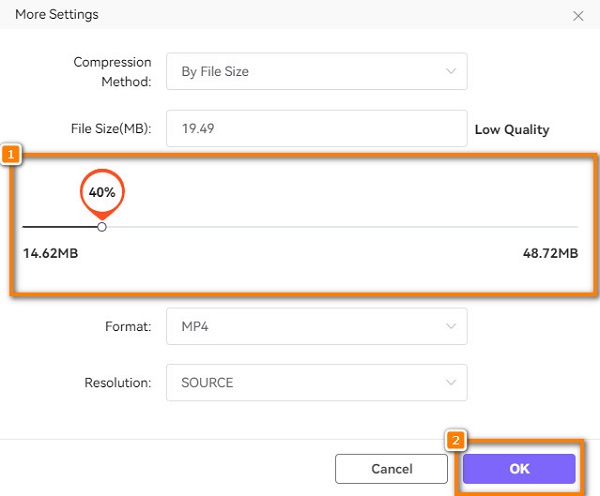
Step 2And then, click the Settings icon to select the Compression Method you want to use for your video. Then, adjust the slider to the percentage you prefer. It is recommended to adjust it to 50% or lower. Click OK to save the changes.
Step 3Click the Compress button for Media.io to start compressing your video. Then, wait for it to finish, and that's it!
Part 3. FAQs about How to Compress Videos Using Adobe Premiere Pro
How do I resize a frame in Adobe Premiere?
Select the sequence on the Project Window panel, then go to Sequence/Sequence Settings. And then, change the editing mode, then select CustomNow to change the frame size of your video.
Does Adobe Premiere Pro support all file formats?
Although Adobe Premiere Pro does not support all file formats, Adobe Premiere Pro supports the most popular multimedia format, such as AVI, MP4, MXF, VOB, ASF, WMV, and more.
Is Vegas Pro better than Adobe Premiere Pro?
Some people prefer using Sony Vegas Pro because it has a simpler user interface. While Adobe Premiere Pro has a more professional software interface, beginners cannot use it easily.
Conclusion
Now that you know how to compress video on Adobe Premiere Pro, we hope that you can now work independently. By consistently using Adobe Premiere Pro, the time will come when it will be easy for you to compress videos using this tool. But if you want to compress videos easily, many people recommend using Tipard Video Converter Ultimate.