
Adobe Premiere is an advanced software that enhances your videos using basic and advanced features. One of its remarkable features is that it combines multiple videos smoothly. This way, no matter how many clips you want to combine, it will give you a fantastic long-form video output. Are you interested in using this feature to merge your videos? In that case, you must read all the information from this tutorial. We are here to give you the most effective methods to combine videos using Adobe Premiere software. Without anything else, come here and learn how to merge videos on Adobe Premiere.

Part 1. How to Merge Videos using Adobe Premiere Pro
When using the Adobe Premiere Pro software, there is no doubt that you can get your desired result after the editing process. Using the Nest feature, you can effectively join multiple clips and make a single output. Aside from that, it has a smooth merging process, making it a perfect program to finish the task. The best part is that you can combine more than two videos. If you have numerous clips that you want to merge, consider using Adobe Premiere Pro. It is also capable of providing more editing features. The software allows you to compress a video to Premiere, trim, cut, add effects, transitions, and more. The only drawback is that it can only offer a 7-day free version. Then, you must get the pro version to access all the features continuously. To learn how to merge videos on Premiere Pro, see all the steps below.
Step 1Download and install Adobe Premiere Pro on your computer. After that, start launching it to begin with the video merging process.
Step 2Afterward, go to the File > Open option to add all the videos you want to combine.
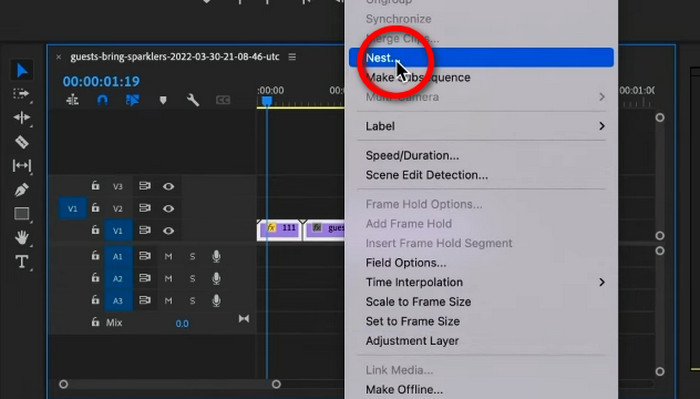
Step 3Then, you can insert the video in the Timeline section. After putting all the videos, highlight them and use the right-click on your mouse to hit the Nest feature. After hitting the feature, you will see that the videos will become a single file.
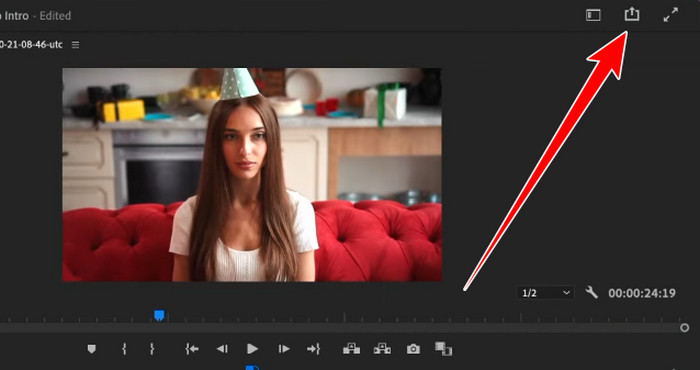
Step 4Once you are satisfied with the result, hit the Export button above. With that, you can now watch the edited video on your computer.
Part 2. How to Merge Videos using Adobe Premiere Pro CC
Another professional-grade program that can help you join multiple videos is Adobe Premiere Pro CC. The "CC" stands for Creative Cloud, the subscription-based service of Adobe Premiere. For additional information, CC is the same as Adobe Premiere Pro but is included in the Creative Cloud suite. Also, it can offer more features than you imagined. It can crop video on Premiere, adjust the color, cut unnecessary parts, and more. The only drawback here is that the plan is expensive. Plus, since it is a professional-grade video editor, it has a complicated layout, which is unsuitable for beginners. Follow the instructions below to learn how to merge videos on Premiere CC.
Step 1Download the Adobe Premiere Pro CC on your computer. Then, you can add the videos you want to merge by hitting the File > Open section.
Step 2After that, you will see all the videos from the left interface. Drag all the videos to the Timeline section.
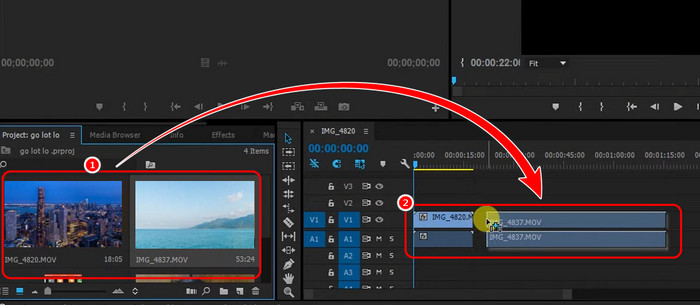
You can also arrange each video based on your preferred area.
Step 3You can now start saving the merged video by clicking the File > Save as option from the top interface.
Part 3. How to Merge Videos using Adobe Premiere Rush
Adobe Premiere Rush is also helpful for smooth video merging. What we like about the software is its user-friendly design, which all users, especially beginners, can navigate. Plus, you can access this on both your computer and mobile device, making it more convenient for all users. Aside from video merging, you can also do a lot of tasks, such as video cropping, trimming, cutting, and more. Thus, to join multiple clips effectively, see all the steps below.
Step 1Install Adobe Premiere Rush on your computer. Then, click the Create A New Project button from the main interface and add all the videos you want to combine.

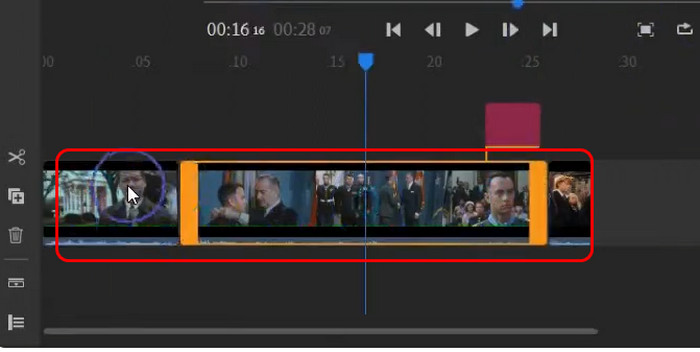
Step 2Go to the Timeline section to see all the videos. You can now organize the video based on your preferences. You can also use the Trimmer tool to trim unnecessary parts from the video.
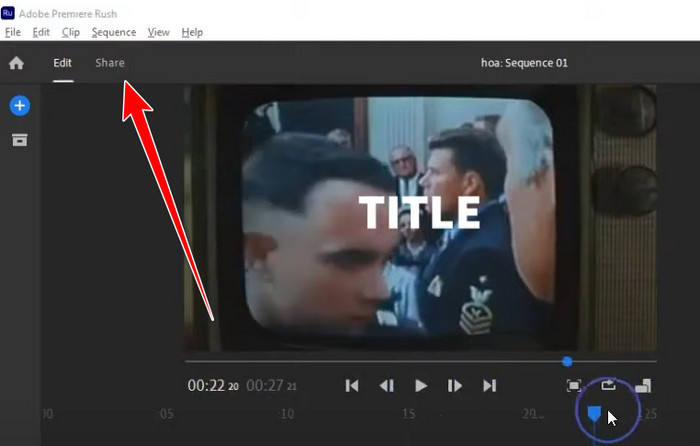
Step 3Once you finish the procedure, hit the Share button above to save the combined video on your computer.
Part 4. Easiest Way to Merge Videos
Adobe Premiere is challenging to operate, especially for non-professional users. It has a complicated interface that is confusing for some users. So, if you want to merge videos more easily and quickly, the best program to use is Tipard Video Converter Ultimate. This program can make you feel at ease since it can give you an understandable user interface. It can even let you add multiple videos regardless of size and format. Plus, you can enhance each clip since the software offers various video editing functions, such as cropper, splitter, trimmer, transitions, effects, filters, text, and more. The best part here is that its pro version is cheaper than Adobe. So, if you want to merge videos using this software, follow the simple instructions below.
Step 1Access Tipard Video Converter Ultimate. You can download it on your Mac and Windows computers. After that, start launching it to begin the process.
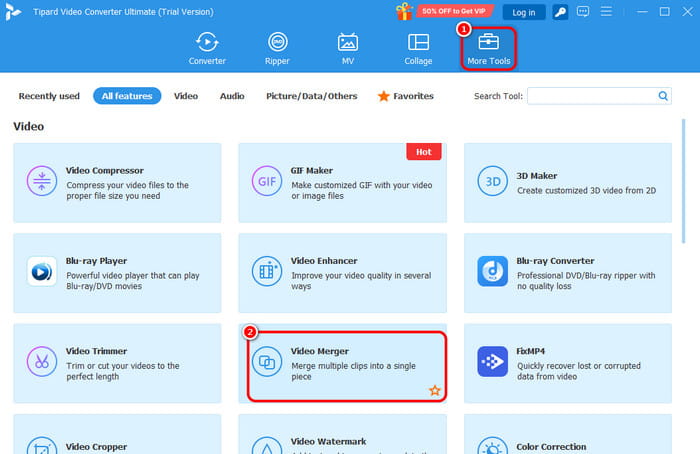
Step 2Proceed to the More Tools section and hit the Video Merger feature. Tick the Plus button to add all the videos you want to combine.
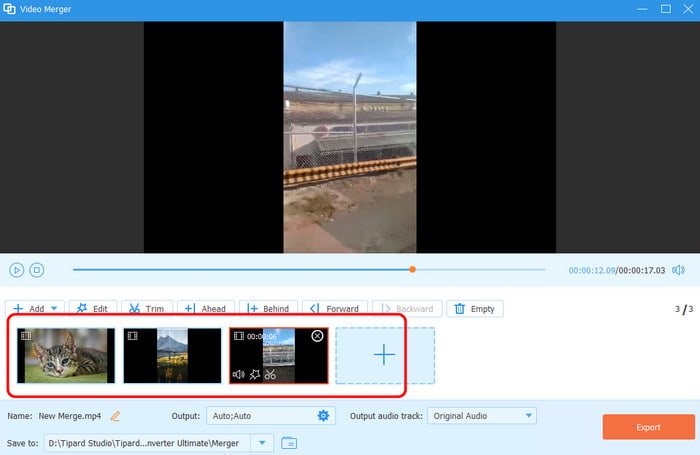
Step 3Once the videos are on the interface, you can arrange them based on your preferred order.
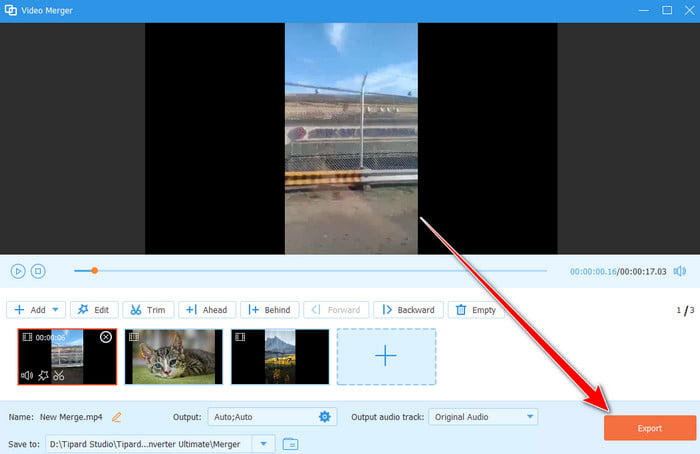
Step 4If you are done merging all the videos, click the Export button below to export and save the video.
Part 5. Troubleshoot Adobe Video Merging Issues
When using Adobe, there are times when you encounter issues. So, come here and see all the problems and possible solutions you can use.
Lag During the Editing Procedure
You might encounter this issue using a computer with poor specs. As we all know, Adobe is resource-intensive. The best solution is to ensure you have the minimum system requirements when using Adobe software.
Export Problems
The best solution to this issue is to check the Export setting. Ensure the export settings align with your source video, including frame rate, resolution, codec, and more.
Merged Video Out-of-Sync
If the combined video is out of sync, the best thing to do is check the frame rate. A mismatched frame rate can cause video sync issues.
Now, if you encounter one of these issues, you can use the provided solutions to deal with your problem.
Conclusion
There you have it! If you want to learn how to join videos on Adobe Premiere successfully, you can follow all the instructions in this article. Plus, if you are a beginner and prefer a more straightforward process, access Tipard Video Converter Ultimate. With this program, you can merge videos easily and quickly. It is also cheaper than Adobe, making it more affordable to all users.
More Reading


About the Author
