How to Improve Your Video Quality in Premiere Pro
Suppose you do not like using a regular video editor program anymore because you do not get an excellent result. This article will teach you how to improve video quality in Premiere Pro. Moreover, it will present you its offers, functions, and primary features so that you will know its capabilities along with the basic steps on how to maneuver it effectively.
Furthermore, this article will introduce the best alternative to Adobe Premiere Pro, the Tipard Video Converter Ultimate. This software comes with excellent features, especially in improving the quality of your videos by using the Video Enhancer feature. Do not worry because it will also guide you along the process of enhancing the quality of video using this video converter and editor program.
Part 1. How to Improve Video Quality in Premiere Pro
Adobe Premiere Pro is one of the most excellent video editor software in the market. The good news is that it will enable you to improve the quality of your video and movie files. It also has a free version that lets you utilize its functions, features, and many more. This article will provide you with the specific capabilities of Adobe Premiere Pro, such as how to fix out-of-focus footage, stabilize shaky footage, and how to fix overexposed footage. Therefore, follow the steps below of each function.
Fix Out-of-Focus Footage
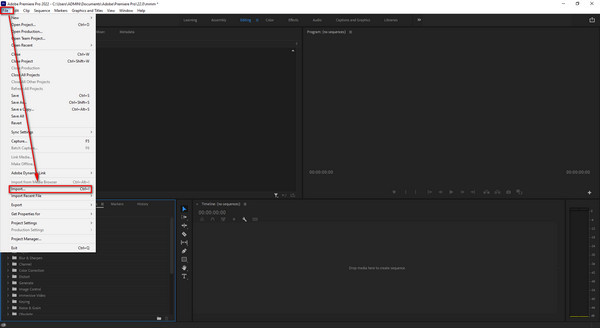
Step 1Import a video file by clicking the File button selecting the Import to choose a video file from your folder.
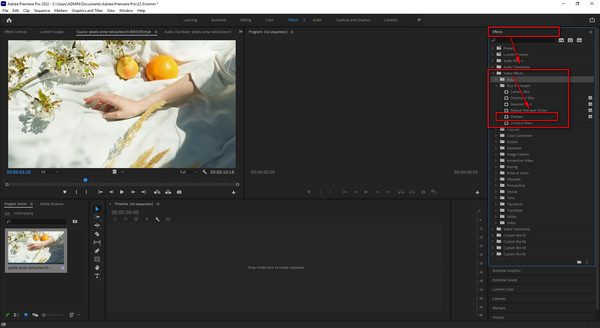
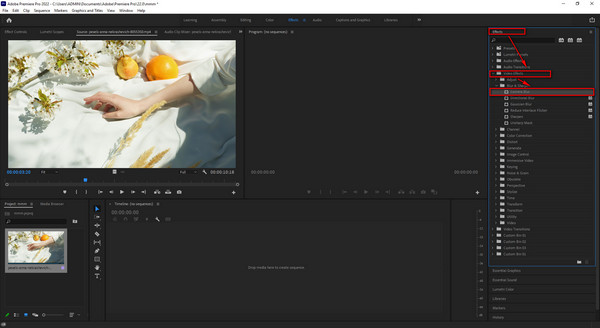
Step 2Then click the Effect section and go directly to Video Effects. After that, hit the Blur and Sharpen tool, then click the Sharpen option.
Step 3Lastly, click the Export symbol in the left-side end of the interface to save the video file.
Stabilize Shaky Footage
Step 1After uploading a file. Go to the Effects setting, hit the Video Effects, select the Blur and Sharpen, then choose Camera Blur to stabilize shaky footage.
Step 2At last, you can now export your video file to your computer's file folder by clicking the Export button at the above-left corner of the screen.
Fix Overexposed Footage
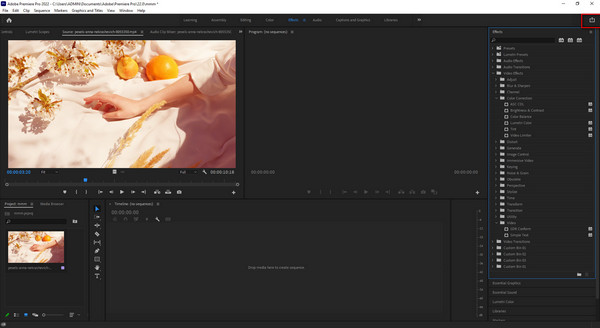
Step 1Once you upload a file, you can click the Effects option on the left side of the interface. Then, select the Video Effects and go directly to the Color Correction setting. Finally, click the Brightness & Contrast setting to fix overexposed footage.

Step 2Finally, you can save the new output by clicking the Export icon on the upper-left side of the screen.
Part 2. All-in-One Premiere Pro Alternative to Enhance Your Video in One Click
Next, if ever Adobe Premiere Pro is not enough to enhance the quality of your video files. There is still an outstanding possibility to achieve what you desire. That is why we also present another option besides Adobe Premiere Pro.
Tipard Video Converter Ultimate is the most reliable alternative to Adobe Premiere Pro. We all know that using a video editing program that offers editing tools is good. This software does possess that kind of element. Besides, it has a Video Enhancer feature that enables you to remove video noise, reduce video shaking, optimize brightness and contrast, and upscale video resolution. So, do not neglect using this program because your videos will automatically improve their quality within just a few clicks.
Furthermore, you can evaluate the efficiency of Tipard Video Converter Ultimate as we provide you with its key features. In addition, you can do all the procedures written below to operate the software efficiently.
Primary Features of the Tipard Video Converter Ultimate:
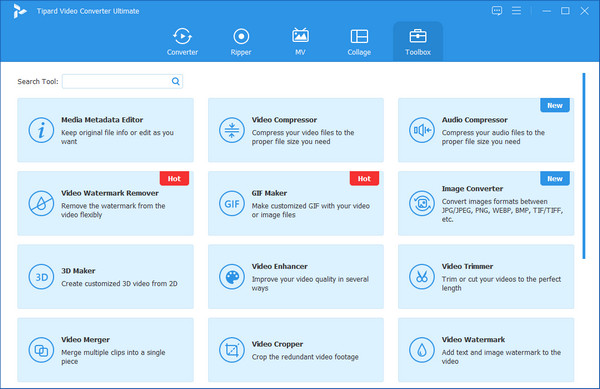
- 1. It provides a Toolbox with 3D and GIF maker, Video Speed Controller, Media Metadata Editor, Video Compressor, Video Merger, and many more options.
- 2. It offers a freed download version.
- 3. It lets you create your music video with various themes and templates.
- 4. It can convert video files into popular file formats.
- 5. It can convert regular videos to 8K/5K/4K/HD videos.
- 6. It has a GPU acceleration.
Step 1Install Tipard Video Converter Ultimate and select the Video Enhancer tool
First, look for Tipard Video Converter Ultimate on your browser's search bar and go to the main website. Then, click the download button to start the installation. After that, please open it and go directly to the Video Enhancer by clicking the Toolbox.
Step 2Import a Video File from your File Folder
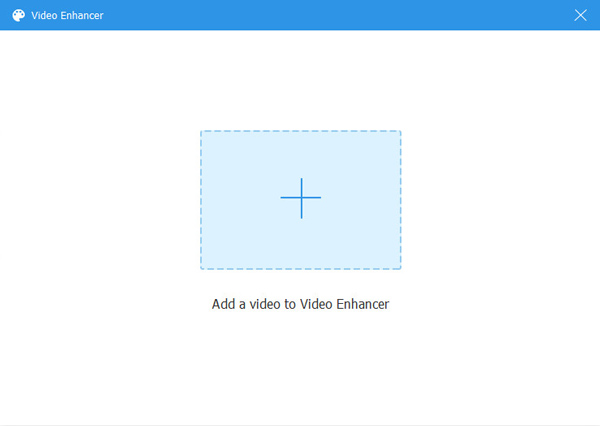
You will encounter a new screen once you click the Video Enhancer feature. To import a video file, click this icon (+) at the middle of the screen.
Step 3Check all the Boxes next to Each Option
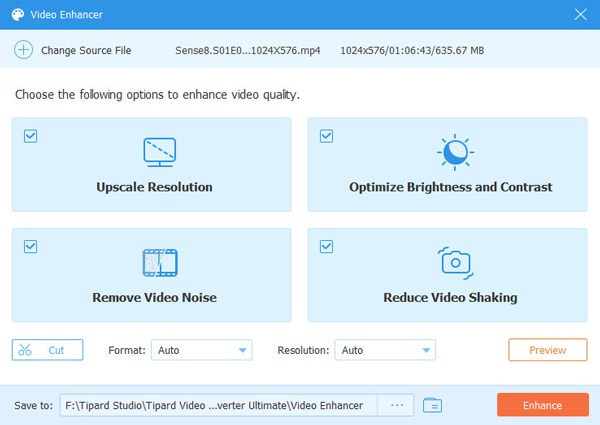
After importing a video, the software will provide another screen with different options. Tick all the boxes beside each option, and it will automatically improve the quality of your video.
Step 4View Final Modifications and Save Video
If you have already made all of your tweaks, click the Preview button to see the final look. If you now like the video, click the Save to button to find a folder for the video file, then click the Enhance button to save it to your computer's file folder.
Step 5Playback New Video Output
After saving the improved video file, you can now seamlessly playback it using the Tipard Video Converter Ultimate.
Part 3. FAQs of How to Improve Video Quality in Premiere Pro
Is it possible to export Adobe Premiere Pro videos to MP4 format?
Good thing, yes. You can export your Premiere Pro videos into MP4 file format by simply choosing the H.264 or H.265/HEVC codec to ship.
Why do videos lose their quality after saving them in Premiere?
This scenario happens not only in Premiere Pro because there are also editing programs that recompress the videos after saving them. Consequently, it has a great possibility that quality loss will occur.
How can I export a video file to Premiere Pro from Adobe After Effects?
Using Adobe After Effects, go to the Composition, then click the Add to Adobe Media Encoder Queue. Click the Output File when the Media Encoder is open. After that, link in the queue to change the settings.
Conclusion
At last, you can now better understand how to improve video quality in Premiere Pro without any confusion. Therefore, we expect you to follow all the procedures to address your issues correctly. You can also utilize Tipard Video Converter Ultimate if Adobe Premiere Pro is not that good for you. Thus, do not also forget to do all the steps to operate it. Indeed, please broadcast this information to your colleagues to help them improve video quality.
In addition, if you have any additional problems, please contact and message us. Consequently, you can be confident that we will not ignore you.