
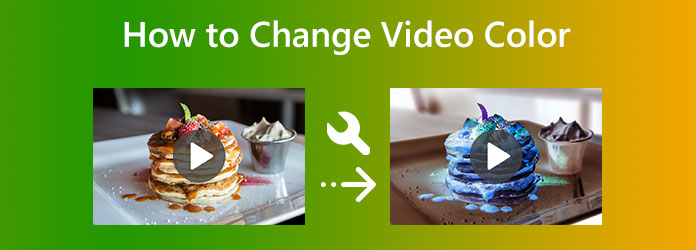
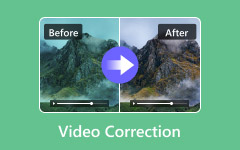
Changing colors of videos becomes essential the moment you realize your footage looks dull, mismatched, or completely off from the mood you want. Whether you are restoring old clips, fixing incorrect lighting, or adding creative effects, adjusting colors can instantly transform the overall impact and make your video look polished and intentional.
Part 1. Quick & Easy Color Changes
Method 1: Using Tipard Video Converter Ultimate
Tipard Video Converter Ultimate is a powerful all-in-one editing and conversion tool that provides ease in dealing with such visual enhancements as fast color adjustments. No need to be a pro and edit footage with skills, as the program is designed to keep that simple with multiple built-in filters, manual color control, and real-time preview.
- Apply preset color filters instantly, like warm, cool, soft, or cinematic looks.
- Adjust brightness, contrast, hue, and saturation with simple sliders.
- Preview color changes in real time for accurate results.
- Export your edited video in MP4, MOV, MKV, FLV, and 500+ formats with no quality loss.
- Edit and export up to 60× faster with full-quality output.

Step 1 Download and Install
Go to the official website and download Tipard Video Converter Ultimate for Windows or Mac, then install it according to the on-screen instructions.
Step 2 Upload Video
After launching the software, click Add Files located at the upper-left corner to upload your video.
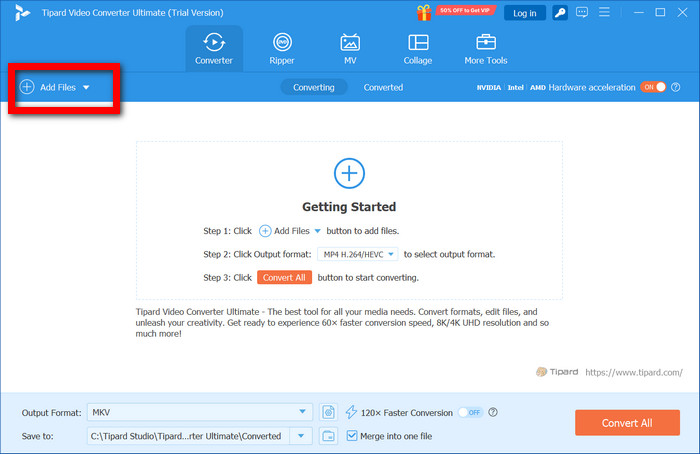
Step 3 Launch the Color Adjustment Tools
Click on the Edit button, then go to the Effect & Filter tab. This is the area with all the global color and filter controls.
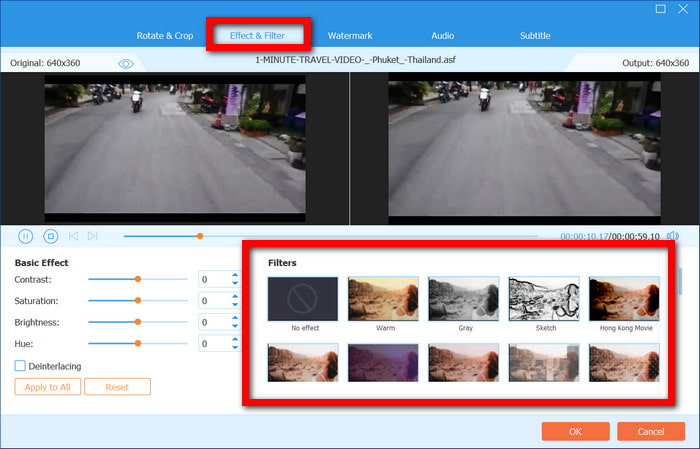
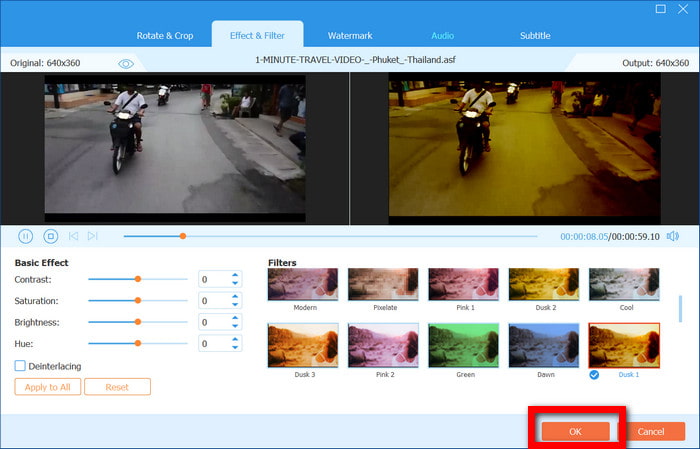
Step 4 Change the Video Colors
Now you can either choose a preset filter or make your own adjustments, such as brightness, contrast, saturation, and hue. You can see the effect in the real-time preview window, which is helpful.
Step 5 Confirm the Changes
Press OK if you are satisfied with the adjustments.
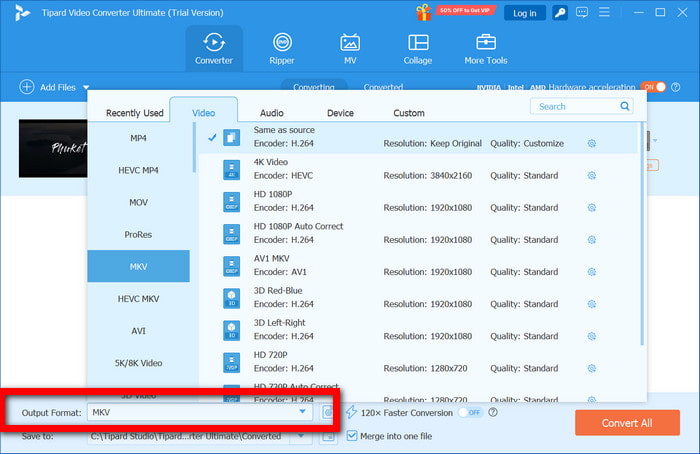
Step 6 Choose the Output Format
Press the Output Format dropdown and select the video format you would like to have.
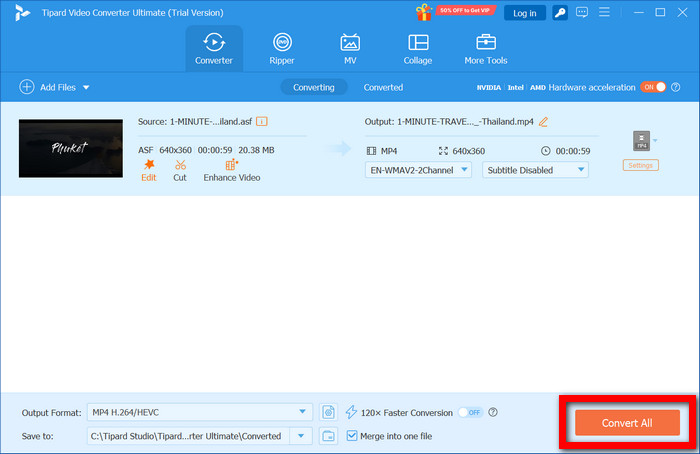
Step 7 Export Edited Video
Choose a destination folder and hit Convert All to preserve a video in enhanced color and original quality.
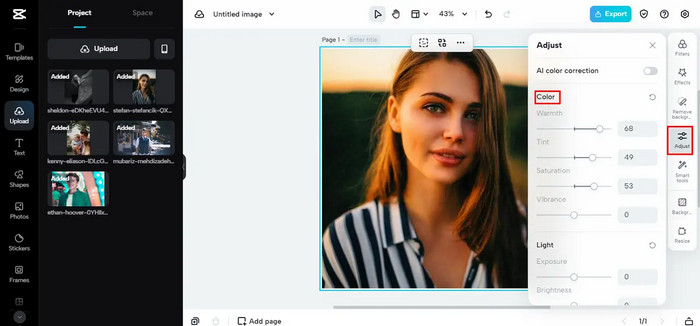
Method 2: Using a Free Online Video Editor
Kapwing is a lightweight online color editor that does not require you to install any software. Since it operates entirely on the web, it is a very Chromebook-friendly platform that is suitable for minor alterations. The platform functions with tools that include filters, brightness, contrast, saturation, hue, and temperature controls with a preview option, so you can see changes as you edit.
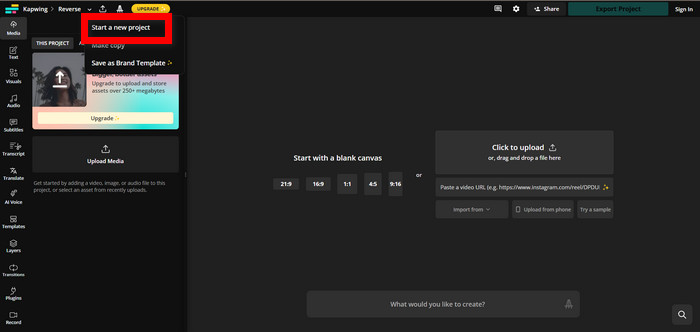
Step 1 Go to Kapwing and click on Start a New Project.
Step 2 Click on Upload Media. You can also drag a file into the workspace.
Step 3 Select a clip, and Adjust should be chosen from the right panel.
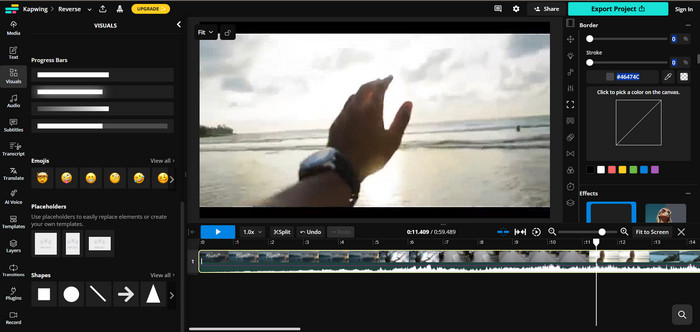
Step 4 Modify the color settings, or you can, for example, use filters with preset controls.
Step 5 Select the Export Project option, and you can edit it to your desired resolution before the clip is downloaded.
Part 2. Advanced Color Changes
1. Changing the Color of a Specific Object
CapCut is a color replacement tool that also utilizes Auto Select to edit specific objects rapidly. You can use it on both mobile and desktop to change the color of an object in a video intuitively and quickly.
Step 1 Download and install CapCut on your mobile device or PC. You can start a new project and use Start.
Step 2 Upload the video that has the object you want to change the color of.
Step 3 Go to Video Effects, or Adjust, and use Auto Select so that CapCut can detect the object.
Step 4 Apply Color Replace or Colorize and pick your new color.
Step 5 Refine strength, tolerance, and mask edges for natural results.
2. Colorizing Black and White Video
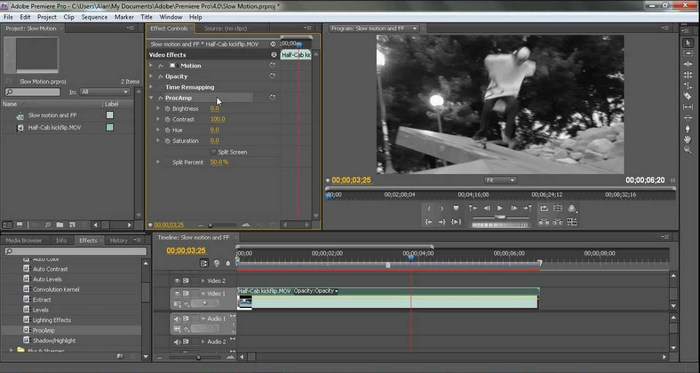
Adobe Premiere Pro includes AI Auto Color and Lumetri Color, which allow you to colorize and bring old black and true black and white footage to life.
Step 1 Open a new project and create a timeline.
Step 2 Put your footage inside the timeline.
Step 3 Go to Window > Lumetri Color to access AI color tools.
Step 4 Choose your clip and click Auto under Basic Correction. AI will detect the scene and paint a balanced color to it.
Step 5 Adjust skin tone colors and details using Temperature, Tint, Saturation, and Curves.
Step 6 Go to File > Export > Media to save and download your colorized video.
Part 3. Professional Color Grading
Da Vinci Resolve is a professional software for advanced users who wish to have full control and flexibility over the color of the video. It has very powerful tools that let you colorize video and grade it easily, creating a cinematic look using advanced color wheels, curves, nodes, and scopes.

Step 1 From the official Blackmagic Design website, download and install Da Vinci Resolve.
Step 2 Open a new project, and drag your video to the Media Pool.
Step 3 To enter the grading interface, please click on the Color tab.
Step 4 Adjust shadows, midtones, highlights, and overall tones using Lift, Gamma, Gain, and Offset.
Step 5 Refine specific colors or areas with Qualifier, Curves, and Power Windows.
Step 6 Check balance with Waveform or Vectorscope.
Step 7 Export the final video via the Deliver page.
Part 4. Troubleshooting & Pro Tips
| Problem | How to Fix It |
|---|---|
| Colors look fake or unnatural | Use smaller adjustments to saturation, contrast, and hue. Balance shadows, midtones, and highlights separately. Check color scopes to maintain natural tones. |
| Color change doesn't track the moving object well | Use stronger tracking tools like CapCut Auto Select, Premiere Pro masking, or DaVinci Resolve tracker. Refine the mask, adjust feathering, and increase object contrast. |
| Online tool exports low-quality video | Set the highest resolution and bitrate before exporting. If quality remains low, finish the export in desktop software like Tipard Video Converter Ultimate, Premiere Pro, or DaVinci Resolve. |
Part 5: FAQs of Coloring Videos
Does iMovie do color correction?
Yes. iMovie includes basic color correction tools like brightness, contrast, saturation, temperature, and color balance controls. It is not as advanced as professional editors, but it is more than enough to correct video color for simple adjustments and quick fixes on Mac, iPhone, or iPad.
How to fade video from black and white to color?
Apply a black-and-white filter to the first part of the clip, then keyframe the filter intensity from 100% to 0% over time. This creates a smooth transition from monochrome to full color in any editor that supports keyframing.
Can I color grade video on my phone?
Yes. Mobile apps like CapCut, VN, and Adobe Premiere Rush offer strong color grading features, including filters, LUTs, and manual adjustments. While not as detailed as desktop software, they're powerful enough for social media and quick, professional-looking edits.
Conclusion
Video colorization allows you to fully control the mood, style, and visual clarity of your footage. Whether using quick online tools, advanced desktop editors, or professional software, adjusting colors ensures your final video looks cleaner, more vibrant, and perfectly aligned with your creative vision.
More Reading
About the Author
