
We can't deny that the quality of our videos plays a significant role in conveying the video's message to our viewers. Whether you are a vlogger, creator, entrepreneur, or simply sharing memories with friends, one issue that tends to dull your video is low lighting. Here lies the solution, where a video brightness editor is your best friend. From correcting underexposed clips to enhancing clarity and definition, adjusting brightness helps create a more professional and refined video. Fortunately, there are numerous tools available today, both software-based and browser-based, that enable this process to be completed quickly and easily. If you seek the best video brightness editor online, free, or one without watermarks, we've got you covered.
Part 1. Why is Video Brightness Editor Important
Have you ever filmed something amazing, then found that all you're seeing on the screen is either dark or completely washed out? Poor lighting can distract the audience, obscure critical components, and diminish content quality. The following are reasons why applying a video editor's brightness feature is crucial:
1. Enhances Visibility
The simplest reason is to make video material that looks too dark. Regardless of how it comes about, be it insufficient light, camera quality, or settings, it will make brightness adjustments to your subject visible to the viewer.
2. Improves Visual Aesthetics
With different brightness effects, one's mood can easily make or break a scene. Bright scenes are fun and lively, while dark scenes echo the notions of cinematic drama.
3. More Professionally Presentable
Is it for a YouTube video, an Instagram upload, or even a corporate presentation? Well, besides all the above, it's also good to ensure that your clients get to watch something worth their time. Now, you, too, can make your video much more professional and appealing to the eyes by using this source for brightness aesthetic adjustment.
4. Fixes Typical Shooting Problems
You can't always control the lighting when shooting outdoors or capturing things off the cuff. A decent brightness editor fixes problems without re-shooting.
Part 2. Top 5 Video Brightness Editors For Your Reference
Should you need to enhance your video quality by brightening it, these five of the best video brightness editor software are readily available today. Whether you are working on a desktop computer, smartphone, or browser, each of these has something for everyone, ranging from beginners to experts.
1. Tipard Video Converter Ultimate
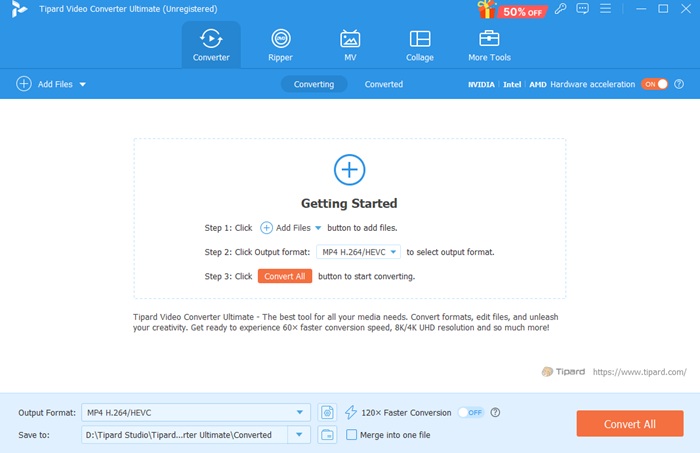
Among all the choices, Tipard Video Converter Ultimate is the most functional and easy-to-use video brightness editor. The desktop application, available on both Windows and Mac, provides a seamless experience for both beginners and experienced video editors. What makes it special is how quick it is to start. You can open it, import your video, and start editing in seconds. You can adjust the brightness and make enhancements with one click. Tipard also features a real-time preview function, allowing you to visualize your changes before saving. Additionally, it enables flexible adjustments to brightness, contrast, saturation, and hue.
Interestingly, Tipard does not include watermarks, making it a perfect online video brightness editor without a watermark replacement option for those who edit from a desktop. Additionally, it is compatible with over 500 video formats, making it an ideal option for social media content creators, marketers, and YouTubers who need to create professional-looking videos quickly.
2. Clideo
If you're looking for a free web video brightness editor, Clideo is an easy and efficient browser-based one. You don't have to download anything, go to the site, upload your video, and adjust the brightness with the slider. It's a shortcut for those who need to brighten video clips quickly with minimal hassle. While Clideo is incredibly easy to use, the free mode places a watermark on the output, which may not be ideal for professional use.

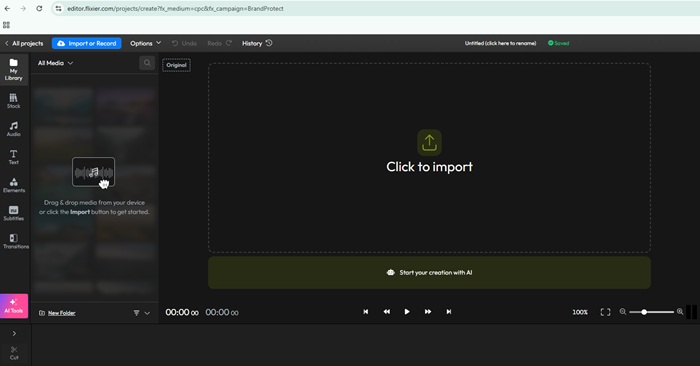
3. Flixier
If you're searching specifically for a video brightness editor online without a watermark, Flixier is a great option. This video editor brightness platform does more than change the light. It comes with a countless selection of editing tools, including trimming, cropping, subtitles, filters, and more. This makes it perfect for users who want to avoid intrusive branding while still enjoying the convenience of browser-based editing. It also supports direct exports to platforms like YouTube and Google Drive.
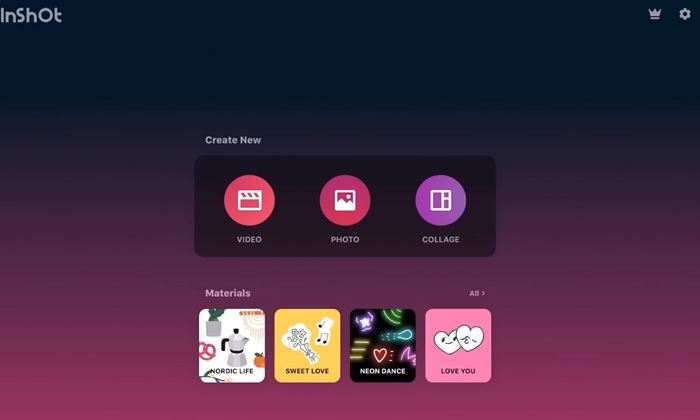
4. InShot
For smartphone users, InShot is the highest-rated iPhone video brightness editor that lets you make adjustments directly from your phone. InShot is great for rapid editing on the go, particularly if you're recording video with your phone and want to enhance its look before posting it. That said, the free app does feature watermarks and adverts, meaning full features are only accessible with an upgrade to the premium version. Nevertheless, it allows you to brighten videos on iPhone or Android devices and is declared as one of the easiest video editor brightness apps for mobile editing.
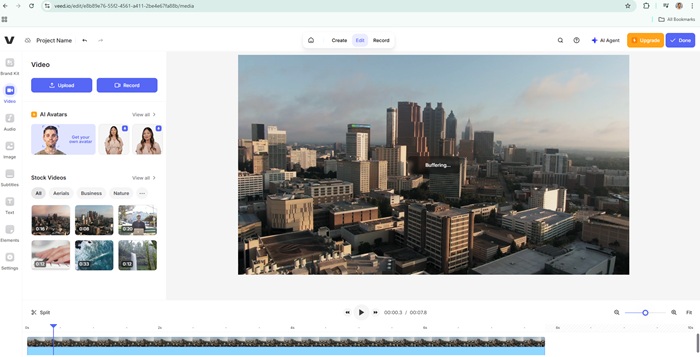
5. Veed.io
Another excellent browser-based editor option is Veed.io, which offers a user-friendly interface for editing videos online for free. It is designed for users who prefer drag-and-drop functionality and also offers additional options, including subtitle creation, screen recording, and filters.
Veed is perfect for occasional editors or those who want to quickly enhance a video's lighting before posting it online. However, similar to other free tools, the exported video includes a watermark unless you're subscribed to a paid plan.
Part 3. Tips When Adjusting Video Brightness
A large portion of your video quality relies on brightness adjustments, especially when working under low-light situations or with unbalanced lighting. There should be a happy medium, as overbrightening will wash out your video colors, while leaving it too dark will make it flat. Buff up your skills with these useful tips when it comes to operating your video brightness editor:
1. Adjust Gradually: When sliding the brightness, use small increments. Overexpose, and you will ruin it.
2. Use Preview: Always view the before and after in the preview tool before exporting.
3. Counterbalance with Contrast: Always adjust contrast with brightness so that the output appears more natural.
4. Keep in Mind the Mood: Brighter does not mean better. The brightness should match the mood or tone of the content.
Use editors that allow high-resolution exports without loss of compression. Now, let's walk you through a brief tutorial on how to brighten a video with Tipard Video Converter Ultimate.
Step 1 Launch the Software and Load Your Video
Download and install Tipard Video Converter Ultimate on your Windows or Mac computer.
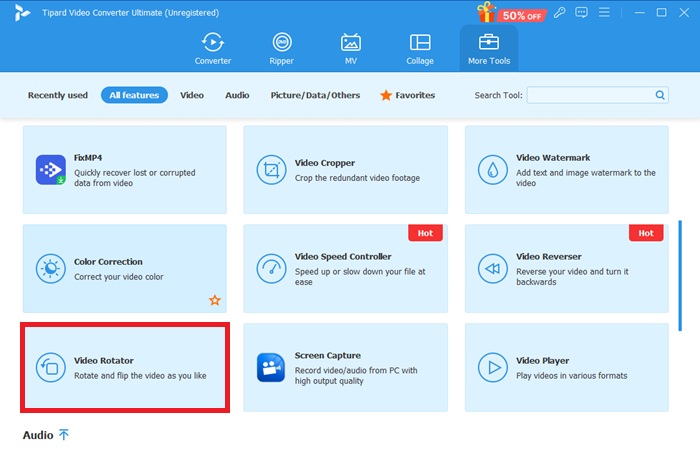
Step 2 Open the Color Correction Tool
Open the tool, click the Toolbox tab in the top menu, and select Color Correction. Then click Add File to add the video file you wish to brighten.
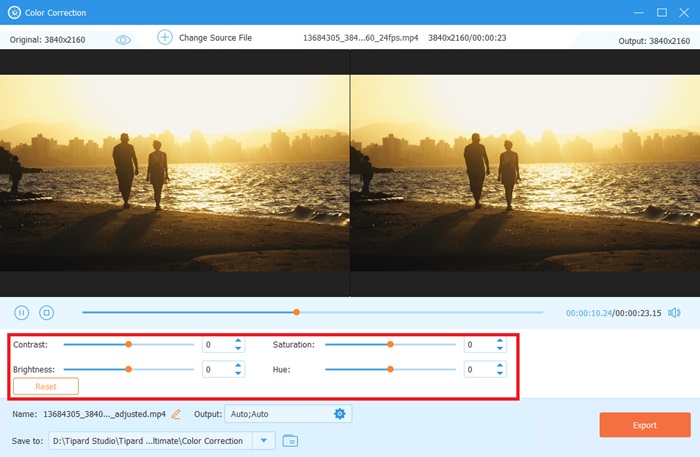
Step 3 Access Brightness Settings
Once you've uploaded the video, you'll find several enhancement options. You can play with brightness by manually dragging the slider to your desired setting. You can also set Contrast, Saturation, and Hue for a more detailed look.
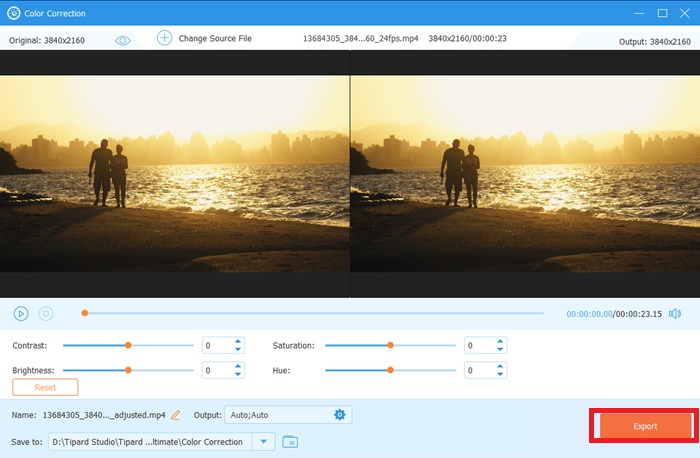
Step 4 Save Output
Watch your video using the Preview button before making the changes. Compare the original and improved versions side by side.
Select your preferred output format in the Save As option. Click Export to save your watermark-free output.
Conclusion
Brightness enhancement is a crucial step in the post-production process, whether you're producing vlogs, tutorials, or promotional videos. Numerous options are available, including browser plugins, mobile apps, and more; finding a great offline and online video brightness editor that suits your workflow is crucial. The ultimate solution is Tipard Video Converter Ultimate, which provides professional-level editing functionality without watermarks, live previews, and smooth brightness adjustment in an easy-to-use and streamlined package.
More Reading


About the Author
