2 Ways to Record TeamViewer Session or Meeting
TeamViewer is a popular remote work tool which enables you to access computers and networks remotely in the secure situation. This screen-sharing and monitor-remote software offers an effective way to create online meetings, video presentations, and webinars at anytime. Are you looking for a way to record TeamViewer session?

TeamViewer is designed with an internal recording feature to directly record sessions and meetings. This post will show you how the TeamViewer record session in detail. What's more, we like to introduce you with a professional Screen Capture tool to record TeamViewer with audio.
Part 1. TeamViewer Record Session with Built-in Recording Feature
TeamViewer has a default recording function that lets you record online meetings or live sessions. It is able to capture remote presentations and online meetings including video, audio, and webcam with ease. This part will show you how to use this TeamViewer recording feature.
How to record TeamViewer Session
Step 1When you establish a remote connection in TeamViewer, click the Files & Extras option on the top toolbar. By doing so, you can display more options including the Start session recording. You can click it to start the recording.

Step 2When the recording begins, you can see a red record icon appears on the top toolbar, next to the Remote update. You can freely pause or stop and save the recording according to your need.

After the TeamViewer session recording, the captured file will be automatically saved in .tvs format. A pop-up dialog box will guide you to save it in a suitable destination file folder.
How to convert TeamViewer TVS recording
One thing you should know is that, this TeamViewer's own .tvs format cannot be supported by most media players. So, you need to convert TVS to a popular video format. TeamViewer doesn't allow you to directly export the recorded session in MP4, AVI, FLV, MOV, or another popular format. But it has a built-in converting feature for you.
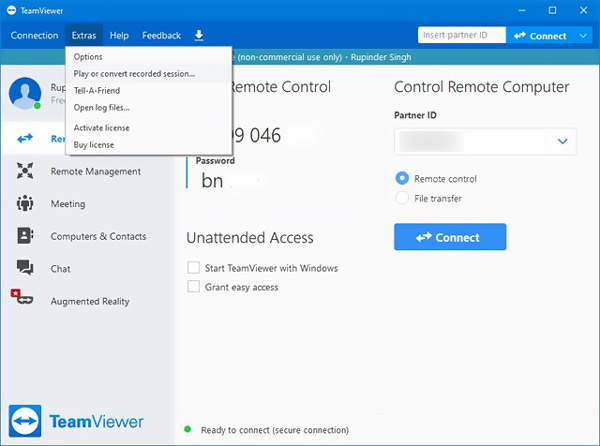
Step 1You can find the Play or convert recorded session feature under the Extras tab. If you are using a new TeamViewer version, here you can choose Menu and then the Play or convert recorded session.
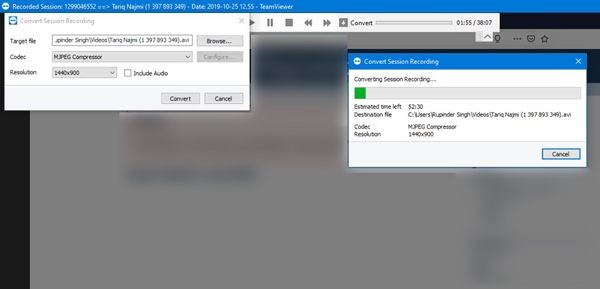
Step 2Select the recording file you want to convert. In the recorded session window, click on the Convert button. Then you can choose a suitable output format like AVI and custom the settings. Click Convert to confirm your operation.
Part 2. Better Way to Record TeamViewer Meeting with Audio
To record a TeamViewer session or meeting with audio, you can also rely on some third-party recorder. Here we strongly recommend the powerful Screen Capture for you to record TeamViewer and directly save the recording file in MP4, AVI, FLV, MOV, MKV, and more.
It has the capability to capture high quality videos even up to 4K. This TeamViewer session recorder allows you to capture images through computer screen, webcam, and sound through system audio card and microphone.
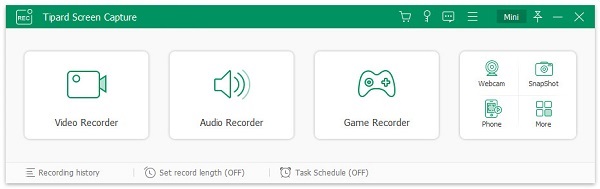
Step 1Free download, install and run this TeamViewer recorder on your Windows 10/8/7 PC or Mac. Choose the Video Recorder feature.
Step 2Before the TeamViewer session recording, you can freely adjust the screen recording region and select the audio recording source.
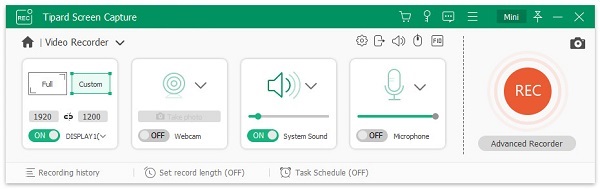
Step 3When you want to record a TeamViewer session, video conference, webinar or meeting, you can simply click on the REC button. You are given the full control of the TeamViewer recording.
Step 4When the recording is finished, you can use its editing features to edit your recorded video and custom its output effects. It is designed with a Preview feature to help you better view the captured video and edit it. After that, click Save button to save it on your computer.
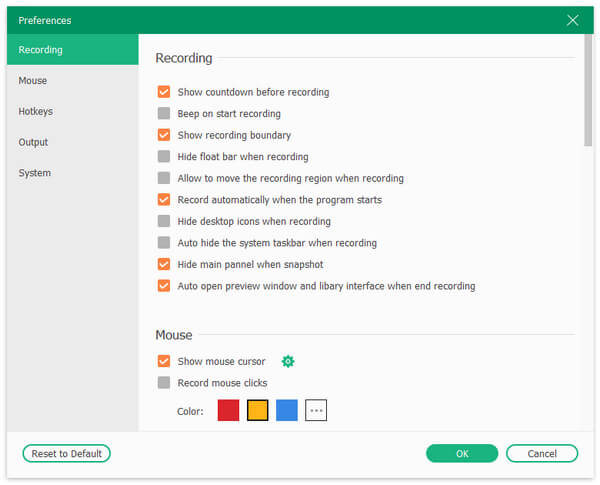
Your recording file will be automatically saved as an MP4 video. To change the output format, you can go to Preferences window, click Output on the left pane and then make your changes.
Not only recording TeamViewer meeting, but also can you record Google Meet, Skype, and other meeting services.
Part 3. FAQs of TeamViewer Record Session
How to automatically record TeamViewer session?
TeamViewer has an automatic recording function. You can click Extras tab on the toolbar and, choose Options, and then enter the Remote Control window. Here you can turn on the Auto record remote control sessions feature.
How do I open a recorded file in TeamViewer?
The recorded TeamViewer session can be played with its built-in player. You can click Extras and then Play or convert recorded session to access your recordings. Choose your desired file and play it there.
How to enable auto update for TeamViewer?
Open TeamViewer and click Extras on the top menu bar. Choose Options to enter the TeamViewer Options window. Click on the last Advanced option on the left panel. Locate the Install new versions automatically and choose All updates. Click OK button to save your change.
Conclusion
While the usage of TeamViewer, you may often have the need to record TeamViewer sessions or meetings. Here in this post, you can get 2 ways to make the TeamViewer record session with ease.