
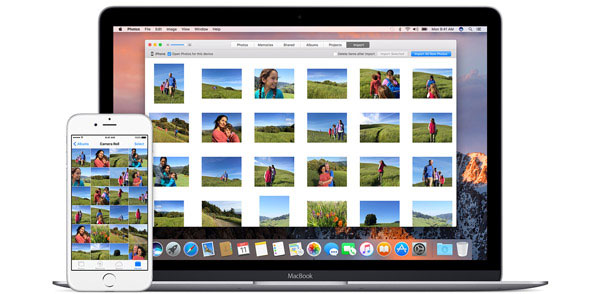
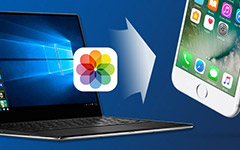
How to Transfer Photos from iPhone to Mac Efficiently
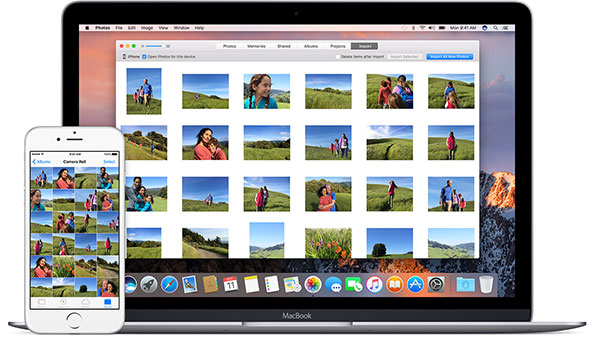
Before you transfer photos from iPhone to Mac, you should know the purpose first. In order to release up the space of iPhone 7, download iPhone photos to Mac from Airdrop might not be a nice solution. And you might fails to transfer photos with more than 5GB with iCloud free service. What should be the most efficient methods to transfer iPhone photos to Mac? Just learn more details about the different methods from the article.
How to Transfer Photos from iPhone to Mac with Tipard iPhone Transfer
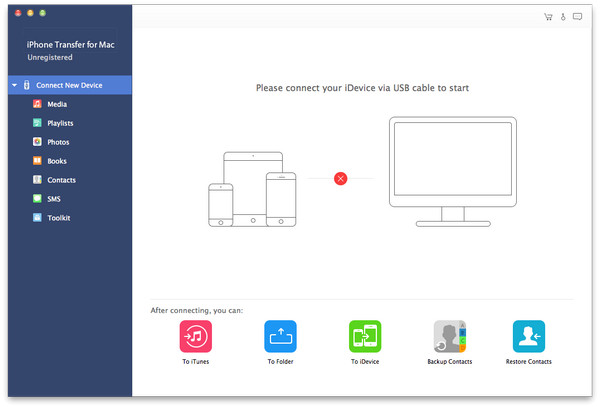
In order to download photos from iPhone to Mac with ease, Tipard iPhone Transfer for Mac is the highly recommended program. It is a professional transfer tool to sync photos between iPhone and Mac.
- Step 1: Launch Tipard iPhone Transfer for Mac
- Tipard iPhone Transfer is compatible with Mac OS 10.6 or above versions, including Mac OS Sierra. Once you launch the program, you can connect iPhone and Mac with USB cable.
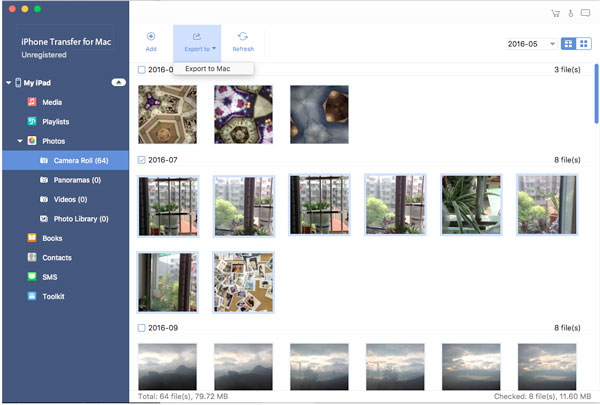
- Step 2: Select the desired photos from iPhone
- Select the desired photos from left menu of Photos. And then you can click the Export to button, select the Export to Mac to copy the desired photos from iPhone to Mac.
- Step 3: Transfer Photos from iPhone to Mac
- Choose all the images from the Photos Menu, and then export to Mac. The images will be transferred to the desired folder of your Mac within few seconds.
All-in-One Solution to Transfer Photos from iPhone to Mac with iPhone Transfer
Tipard iPhone Transfer is the most efficient solution to copy photos from iPhone to Mac just in one click. Just learn more detail about what Tipard iPhone Transfer can do for you with its excellent features.

1. When you connect iPhone and Mac, you can transfer photos, music, videos, contacts and any other files to Mac with ease.
2. What is more important, Tipard iPhone Transfer provides an easy, safe and lossless method to transfer photos from iPhone to Mac, even if iTunes not recognizing iPhone.
3. It helps you edit the name, artist, album, genre and artwork of multimedia files on your iPhone.
4. And you can also manage iPhone files on your Mac. For example, you can group photos, songs into albums, playlists and create new ones. Also you can edit them at will.
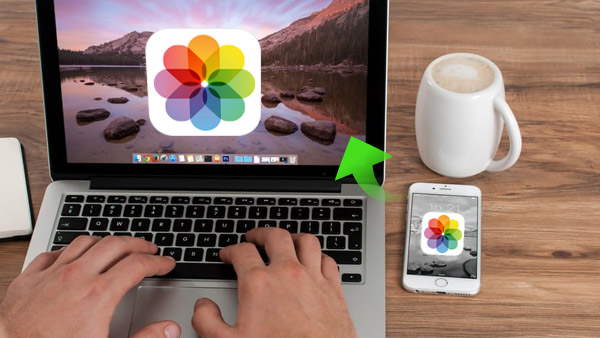
How to Download Photos from iPhone to Mac via iCloud
When you need to transfer photos from iPhone to Mac wirelessly, iCloud is the best solution for you. Cloud service is an efficient way to automatically sync photos between different devices. You can download photos of iPhone from iCloud to Mac within the 5GB free space storage provided by Apple.
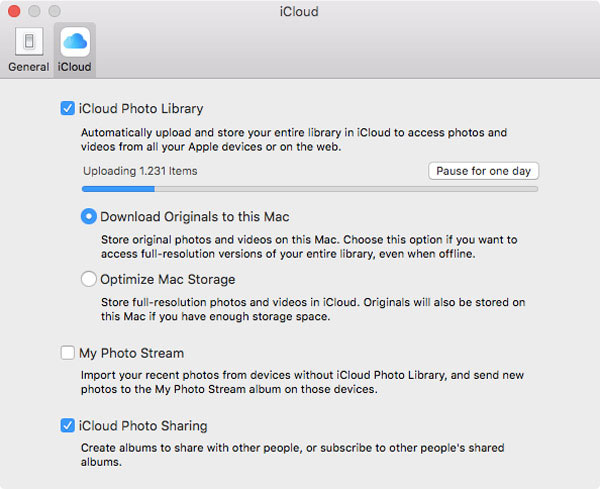
- Step 1: Backup Photos of iPhone to iCloud
- When you launch iPhone, you can press Settings > iCloud > Enable iCloud Photo Library. After you turn on the option, the photos will automatically upload to iCloud.
- Step 2: Enable iCloud Photo Library on Mac
- Once you turn on the iCloud Photo Library option on iPhone, you need to enable iCloud Photo Library on Mac as well. Open Photos app on your Mac and click the Shared tab. Click the Start Sharing button. This will open the iCloud preferences menu. And then you can check the iCloud Photo Library box.
- Step 3: Download Photos from iPhone to Mac
- For the method will transfer all photos from iPhone to Mac automatically, you have to find the photos from the download folder first. The photos will be organized by date they were taken. You can search for the files with tags as well.
- If you are not satisfied with the 5GB free storage space, you can also use other cloud service to transfer iPhone photos to Mac. Google Photos and Dropbox are also the nice cloud service solutions to transfer photos.

How to Send iPhone Pictures to Mac from Email
If you want to transfer photos from iPhone to Mac in a traditional way, you can send them from Email. When you use the method to send iPhone photos, you are able to send photos both taken by your iPhone or download online. But if there are a large amount of photos, it might be difficult to send via email server.
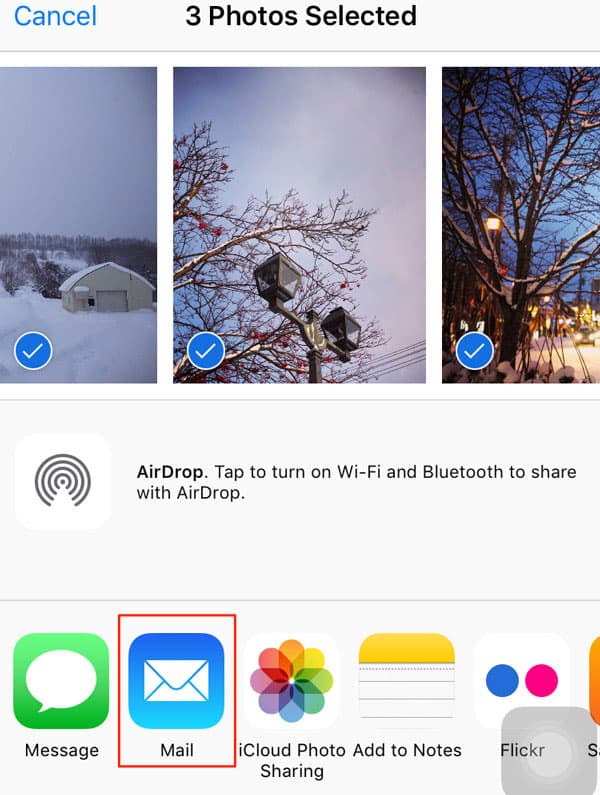
- Step 1: Select Desired Picture from Photos
- After you launch Photos, you can select the desired images from Albums, Photo Gallery or other applications that you want to transfer to Mac. Please do not choose too many images at one time.
- Step 2: Transfer Pictures from iPhone via Email
- Tap on Share button and choose Email, and then type your Email address and complete the Email. And now you can send the photos from iPhone to any device with Email service.
- Step 3: Download Pictures from Email to Mac
- Now you can open the Email on your Mac, download the pictures from the Email server to the desired folder on Mac. And then you can transfer pictures from iPhone to Mac in full resolution.
- Just as mentioned, transfer pictures from iPhone to Mac is traditional method. For there are lots of Email services to choose from, you should learn more detail about the size restriction and other settings in order to transfer photos successful to Mac or other devices.
How to Download Photos from iPhone to Mac with AirDrop
Different from connecting Android to Mac, you can connect iPhone and Mac with AirDrop. And then you can download photos from iPhone to Mac with ease. It is a method to transfer few photos from iPhone to Mac over wireless connection.
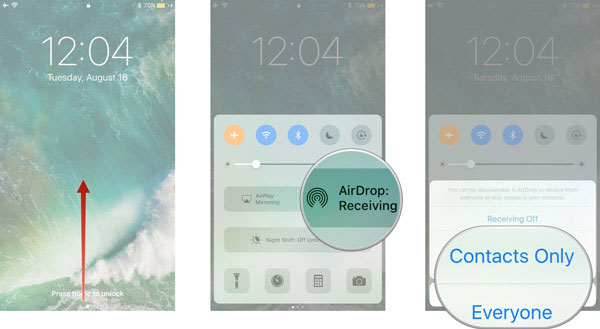
- Step 1: Turn on AirDrop Features on iPhone
- Swipe up from the bottom of iPhone screen to tap the AirDrop Button. If you need to sync photo to everyone, choose the Everyone option. Just make sure you are running iOS 8 or later, as well as using a Mac running Yosemite or later.
- Step 2: Access AirDrop on Finder of Mac
- When you click the Finder icon, you can find the AirDrop option. Make sure your Mac and iPhone are connected to the same wireless network. Click the AirDrop option in the Favorites section.
- Step 3: Transfer Photos from iPhone to Mac via AirDrop
- Click the Allow me to be discovered by menu and select Everyone. And now Mac to find your iPhone, you can open and download photos from iPhone to Mac accordingly.
- Once you accept the transfer, you will receive the photos from iPhone soon. Just remember to turn off AirDrop after you have finished transferring images from iPhone to Mac.

Words in the Bottom
When you need to transfer all photos from iPhone to Mac in high quality within one click, Tipard iPhone Transfer should be the best solution to achieve the goal. And you can use Email to copy all photos from iPhone to Mac. iCloud should be a convenient way to sync images with Photos App. If your Mac and iPhone are suing the same WIFI environment, transfer photos from iPhone to Mac with AirDrop can also be taken into consideration.

 How to Transfer Photos from Android to iPhone
Fast ways to transfer photos from Android to iPhone. Learn solutions and copy photos between Android and iPhone.
 Transfer Photos from Computer to iPhone
Learn methods to transfer photos from computer to iPhone, with this article. Here are top 7 methods to teach you.
 Top 3 Methods to Transfer Mac Photos to iPhone
No matter how many pictures you need to sync with, there is always your best method to transfer photos from Mac to iPhone.
 Top 4 Methods to Sync iPhone Photos to iPhone
Manage iPhone photos, to another iOS device in fast and easy ways. There are 4 apps for you to sync photos to iPhone.