
You Should Know about How to Root Moto X Safely and Easily
To protect operating system and prevent from accessing root, many smartphone manufacturers and carriers add bootloader lock on Android devices, such as Moto X. If you just buy a new Moto X from Verizon, Sprint or AT&T, you will found that you smartphone is locked bootloader. That makes root Moto X more difficult than other phone models. Don't worry! We are going to share multiple ways to root Moto X. Actually, developers have released new root solution that works on both Moto X locked and unlocked bootloader. If you want to root your Moto X successfully, you should follow the tutorials below.
Part 1. Backup data before you root Moto X
Since rooting is not officially supported, your Moto X warranty will get void. If something bad happens, you cannot ask for help or assistance from Verizon, Sprint, AT&T or other carriers. So, you'd better back up your Moto X to another Android phone. We suggest you backup your phone with Tipard Phone Transfer, because it is faster and more stable. Moreover, during transferring, your data will be lost or damaged.
How to backup Moto X to another phone
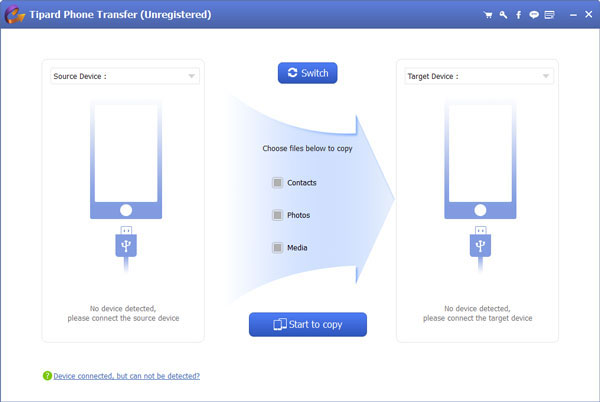
Launch Phone Transfer, after download and install it on your computer.
Plug both Moto X and backup phone into the computer with cables. Then Phone Transfer will detect the two devices automatically.
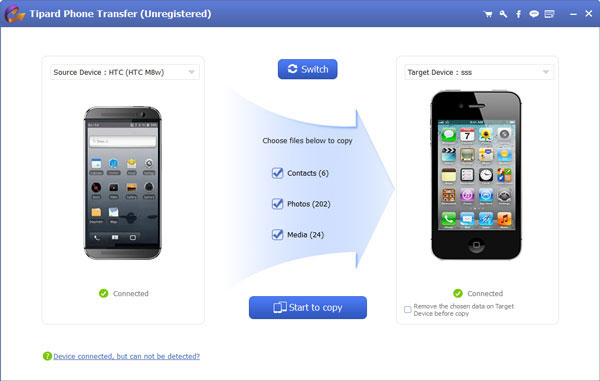
Set Moto X as the Source Device and choose the other handset from the Target Device drop-down list.
Select data types to backup, like Contacts, Photos and Media on Phone Transfer interface. Click on the Start to copy button to begin backup data on Moto X.
Phone Transfer supports almost all phone models and tablets, so you can use any smartphone that has enough space to backup Moto X.
Part 2. Preparation for rooting Moto X
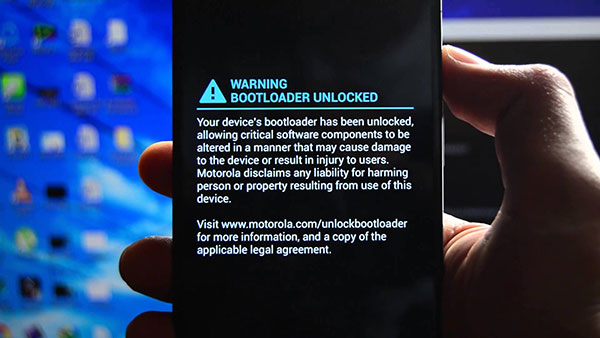
First of all, in order to root Moto X, you have to install Android SDK tools on your computer as well. As you can see, choosing rooting method depends on whether bootloader is locked or unlocked on Moto X. So you need to check the bootloader status before rooting.
Step 1. After Android SDK tools installed, plug your Moto X into the computer.
Step 2. Hold down Power and Volume down keys to switch Moto X in fastboot mode.
Step 3. Open command prompt in Fastboot folder, input fastboot devices and press Enter key to detect the device in fastboot mode.
Step 4. Then input fastboot oem device-info and hit Enter key. The bootloader status will show up.
Part 3. Top 3 methods to root Moto X
Method 1. Root Moto X with bootloader unlock
XDA developer has released the Moto X root package in 2013. This tool could root Moto X without bootloader lock from all carriers. And you can download the root package from XDA developer forum for free.
Step 1. Plug your Moto X to the computer via a cable.
Step 2. Put the downloaded root file in the Fastboot folder. If you have installed Android SDK tools, Fastboot folder will be created automatically.
Step 3. Hold down Shift key and right-click on mouse at the same time, choose Open command prompt here option from menu list.
Step 4. Type adb install -r in command prompt to install the root tool to Moto X. And run the app on your phone.
Step 5. After rooted, you can download SuperSU from Play Store and install it on Moto X to complete rooting.
Method 2. Root Moto X with bootloader locked
The method above is only available for bootloader unlocked Moto X. If you have a bootloader locked Moto X, you have to follow the guide below.
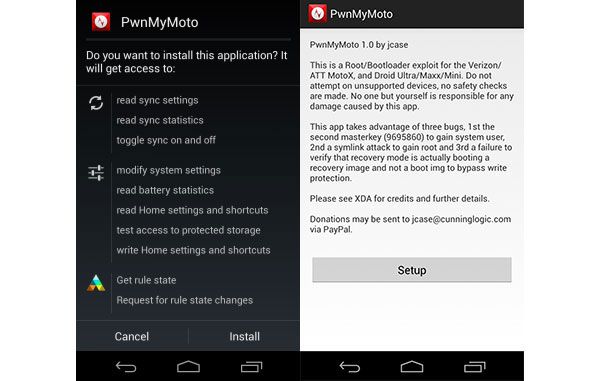
Step 1. Download PwnMyMoto APK file from XDA developer forum to your computer.
Step 2. Put the APK in the Fastboot folder and open command prompt in this folder too. You can refer to the details above.
Step 3. Use a USB cable to connect Moto X with your computer.
Step 4. After connection is successful, input adb install -r PwnMyMoto-.apk in the command prompt window to install the APK to smartphone.
Step 5. Remove Moto X from the computer and run the root app.
Step 6. Finally, reboot your smartphone and download SuperSU app on your Moto X to complete the whole process.
Method 3. Root Moto X without PC
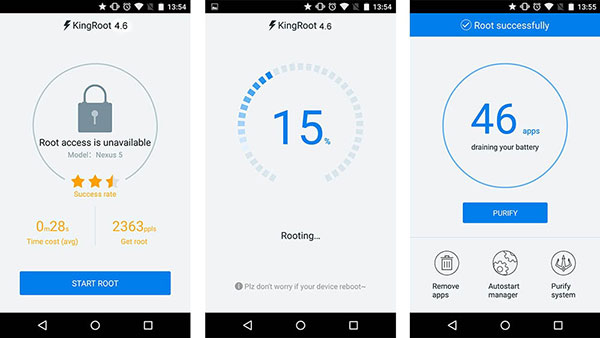
As you can see, rooting Moto X is a little complicated. You may wonder whether we could root Moto X without PC. The answer is ambiguity, because root Android APKs usually cannot support all photo models. In our lab testing, several APKs root Moto X successfully, including One Click Root, KingRoot and Kingo Android Root. Here we use KingRoot as the example.
Step 1. Unlock your Moto X and go to Settings App. Turn on the Unknown Source option in the Security section.
Step 2. Access KingRoot official website in a mobile browser and download the APK file to Moto X.
Step 3. Tap the APK file and install KingRoot app on Moto X. Open this root app and tap on the Root Now button to start rooting Moto X.
Step 4. Wait until the notification tells you root successfully. During the process, your Moto X may reboot. Remember that do not touch the screen before root completed.
If KingRoot does not work on your Moto X, you can try other root Android APKs.
Conclusion
Rooting Moto X could bring many benefits. You can remove bloat apps, block ads in any apps, upgrade to the latest Android system, and get other controls. However, it also leads to more risks. So, to prevent people from accessing root, carriers lock bootloader of Moto X. In this article, we have shared how to root Moto X, including bootloader locked one and unlocked one. If you follow the guides above, you will root your Moto X without troubles. Just in case, you should back up the data on Moto X to another mobile device with Tipard Phone Transfer.

 How to Root Nexus 7 Effectively
Root Nexus 7 tablet is now easier than ever, because we will show you multiple methods to root Nexus 7 with/without PC.
 Top 5 One Click Root Tools for Android
Here are 5 best tools to one click root Android. Learn how to root Android devices with these best one click root Android tools.
 What is Rooting a Phone of Android
What is rooting a phone and how to root a phone? You can learn all necessary knowledge related to Android phone rooting.
 Kingo Android Root Apk/Software for Free
Kingo Android Root is one of the most popular Android root tools on market. Learn this easy-to-use Android rooting tool.
You Should Know about How to Root Moto X Safely and Easily