
Video compression is a crucial process in post-production. This process enables video producers to reduce file sizes while maintaining acceptable visual quality. One of the leading professional video and color grading tools is DaVinci Resolve. It prioritizes compression as the process optimizes workflows for distribution across various social media and broadcast platforms. The compression is effective if it involves strategic choices in resolution settings, bitrates, and codecs. Misconfigured settings may lead to excessive banding and unnecessarily large exports, which can significantly impact playback performance or upload times. As we know, each of the mentioned components impacts the trade-off between fidelity and file size. Anyway, this post will guide you on how to compress a video in DaVinci Resolve.
Part 1. How to Compress Video in DaVinci Resolve
In DaVinci Resolve, a leading professional-grade video editing, visual effects, color correction, and audio post-production software developed by Blackmagic Design, compression plays a crucial role. This tool is used in both independent filmmaking and Hollywood, combining industry-standard color grading capabilities with advanced editing tools. It comes with integrated Fusion FX and Fairlight audio tools, providing a complete post-production solution in a single software. Additionally, DaVinci Resolve offers a free version with robust features, allowing beginners to access it while still catering to high-end production workflows.
Indeed, DaVinci Resolve delivers high performance, precision, and flexibility, making it a top choice for filmmakers and content creators. On the other hand, here is how DaVinci Resolve compresses video files:
Step 1 Set up and import a video
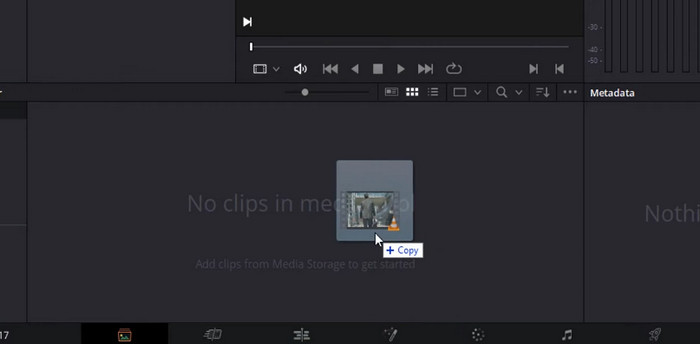
Begin by installing and launching DaVinci Resolve on your computer. In the Project Manager, select New Project to create a new project. Next, name your new project in the File Name text field and get more settings options by revealing the Project Settings in the lower right of the interface. Optionally, you can drag and drop the video into the media pool of the app.
Step 2 Shorten the video
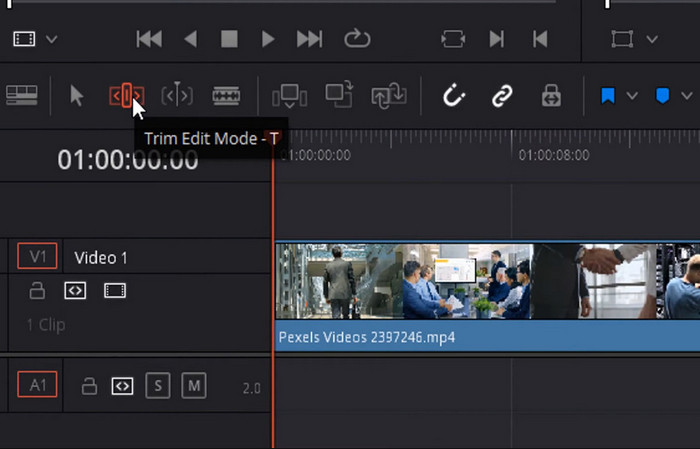
Now, import a video in DaVinci Resolve. Once the video is loaded into the program, click the Edit tab at the bottom control pane. Then, the video will appear in the Preview window, where you should drag the sliders to cut the video and reduce its length. Then, you have just compressed the video without losing quality in DaVinci Resolve. Additionally, the software enables you to access Trim Edit Mode. This feature allows you to cut the video and reduce its size by dragging the video slider.
Step 3 Configure the export settings
Navigate to the Deliver tab, review the Export Video box and select the Single Clip radio button. Make sure the Export Video box is checked, and then click the Browse button to pick a folder where you wish to save the compressed video file. Now, reveal the Format dropdown menu to see the video format list. Choose MP4 as the output format and H.264 as the codec for high compression efficiency and great compatibility.

Step 4 Export the compressed video
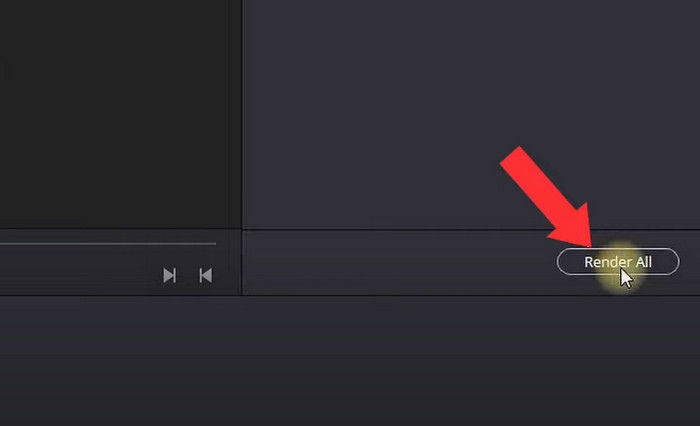
It is recommended to lower the video quality at a suitable rate to reduce the video size further. You can select Restrict to and lower the video bitrate, which results in a smaller video size. When everything is set, render the compressed video in DaVinci Resolve. Once the project displays on the list in the workspace, hit the Render All button to initiate the process and export the video to MP4 in DaVinci Resolve.
Part 2. 2 Easier DaVinci Resolve Alternatives to Compress Video
1. Tipard Video Converter Ultimate
You may be looking for a simpler yet effective way to compress videos, such as the DaVinci Resolve video compression alternative. That solution is Tipard Video Converter Ultimate. This program features a user-friendly interface that allows you to compress videos without compromising quality with ease. Therefore, it is an ideal tool for quick sharing and exporting. Additionally, you can adjust video quality and size with easy sliders. It allows users to fine-tune settings, including audio bitrate and video resolution, for optimal output. Compared to DaVinci Resolve, Tipard offers one-click presets for various platforms and devices, as well as batch processing, to save time when handling multiple files.
Step 1 Prepare the tool
You must first download the program to your computer. To do it, click the Free Download button placed below this description. If you are running a Mac system, choose the Mac download link and the Windows link for Windows users. Afterward, install and launch the tool.
Step 2 Access the Video Compressor tool
Upon launching the program, you will be greeted with an elegant interface that organizes tools. Now, go to the More Tools tab and search for Video Compressor using the search bar. Optionally, you may manually look through the wide selection of tools. Once found, click on the tool.

Step 3 Import your video file to compress
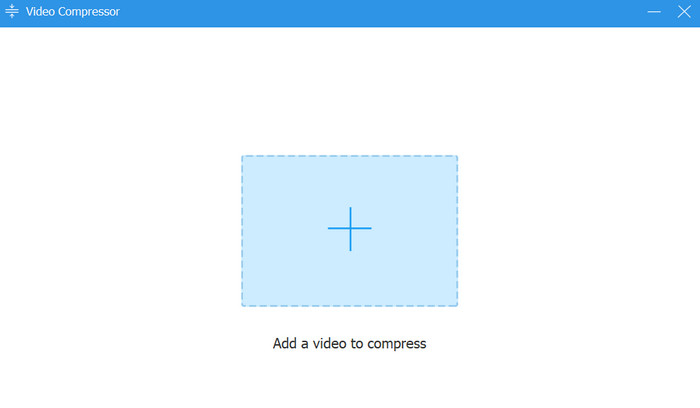
After launching the Video Compressor, you will need to click the plus button to add your desired video to compress. Locate the video file and load it into the app.
Step 4 Compress and export the video
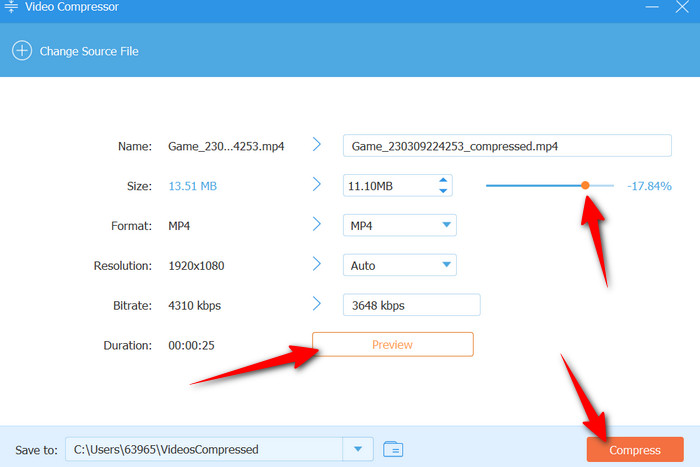
You now begin compressing the video file. You can use the slider to adjust the compression level up or down. Additionally, you can edit the format and resolution to reduce the file size further. Just be mindful of the quality. For that, you can check the changes by clicking the Preview button. After all is done, click the Compress button in the lower right corner of the window.
2. HandBrake
For those seeking a free alternative, consider HandBrake as an option. While it is not as powerful or as feature-rich as DaVinci, it grants users access to controls that help reduce file sizes efficiently. Here is how to use this tool for compressing videos.
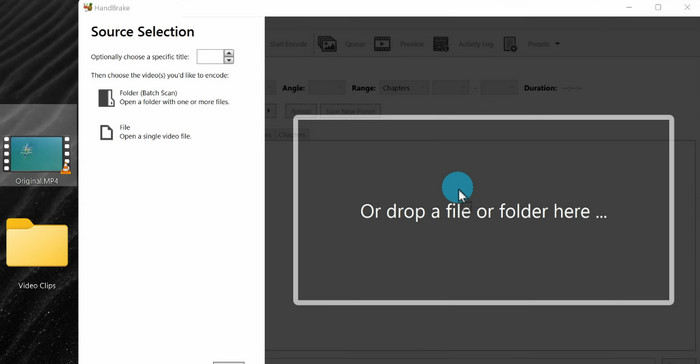
Step 1 Have the program downloaded and installed on your computer. After that, launch it immediately. Add your video by dragging and dropping it to the upload interface.
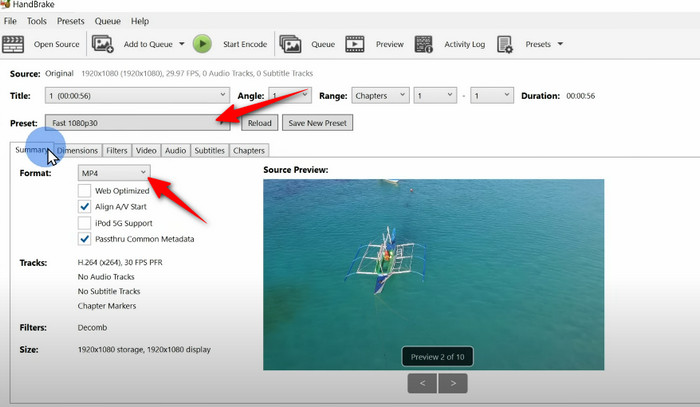
Step 2 This time, select a preset that fits your preference. For a quick compression, you could select Fast 1080p30.
Step 3 Then, you may adjust the format to MP4 or MKV and the quality settings. Once done, start encoding to save the compressed file.
Part 3. Tips for Better Video Compression
Here are some of the essential tips you should not miss out on for better compression.
1. You could trim the unused footage or remove the unnecessary data before exporting the file. Disable metadata if not needed to shrink the file size slightly.
2. Ensure you select a codec between H.264 and H.265. These two codecs are best for compatibility and compression. It may require some processing power, but they get the job done.
3. In general, you can optimize the bitrate settings by setting it to VBR for most cases, as it preserves the quality of complex scenes while reducing the file size. Increasing the bitrate slightly to avoid compression artifacts might work well for high-motion videos.
4. You may also adjust the resolution and frame rate. Choosing 1080p over 4K for web uploads will be a good strategy. Moreover, you can avoid unnecessary conversion if you match the frame rate of your source.
Conclusion
Video compression doesn't always mean sacrificing quality. There are tools developed to help users achieve smaller file sizes while maintaining sharp content. One of which is the DaVinci Resolve video compression tool. Beyond the right tools, it is beneficial to be aware of some technical aspects to learn how to adjust settings for better compression.
More Reading

About the Author
