
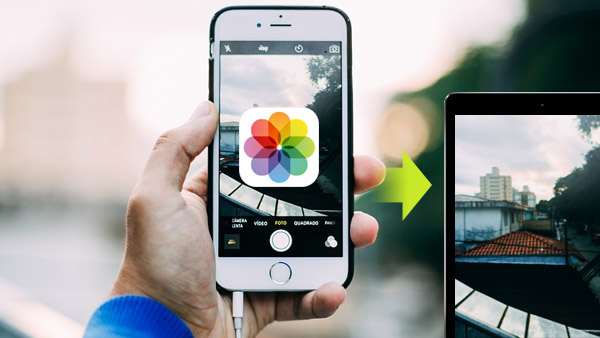
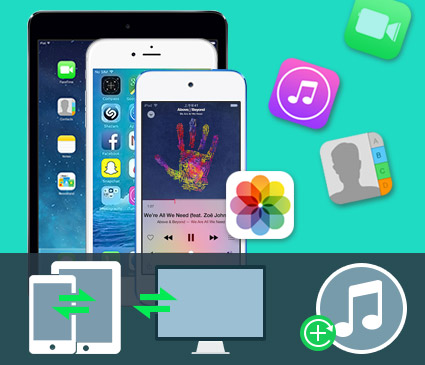
Best Solution to Transfer Photos from iPhone to iPad
The release of iPad Pro, which is a breakthrough with a 12.9-inch Retina display, make iPad occupies all sizes of tablet successfully. With its A9X processor and four-speaker audio system, we can expect whether it would be a success as it hailed by Tim Cook as "the biggest news in iPad since the iPad".
If you are fans of Apple, or just keen for its design, its iOS, its built-in apps, etc, I suppose you've got used to its convenience and have had a large quantity of valuable storage about photos, contacts, notes, and videos on your iPhone. A good choice for you to welcome November is to learn how to send data like photos from your iphone to ipad. This article will show you how to transfer pictures/photos from iPhone to iPad.
Download iPhone Transfer Ultimate to transfer photos from iPhone to iPad
Part 1: How to Transfer Photos from iPhone to iPad with AirDrop
Tips: The solution only works with iOS 7 and above.
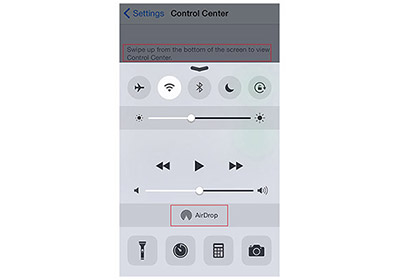
Open Control Centre
Open Control Centre in settings both on your iphone and iPad, it will show you "Swipe up from the bottom of the screen to view Control Center" on the top. Just swipe up as it said. Tap on AirDrop -> Everyone.
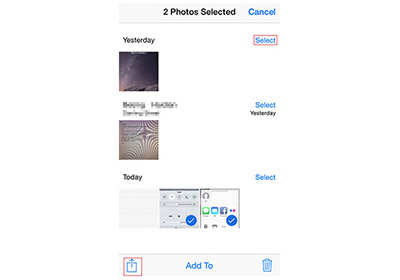
Choose photos
Open Photos on your iPhone. Select photos you want to transfer, then tap on the icon on the bottom-left.
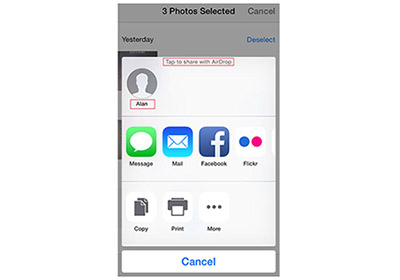
Transfer photos
A pop-up will show you "Tap to share with AirDrop" on the top bar. Tap on the name of your iPad to finish the transfer.
Part 2: How to Transfer Photos from iPhone to iPad via Photo Stream
Tips: You must sign in the same Apple ID on iPhone and iPad at the same time, and both of them are connecting to WLAN in the whole process.
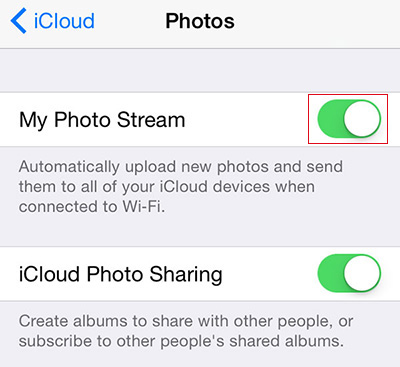
My Photo Stream
Tap on Settings -> iCloud -> Photos -> My Photo Stream, and ensure My Photo Stream is opened on both your iPhone and iPad.
Transfer photos
Tap Photos on your iPad. Choose Albums on the bottom, and you'll see all photos displayed by sort.
Part 3: How to Transfer Photos from iPhone to iPad with iPhone Transfer
Tips: The solution only works with iOS 7 and above.
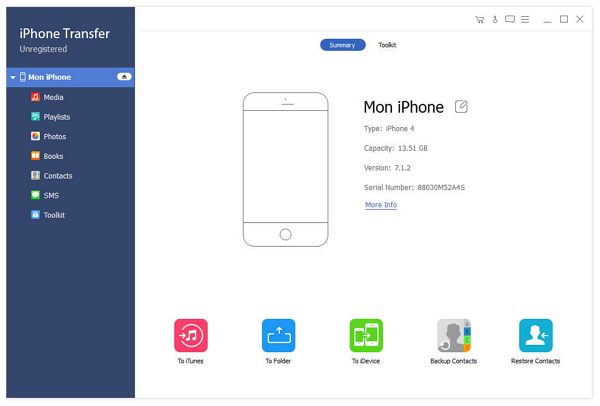
Download and install iPhone Transfer Ultimate
Run iPhone Transfer Ultimate, and then connect both iPhone and iPad via USB cable to computer. The program will detect them automatically. You will see both two iDevices' info on the left side-bar.
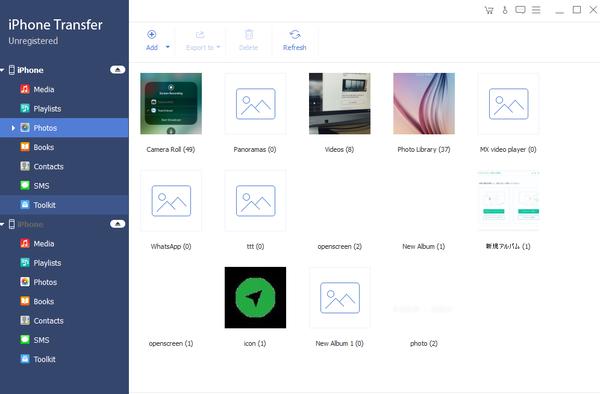
Choose albums
Choose your iPhone, and click Photos on the left side-bar. You'll see all albums listed under the Photos. Click one of them to transfer.
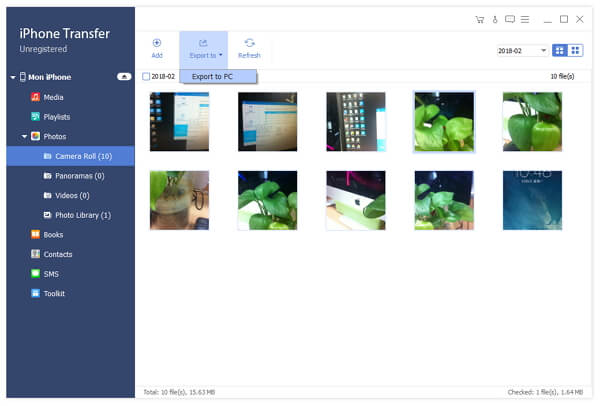
Transfer photos
Hold on CTRL key and click photos you want to transfer. Then click Export to -> name of iPad to finish the transfer.
Tips: iPhone Transfer Ultimate is highly compatible with iPhone SE, iPhone 6s and iPhone 6s Plus.
It's a convenient way to transfer photos from iPhone to iPad in high quality with no limit of iOS systems and iPhone models. Besides transferring photos from iPhone to iPad, you can also transfer data like video from computer to iPad.
- Transfer data like photos from iPhone to iPad/iPhone
- Transfer photos/music/video etc. to iPhone/iPad/iPod in one click
- Support all iOS devices, including iPhone SE, iPhone 6s and iPhone 6s Plus
- Highly compatible with iOS 9.3
- Transfer files between iOS devices directly, and sync to iTunes

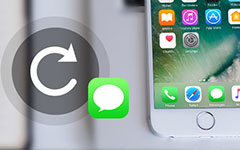 3 Easiest Methods to Backup Text Massages on iPhone
What should you do if you need to save text messages on iPhone for backup? You can learn top 3 methods to backup text messages on iPhone from the post.
 How to Change iCloud Account
What should you do to change iCloud account for the second hand iPhone 7 or other iOS devices? Just check out the best solutions from the article.
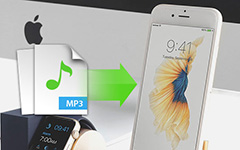
 How to Transfer Music from iPhone to Computer
To enjoy the same music list on iPhone and computer, this tutorial will guide you to transfer music from iPhone to computer and from computer to iPhone.
 How to Put Music on iPhone
This article introduces you some detailed methods on how to put music on iPhone. You can choose one to add music to iPhone with iTunes, or using a powerful program.