
Top 6 Methods to Set Up Voicemail on iPhone

Voicemail is one of the most popular communication mode in our daily life. People can receive and send greeting messages in this way to close the relationship. The first step you send a voicemail is setting up voicemail on iPhone. But for most iPhone users, setting up voicemail on their iPhone may be a question. Fortunately, the article lists 6 methods to ensure you get the detailed operation procedure. All you need to do now is read this article and follow these solutions.
Method 1: Set Up the Voicemail of Verizon or Sprint iPhone
When you tap "Voicemail" button and it initiates a call, you may need to follow this instruction to set up voicemail on iPhone.
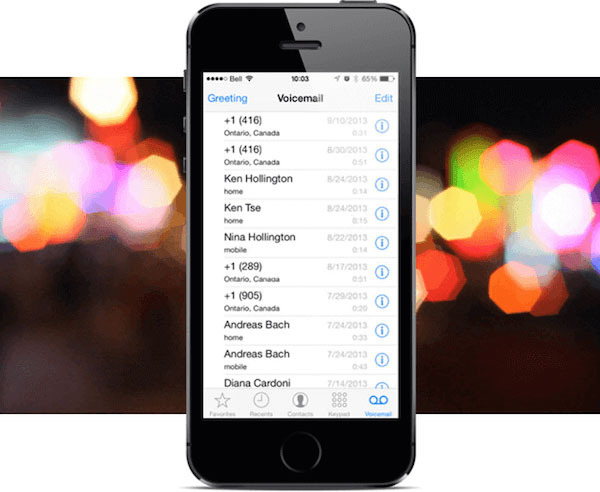
Step 1: Open the app called Phone in your iPhone. Tap the button right corner of the screen called Voicemail.
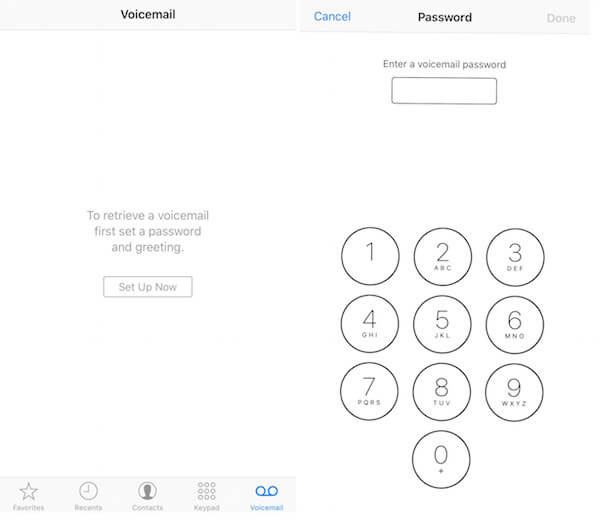
Step 2: Tap "Set up now" button which is in the center of the screen.
Step 3: Set up your password. It must be six to eight digits long. And you need to tape the same password twice.
Step 4: When you in the voicemail greeting page, tap "Custom" if you want to record a greeting.
Step 5: Tap "Record" button, and then start to record your voicemail message. You can tap "Stop" when you finish your recording.
Step 6: Tap "Save" button, and then you have already set up voicemail on iPhone successfully.

Method 2: Set Up an AT&T iPhone Voicemail by Calling
AT&T mobile data plans help you to set up voicemail for iPhone with ease. But you cannot do this connection when you connected to Wi-Fi. Read this guide and set up voicemail on iPhone.
Step 1: Tap "Phone" in your phone's main screen.
Step 2: Tap on "Voicemail" and then tap on "Set Up Now".
Step 3: Type your password if it prompted. You need to enter four number at least.
Step 4: Confirm the password by typing it again and then tap on "Done".
Step 5: You can set a default AT&T greeting message, or record a greeting message. Then tap "Done", you have now set up an AT&T iPhone voicemail.
Method 3: Set up an AT&T iPhone Visual Voicemail
Verizon network knows the importance of your voicemail messages and allows you to set up them easily. Except the two methods, you can also set up voicemail for AT&T iPhone in this way.
Step 1: Open your iPhone's Phone app and tap "Voicemail" as the previous methods.
Step 2: Next tap on "Set Up Now".
Step 3: Type your password and then tap "Done".
Step 4: Re-enter the password you create to confirm it and then tap "Done".
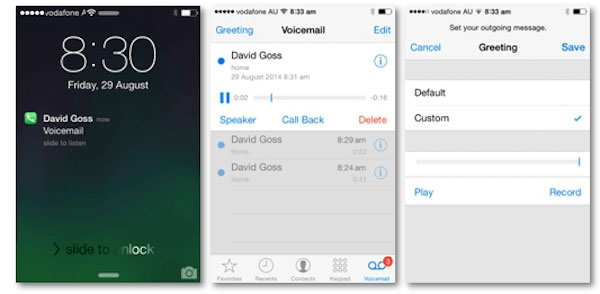
Step 5: Next tap "Custom" if you want to record a greeting message. You can also tap "Default" to use your carrier's default voicemail.
Step 6: Tap the option in the bottom of the screen called "Record" to start your voice message recording.
Step 7: When you finish setting up iPhone voicemail, tap "Stop" and save it.
Method 4: Set Up an iPhone Voicemail from T-Mobile
It is also possible for you to set up iPhone voicemail from T-Mobile. It only takes some steps to do this job.
Step 1: Open Phone app on your iPhone home screen.
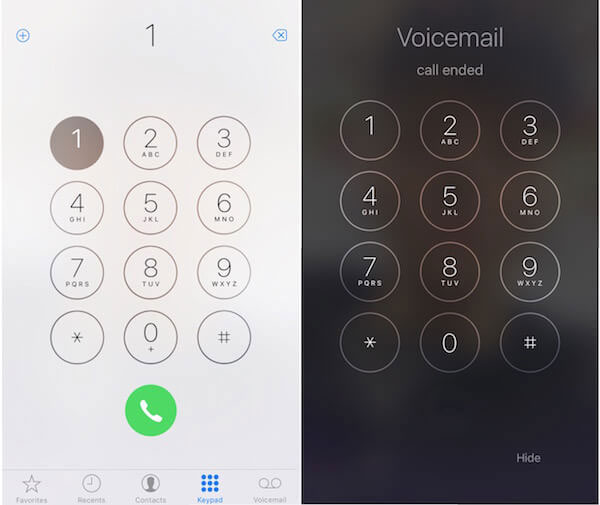
Step 2: Tap "Keypad". It is near to the "Voicemail".
Step 3: Press "1" and hold on. After few seconds, it calls you voicemail automatically.
Step 4: If it asked for a password, type your last four digits of your phone number. It that does not work, dial "611" to speak to manual service.
Step 5: Next say you name when prompted. And then speak a voicemail greeting according to the order.
Step 6: Press "#" to save your greeting voicemail and password settings. You can also press and hold "1" to check your voicemail.
Method 5: Set Up a Vodafone iPhone Voicemail
UK's Vodafone network also allows you to receive and send voicemail messages on your iPhone. How to set up voicemail on iPhone by Vodafone. Above all, you need to do this tips.
Step 1: Go to "Phone" and dial "121".
Step 2: Listen to the instructions and create a safe password which is not sequential or repeated numbers.
Step 3: Create customized greetings and record your name.
Step 4: You need to set your time and choose your location. You can stay connected If you want to do more customization.
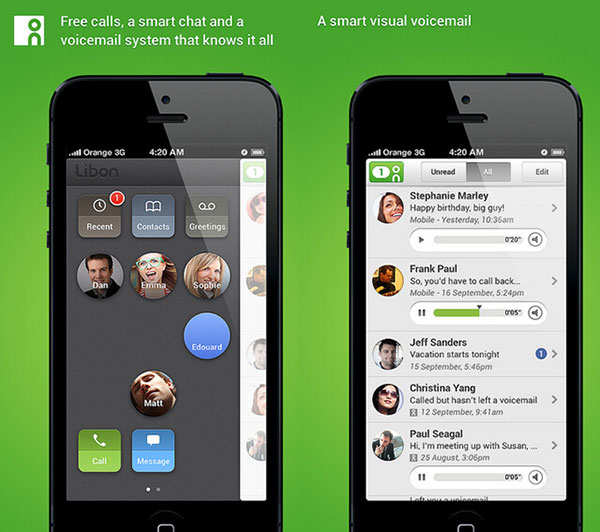
Method 6: Using Visual Voicemail
The sixth method for setting up voicemail on iPhone is also very simple. In addition, you can assess your voicemails by tapping "Voicemail" in Phone app's screen if your carrier supports visual voicemail.
Step 1: Access your voicemail.
Step 2: Tap the message you want to open and in the showed window there are several options like Delete and Call Back.
Step 3: Tap the option which is like a triangle. Doing so will begin playing your voicemail message.
Step 4: If you want delete same messages, just tap "Delete" to delete the unwanted message.
Step 5: Tap "Call Back" to dial the number that left the message.
More: Troubleshooting Voicemail
Although setting up voicemail on iPhone is not so complex, you may still find some problems you can't figure them out. When you meet some troubles on setting voicemail, here are some instructions to help you solve these problems.
Solution 1: Hold down the power button to restart your iPhone. It can solve a lot of problems you may have.
Solution 2: Update your iPhone to the latest version of iOS in order to avoid some bugs to cause voicemail problems.
Solution 3: If you meet some issues you can't solve or you can't access your voicemail inbox, you can call your carrier. You can find common carriers Customer Service lines in the Internet.
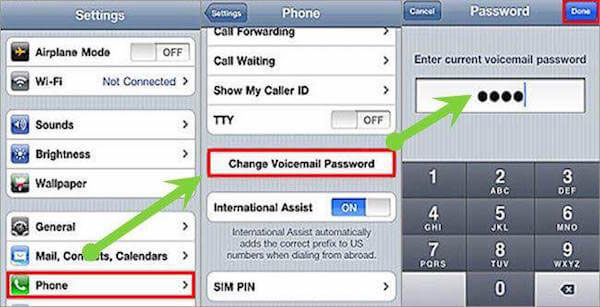
Solution 4: Tap "Settings", then tap "Phone" and "Change Voicemail Password" to reset your voicemail password.
Conclusion
Voicemail can do a lot of help for you when you are too busy to receive a call. In this article, we list some methods to teach you set up your iPhone voicemail from different carriers. You can choose the suitable one according to your carrier. If you have more thoughts or questions about setting up voicemail on iPhone, you can share them in comments.

 How to Fix Voicemail Not working on iPhone
Can't listen to your iPhone voicemail? Don't worry! Here offers you 6 good ways to fix iPhone voicemail not working Problem.
 How to Change Your Voicemail on iPhone 17
Is there any method to change your voicemail on iPhone? Just learn more details about the solutions from the article now.
 Top 5 Voice Memo Apps on iPhone You Know
If you are looking for an excellent voice memo app on iPhone, you can choose from the top 5 voice memo apps on iPhone in this article.
 Activate Siri from iPhone 6s for "Hey Siri"
With the guide of Siri for iPhone, you can activate and use Siri. Moreover, there are Siri alternative voice app to apply with.