How to Backup iPad Photos to Your PC

How to backup iPad photos to your PC with iPad Photos Backup Tool? Read this article and find the answer.
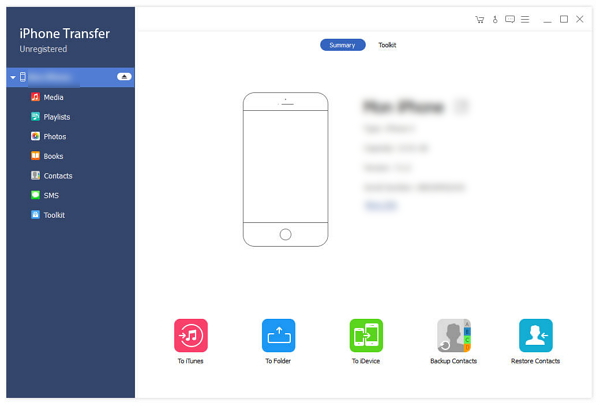
Connect iPad to PC
Connect your iPad to PC via Apple dedicated data line, then you will see the following image.
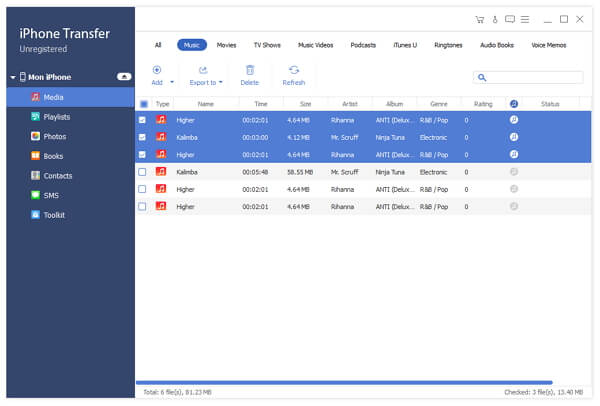
Choose any photo file you want to transfer
On the left side of the main interface, you will see the display list, which will show your various iPad files in different types. Click "Photos" on the display list, then the right side of the interface will display all your photo files in details as the following screenshot shows. In front of each listed photo file, there is a check box, you can check all to choose all image files or just one to choose, then the "Transfer" button will be activated instanly.
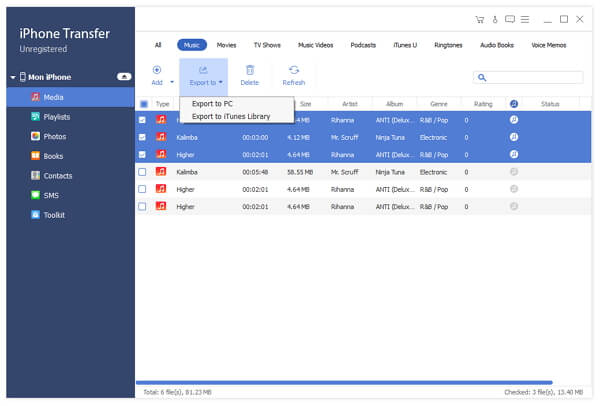
Start transferring files
Click "Transfer" button to start to copy any photo file you like to PC for backup. After transferring, the output folder will pop up automatically.