How to Add Audio to Final Cut Pro: Transform to Import Media [Solved]
Apple’s Final Cut Pro is a comprehensive non-linear editing software chosen by many beginners and professional editors. It has competitive updates for $299, costing them to have a feature-rich and easy-to-use interface. However, for those beginners who are new to utilizing this program, plus those who came from a different editor, the workflow of Final Cut Pro may be a bit unfamiliar. It is why many even raise the question of how to add music to Final Cut Pro. Thus, here are the steps that will answer such a question, and along with this is the best method if the editor does not support the media file.
Part 1. How to Import Media to Final Cut Pro
Final Cut Pro is known to organize all the media content that worked through it into Libraries, Projects, and Events. The highest level among them is the Library. Generally, you will only need to choose one of them for your task unless you need to work on numerous unrelated projects. Inside the Library of Final Cut Pro are the Events folders, which may include various media files like video clips, songs, images, and the Projects created. This Project is a container for all the videos, and your editing is applied to the video projects. But all of the media that these containers have are related to the importation process, which you will learn by looking at the guidelines below.
How to Import Files to Final Cut Pro
Step 1Open Final Cut Pro after installing it. Please note that once you open it, the Library and Events will automatically created as well. Therefore, you will only need to create a new project.
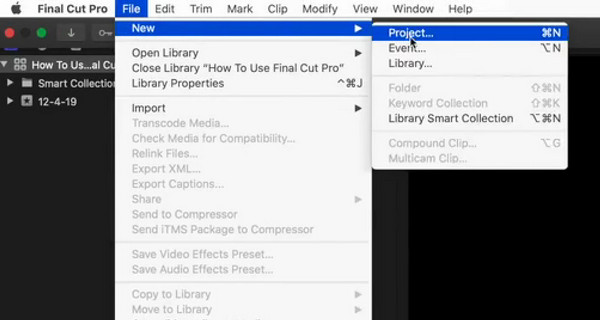
Step 2Upon reaching the main interface of the program, go to the top menu bar and click the File tab menu. Then click the New button and choose the Project selection to create a new project. Now, name the project you have created.
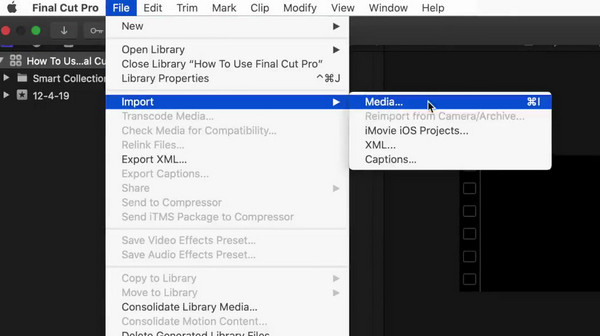
Step 3Now re-click the File tab menu, and choose the Import and then the Media buttons. By doing this, the Media Import will bring up where you can begin uploading the media files or audio you want to import.
Step 4This time, select all the media files, then click the Import Selected option. So, this is also how to add videos to Final Cut Pro.
Part 2. What if the File is Not Supported?
Since Final Cut Pro doesn’t support all media formats, what shall you do when the file you are importing is not supported? Because if that’s so, even if you were able to import it, the program will not be able to open it. Here are the two options to utilize then.
1. Convert The File Format
The best initial solution you need to do is to convert the file into another format that the Final Cut Pro supports, such as MP4, MOV, and MXF. Fortunately, Final Cut Pro provides a conversion method where you will just need to export the file into your desired supported format. To do so, please follow the steps below.
Step 1Open the Final Cut Pro and import the media file by following the how-to import clips into Final Cut Pro above. Once done, click the File tab menu and choose the Share option, then the Master File button.
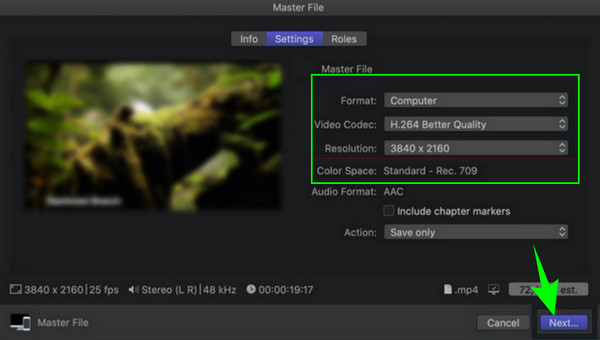
Step 2Now go to the Settings section, and choose the Computer option from the format box. Then, choose your desired video codec once the drop-down list is shown. After that, click the Next button.
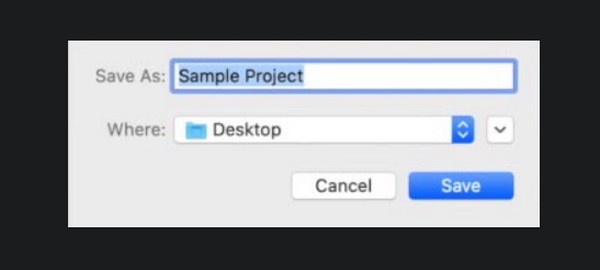
Step 3After that, type a new name in the Save As section, then hit the Save button.
2. Try An Alternative
Since other popular formats like WMV and AVI are Final Cut Pro restrictions, the same limitations are also on the outputs for the conversion. Thus, you may not have a comprehensive conversion and editing process, especially if you deal with different kinds of media files. For this reason, you may try using this Tipard Video Converter Ultimate as the best alternative for Final Cut Pro. This ultimate program is also a non-linear video editing software that has nearly all you need for video editing, along with its powerful converter that supports more than 500 various media files for input and output. Furthermore, you will be amazed at how easily you can import any kind of media file you have due to the super sleek and easy-to-use workplace where you can click only a button or drag and drop to add even GIF to this Final Cut Pro’s alternative.
Step 1Get the Mac version of Tipard Video Converter Ultimate to install as the alternative to Final Cut Pro. Please note that it also has a Windows version if you want to use a desktop.
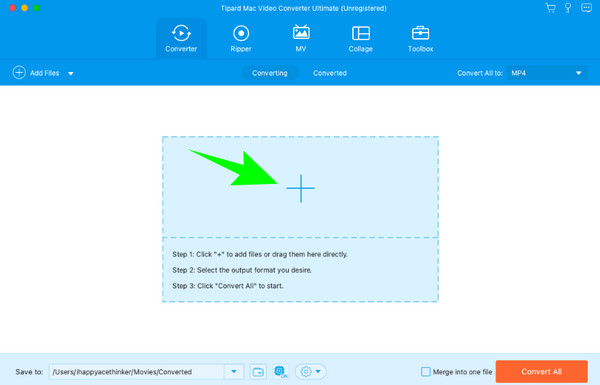
Step 2Once the software is installed, open it and click the Add button at the center of the workspace to import the files you want to edit and convert. Another note: you can access its Toolbox if you want to professionally edit the media file, as it comes with various tools there.
Step 3Sticking on to this guideline, once the media files are uploaded, you can either click the editing options on each thumbnail or click the format selection to choose your desired conversion output.
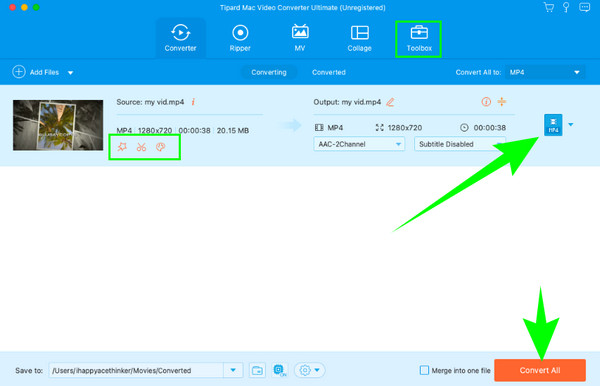
Step 4As simple as that, you will need to click the Convert All button to export the media files. Wait for the process to finish, then check on the designated folder where it saves the converted files.
Note: Apart from video conversion, Tipard Video Converter Ultimate also helps improve video quality with a simple process. Meanwhile, during the conversion, the converter will intelligently convert the video file to your desired format while maintaining the best quality possible.
Part 3. FAQs About the Final Cut Pro
What file formats can Final Cut Pro import?
Final Cut Pro supports various video and audio formats, including MP4, HEVC, HDV, DV, AVC, MXF, MOV, MP3, M4A, AIFF, WAV, and AAC for its import.
How do you import files into FCPX?
To import files into Final Cut Pro X, you will need to create a new Library if you want an organized project. Then, to import files, you need to go to the File tab menu and then choose the Import Media option.
How do I import 4K video into Final Cut Pro?
Importing 4K videos to Final Cut Pro is simple as long as the video is in a format that the program supports. If so, you just need to go to File>Media>Import Media buttons, then select all the 4K videos you want to upload.
Conclusion
To conclude, Final Cut Pro is a video editing software that is reliable enough for Apple product users. However, it may be simple to add audio and video files to Final Cut Pro, but the limitations are still evident, especially in its supported formats. This is why we also introduced this Tipard Video Converter Ultimate.